
How To Use Wella Permanent Hair Color
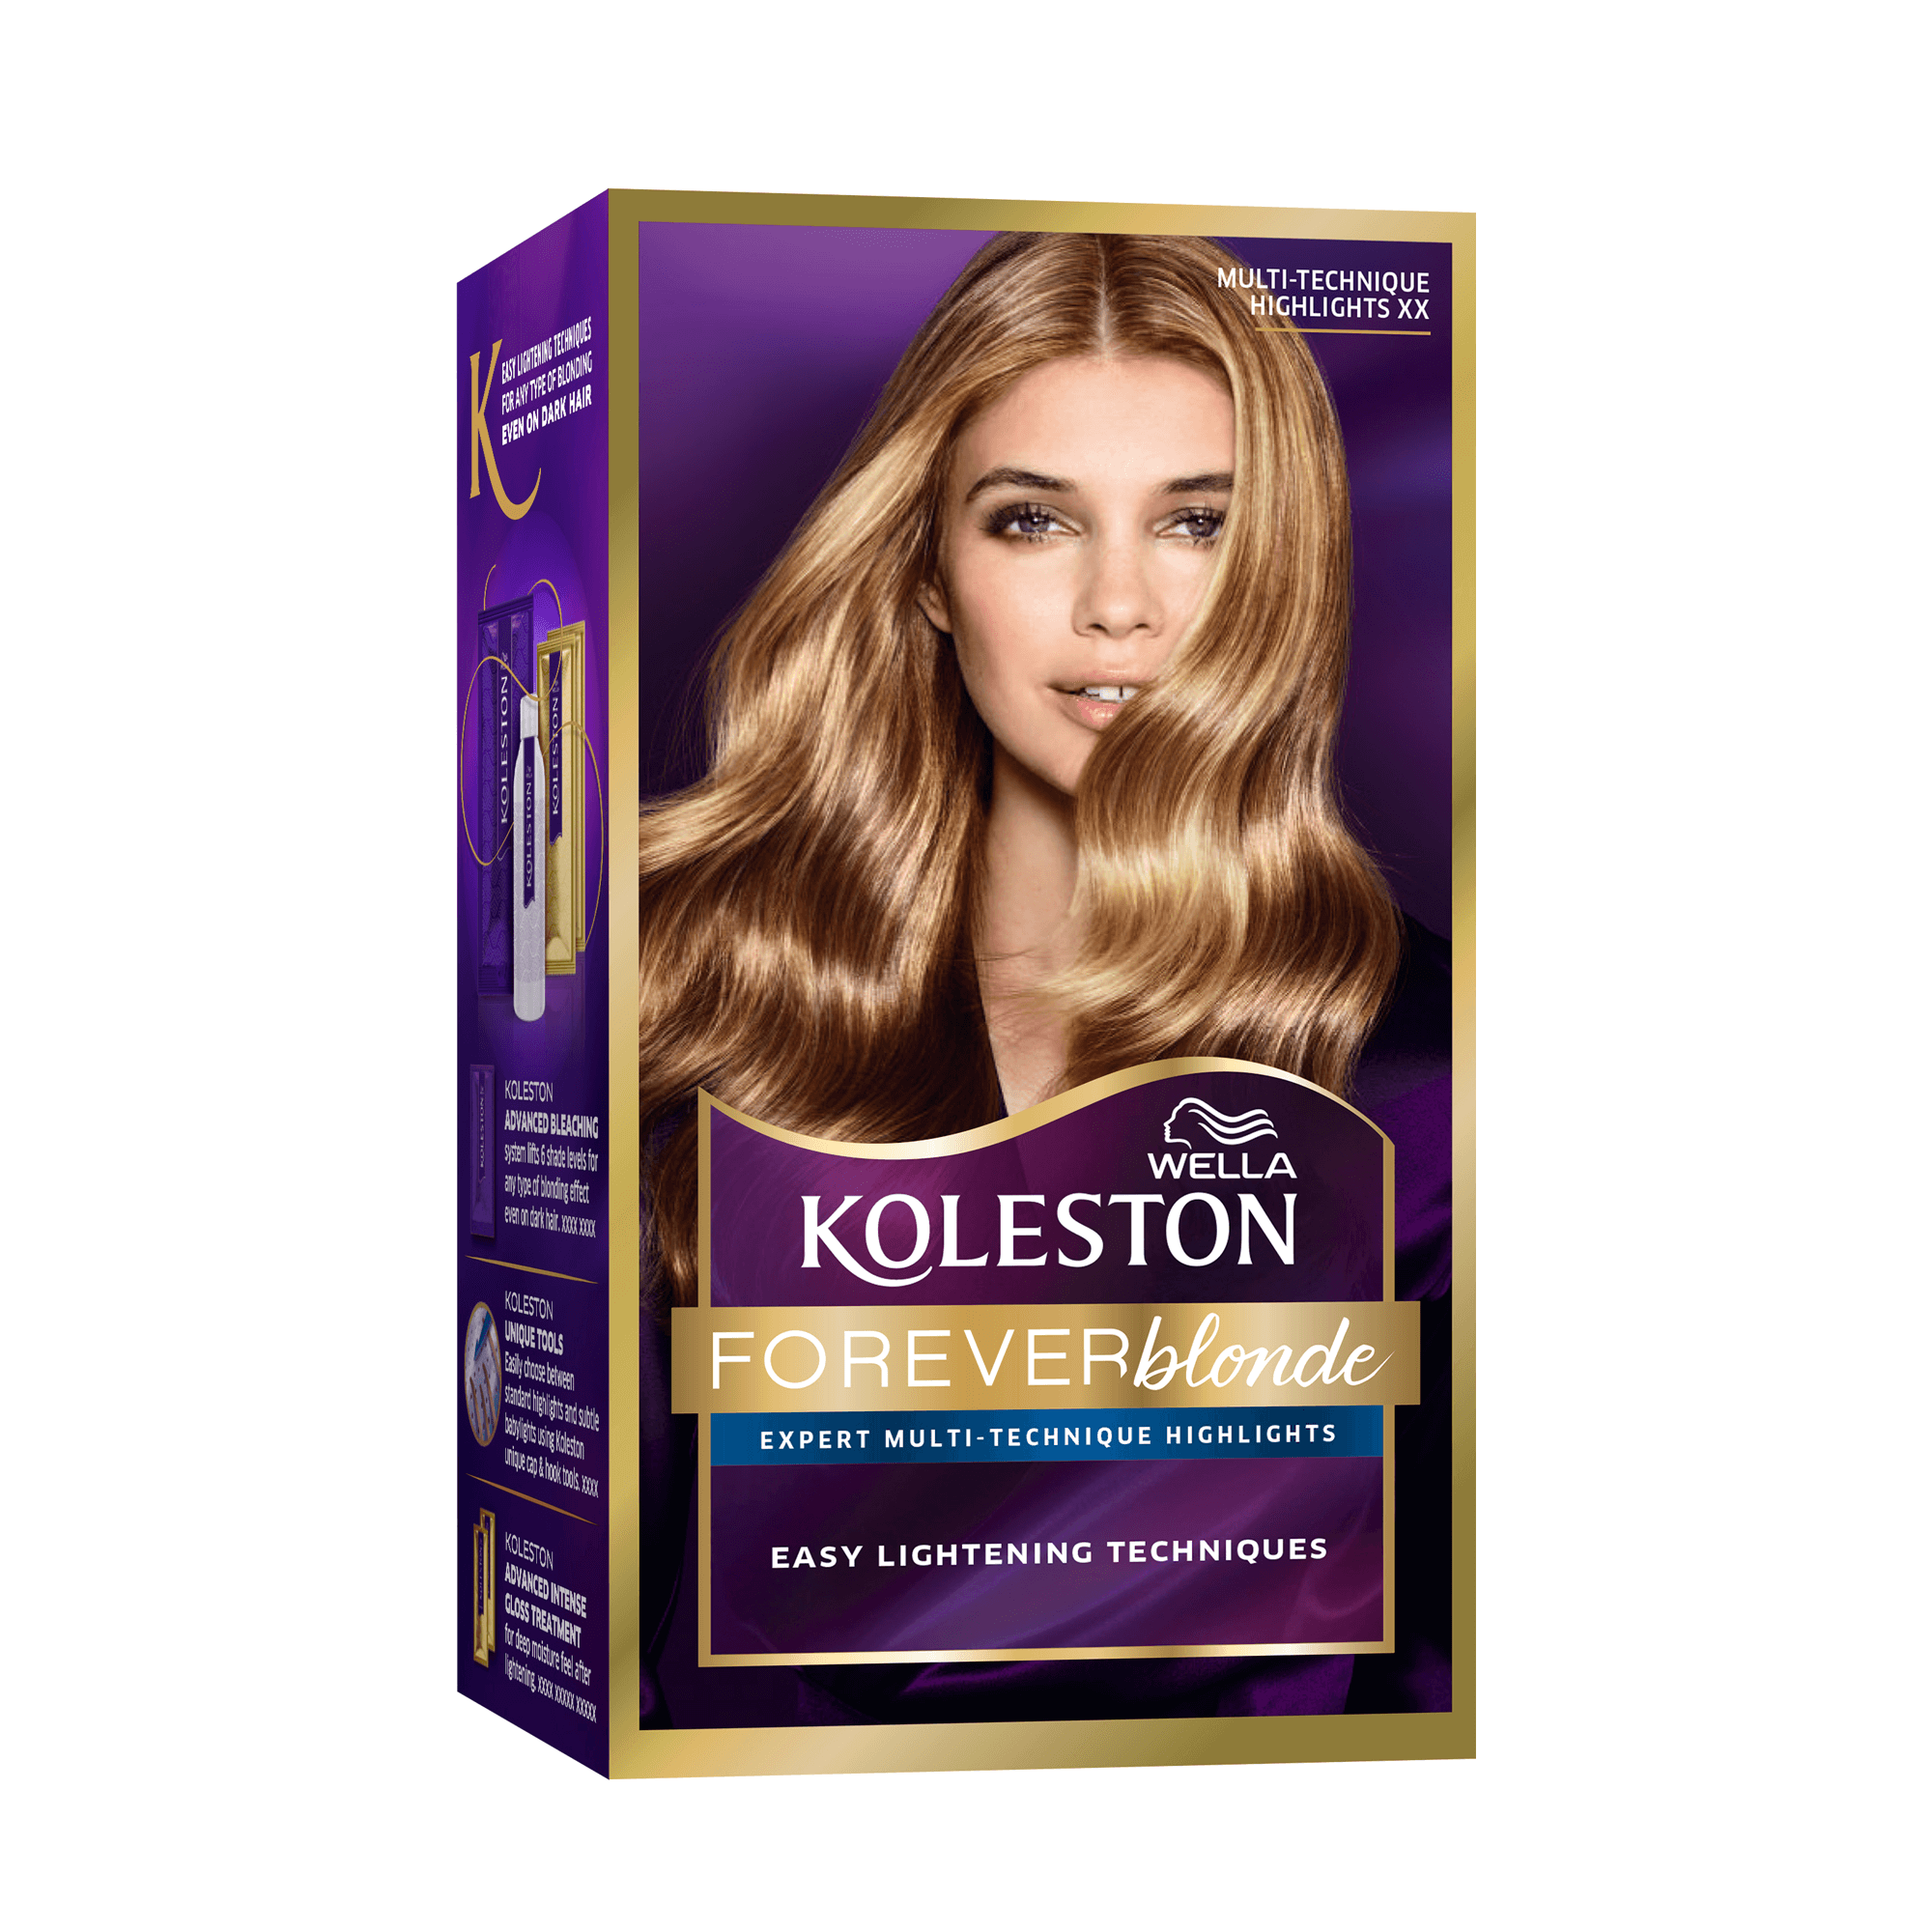
Alright, gather 'round, color adventurers! So, you're thinking of taking the plunge and becoming your own personal hair salon with Wella permanent hair color? Excellent choice! It's like giving your hair a superpower... or at least a really snazzy new outfit. But before you dive in headfirst and risk looking like a radioactive tangerine, let's talk about how to do it right. This isn't rocket science, but it is chemistry, so pay attention!
First things first: gather your supplies. Think of it as prepping for a battle... against dull hair. You'll need:
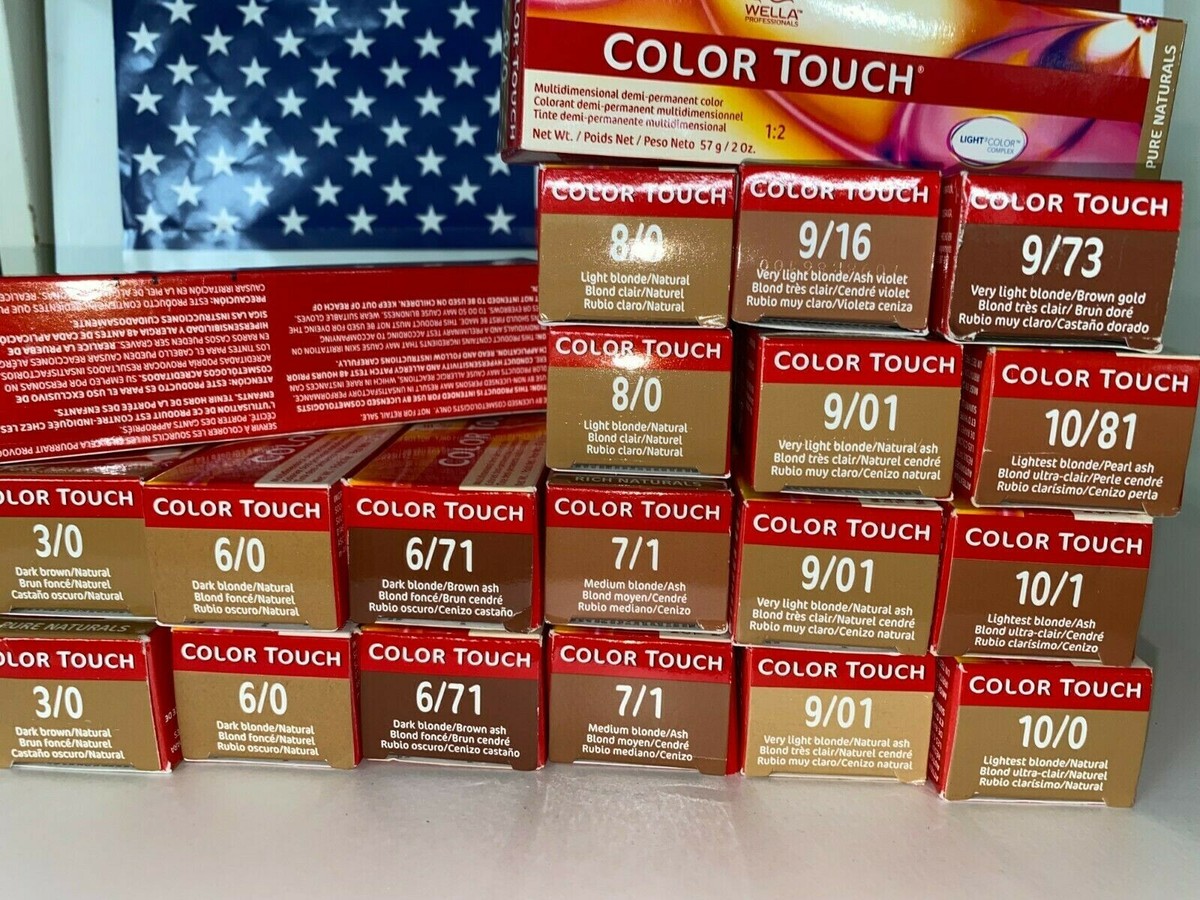
- Wella permanent hair color (duh!). Choose wisely! A color chart is your friend. Don't pick "Mystic Mermaid" if you're aiming for "Subtle Brunette." Unless, you know, you want to look like you just swam out of the ocean. No judgment here.
- Developer. This is like the secret sauce that activates the color. Always use the correct developer volume recommended for your desired result. Using a higher volume doesn't mean more fabulous, it means more damage!
- Mixing bowl and applicator brush. Plastic only! Metal bowls will react with the chemicals and possibly turn your hair a delightful shade of... who knows what.
- Gloves. Unless you're going for the "permanently stained hands" look. (Spoiler alert: it's not a good look.)
- An old towel you don't care about. Trust me on this one. Hair dye and white towels are not a match made in heaven. Think sacrificial towel.
- A timer. Because nobody wants to guess when the color is done.
- Hair clips. To section your hair like a pro. Or, you know, at least try to look like a pro.
- A sense of adventure! (And maybe a glass of wine. But responsibly, of course.)
Step 1: The Strand Test – Your Hair's Personality Quiz
Okay, before you go Picasso on your whole head, do a strand test. This is crucial. It's like asking your hair, "Hey, are you cool with this color?" before committing. Apply the mixture to a small, hidden section of hair (like underneath). Wait the recommended time. Rinse. Dry. Behold! Does it look amazing? Great! Does it look like something went terribly wrong? Glad you found out now!
Must Read
Fun Fact: Hair absorbs color differently depending on its porosity. That's fancy talk for how easily it lets things in. Damaged hair? Super porous. Virgin hair? Less so. The strand test reveals all!
Step 2: Mix It Up (Like a DJ, But With Hair Dye)
Now for the mixing. Follow the instructions on the Wella packaging to the letter. Don't eyeball it! This isn't baking cookies. Use a measuring cup. Precision is key! Too much developer and you could end up with diluted color. Not enough, and... well, let's just say it won't be pretty.

Stir until you have a smooth, creamy consistency. It should look like fancy yogurt, not chunky soup. If it looks like chunky soup, you messed up. Start over.
Step 3: Application Time – Channel Your Inner Hair Stylist
Section your hair. Remember those clips? Now's their time to shine! Start at the roots, because those are the stubborn gray hairs that think they're winning. Apply the color evenly, working your way down the hair shaft. Don't glop it on! Think even coverage, not drowning. If you're doing your whole head, work quickly. The sooner you get all your hair covered, the more even the color will be.

Pro-Tip: Apply a thin layer of Vaseline around your hairline. This will prevent the dye from staining your skin. Unless you want a colorful forehead. Again, no judgment.
Step 4: Wait (Patiently... Or Not)
Now comes the hardest part: waiting. Set your timer and resist the urge to peek every five minutes. Distract yourself! Watch a movie, read a book, practice your interpretive dance moves. Just don't touch your hair! This is when the magic happens. (Or, you know, the chemical reaction.) Resist the urge to leave it on longer thinking it will make the color more vibrant. This will likely cause damage to your hair and scalp. Trust the process.
Did you know? The average hair grows about half an inch per month. So, technically, you're just coloring dead cells. But they're stylish dead cells!
Step 5: Rinse and Repeat (Conditioner, That Is)
When the timer goes off, rinse your hair thoroughly with cool water until the water runs clear. And I mean clear clear. No more colorful runoff! Then, apply the conditioner that came with your hair color. This is like a little treat for your hair after all that excitement. Leave it on for a few minutes, then rinse again.
Important! Use shampoo formulated for color-treated hair to prolong your new fabulous look. Avoid sulfates like the plague! They're hair color vampires.

Step 6: Admire Your Handiwork (And Maybe Take a Selfie)
Towel dry your hair gently (no aggressive rubbing!). Style as usual. And... voila! You've successfully transformed your hair from "blah" to "bam!" Now go forth and conquer the world with your amazing new color. Just don't blame me if strangers start asking you for hair advice. You're officially a hair coloring expert now.
Disclaimer: I am not a professional hair stylist. If you're really nervous, or have particularly complicated hair, consult a pro. But if you're feeling adventurous, and follow these steps, you've got this!
Now, go forth and dye!