How To Use A Resin 3d Printer

Ever dreamt of holding a perfectly detailed miniature dragon, a custom piece of intricate jewelry, or a bespoke board game piece in your hand? While traditional 3D printing often brings to mind plastic spaghetti, a different kind of magic is happening with resin 3D printers. These machines are opening up a world of possibilities for creators and hobbyists, bringing digital designs into the physical realm with stunning precision. If you're looking to create models with incredible detail, diving into resin printing is an adventure you won't want to miss!
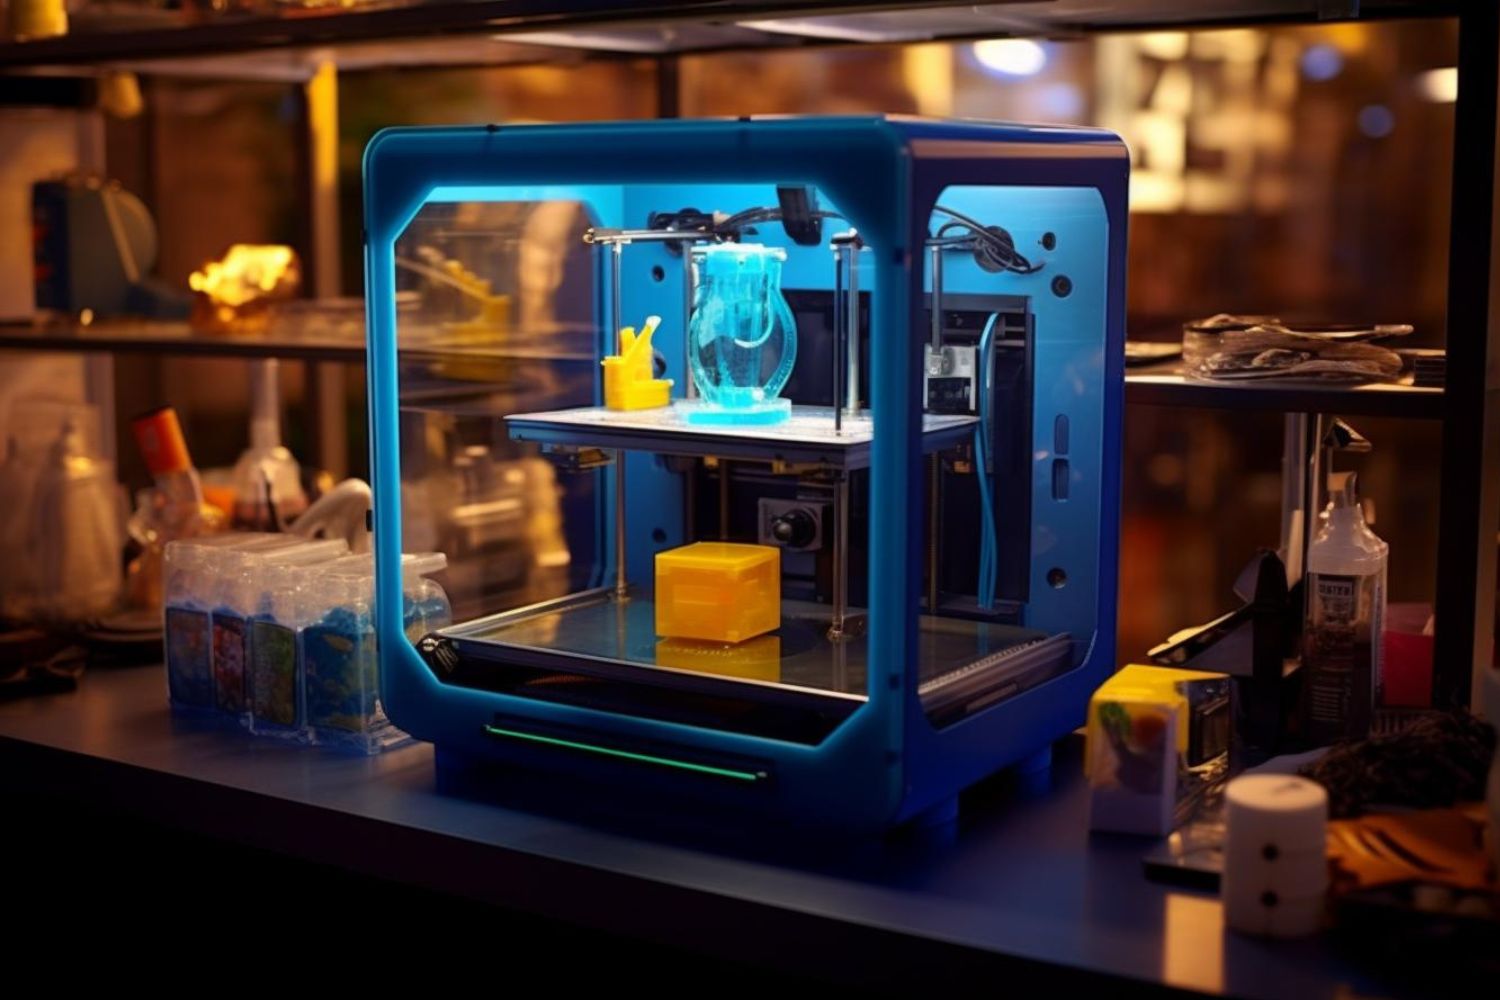
So, what exactly is a resin 3D printer and why the excitement? Unlike FDM printers that melt plastic filament, resin printers use stereolithography (SLA) or similar tech to cure liquid resin layer by microscopic layer using UV light. Imagine a vat of special liquid hardening exactly where a light beam hits it! The main benefits? Unparalleled detail, incredibly smooth surfaces, and the ability to create complex, intricate geometries. From tiny gaming figures to prototypes, resin printing delivers truly next-level results.
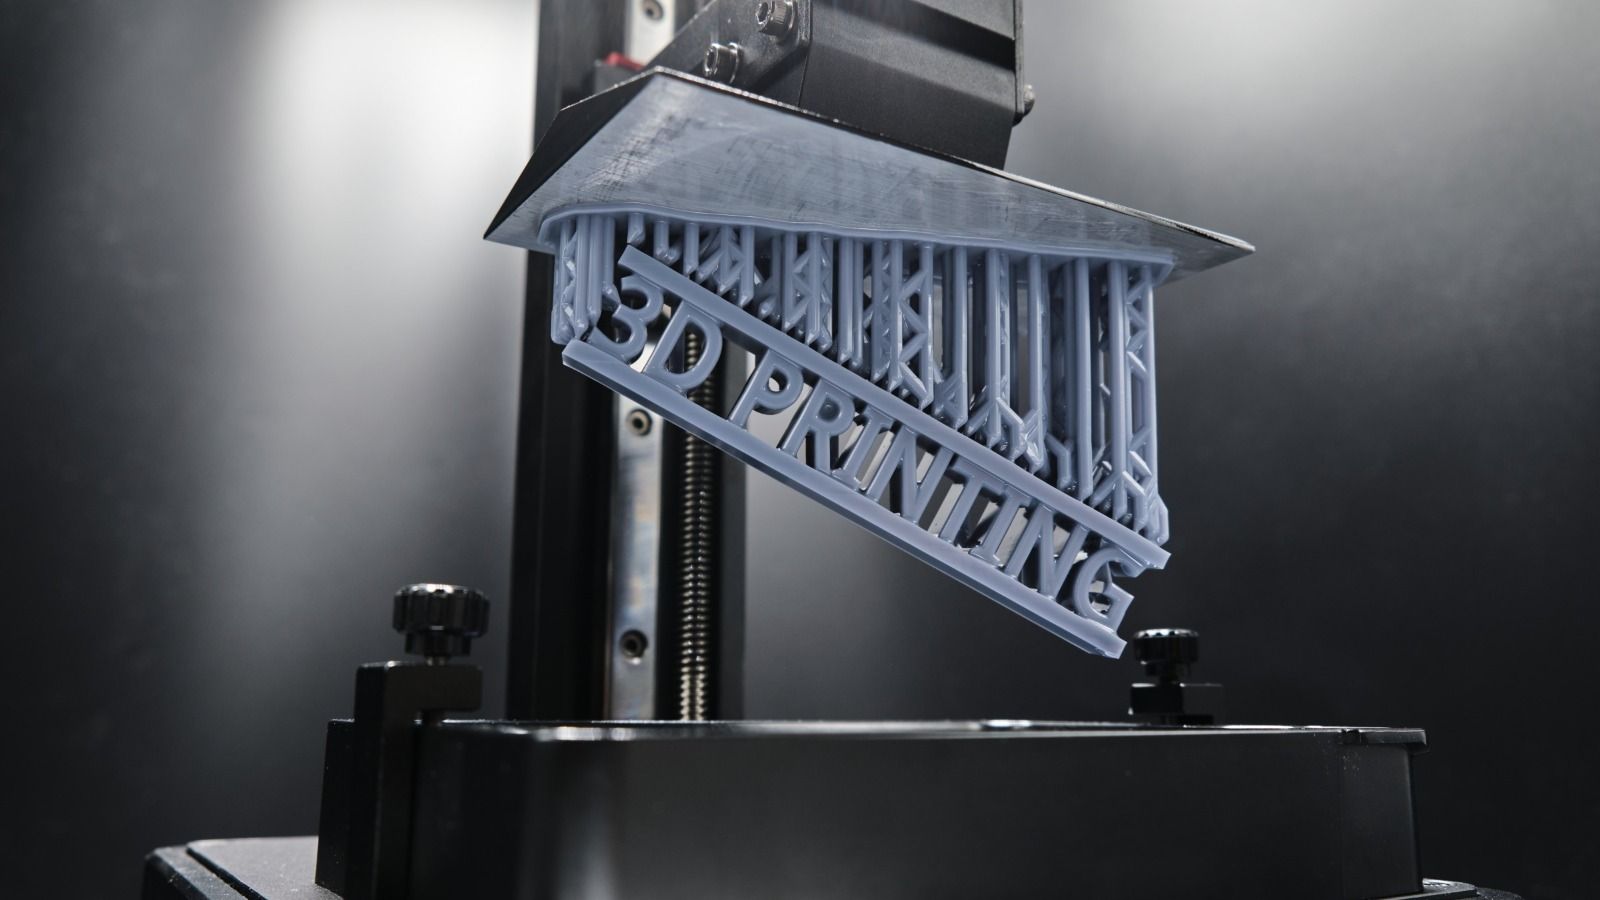
Ready to jump in? First things first: safety is paramount. Resin is a chemical, so always work in a well-ventilated area, wear nitrile gloves, and consider safety glasses. Setting up your printer is relatively straightforward: level the build plate – crucial for prints to stick – then carefully pour resin into the vat. Next, use "slicing" software to prepare your 3D model. This program converts your design into thin layers, adding vital supports (temporary scaffolding for overhangs). Load the file, hit print, and watch the magic unfold as UV light slowly brings your creation to life, layer by perfect layer.
Must Read
The print's done, but the journey isn't over! This is post-processing. Your freshly printed model emerges covered in sticky, uncured resin. It needs a good wash! Typically, dunk and rinse your print in isopropyl alcohol (IPA) to remove lingering liquid resin. After it's clean and dry, it's time for the final cure. Expose your model to UV light (from a curing station, UV lamp, or even sunlight) to fully harden the resin and give it maximum strength. Finally, carefully remove the supports, revealing your pristine, highly detailed creation.
While post-processing might seem intimidating, the learning curve is rewarding. Producing high-quality, precise objects from home is empowering. Whether customizing action figures, designing intricate jewelry, or bringing fantastical creatures to life, resin 3D printing offers an accessible way to turn digital dreams into stunning physical realities. Explore this amazing technology and see what incredible creations you can unlock! The future of detailed making is literally at your fingertips!