How To Use A Battery Charger On A Car Battery
Okay, let's talk about car batteries. Dead ones. The bane of every driver's existence, right? We’ve all been there. Stranded, staring at a dashboard that resembles a very expensive paperweight.
And what's the go-to solution? Jumper cables? Maybe. But what if you're solo? Or worse, your neighbor drives a hybrid and gives you the side-eye about "interfering with the electric field?"
Enter the Battery Charger: Your Silent Savior
That’s where a battery charger swoops in, cape billowing (metaphorically, of course). It's the unsung hero of automotive maintenance. The quiet professional in the corner of your garage.
Must Read
So, how do we wield this powerful tool? Let’s dive in. Brace yourselves; it's not rocket science. Though, sometimes I wish it was. Rockets are cool.
First Things First: The Inspection Mission
Pop the hood. Admire the engine (or, you know, just try to find the battery). Locate that rectangular brick of potential frustration – the car battery.
Now, safety first! Glance over the battery. Look for cracks, bulges, or suspicious goo. If it looks like it's starring in a horror movie, maybe call a professional.
Seriously. Don’t mess with a battery that’s leaking acid. That’s a bad day waiting to happen. Trust me. Been there, singed that (not literally, thankfully).
The Great Terminal Identification
Batteries have terminals. They're usually marked with a "+" (positive) and a "-" (negative). Think of it like this: positive is good, negative is... well, less good for getting things started.
Sometimes these markings are subtle. Hidden beneath grime and despair. Grab a rag and give them a gentle wipe. Reveal their secrets!
If you still can’t find the markings, consult your owner's manual. Or, you know, the internet. Google is your friend. Most of the time.
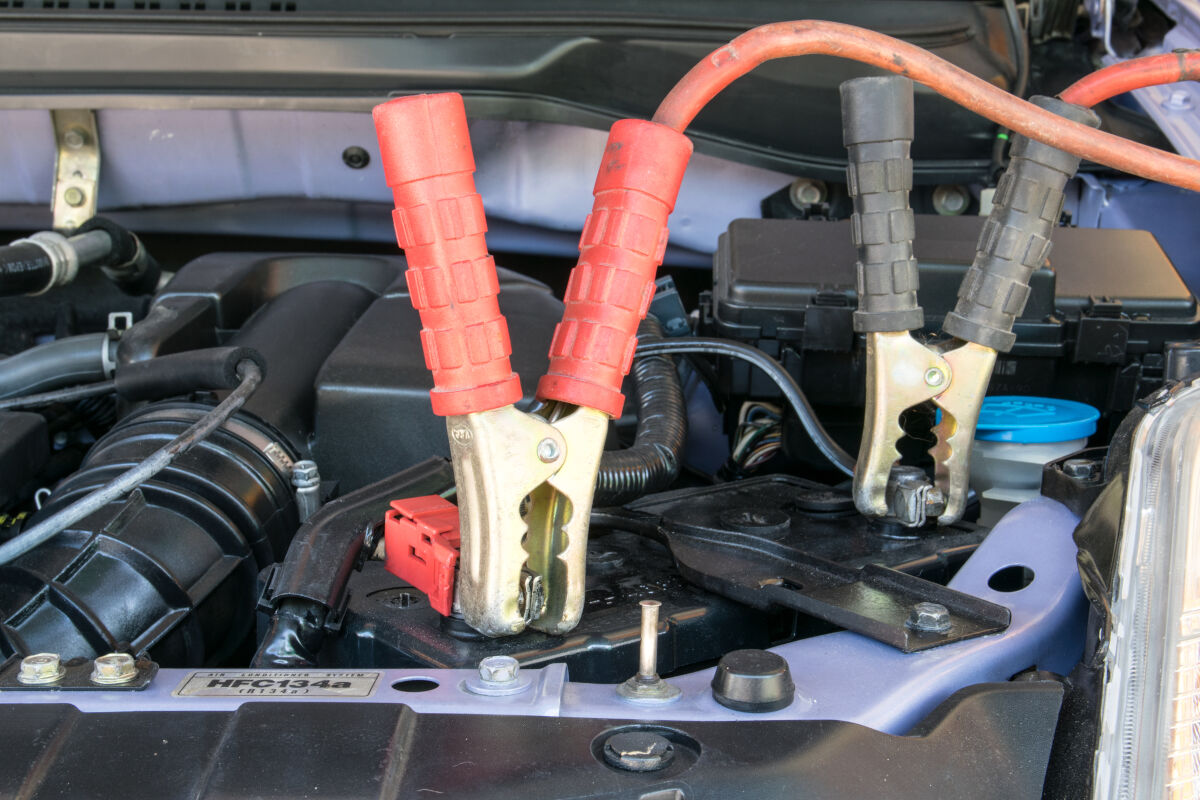
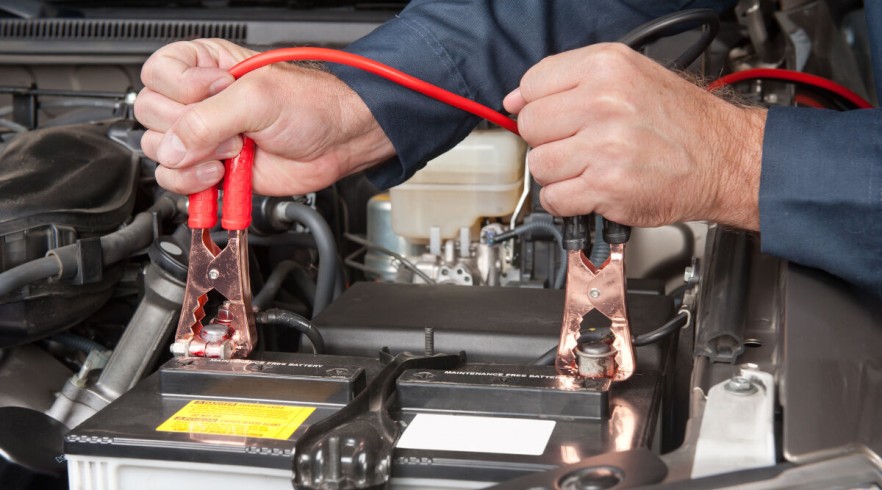
Hooking Up the Charger: The Dance of the Clamps
Time to unleash the charger! Make sure it's off. This is important. We don't want any sparks flying before the party starts.
Now, the dance. Attach the red (positive) clamp to the positive terminal on the battery. Then, attach the black (negative) clamp to the negative terminal.
Double-check everything. Seriously. It's like putting on your shoes. You wouldn't want to accidentally wear them on the wrong feet, would you? Unless you're into that sort of thing, no judgement.
Setting the Stage: Charger Settings
Most chargers have settings. You'll usually see options like "6V" or "12V." Cars typically use 12V batteries. So, select that.
There might also be an amperage setting. Lower amperage is usually gentler and takes longer. Higher amperage charges faster but can be a bit rougher on the battery.

My unpopular opinion? Err on the side of gentler. Slow and steady wins the race. Unless you’re late for a very important appointment, in which case, crank it up (but be careful!).
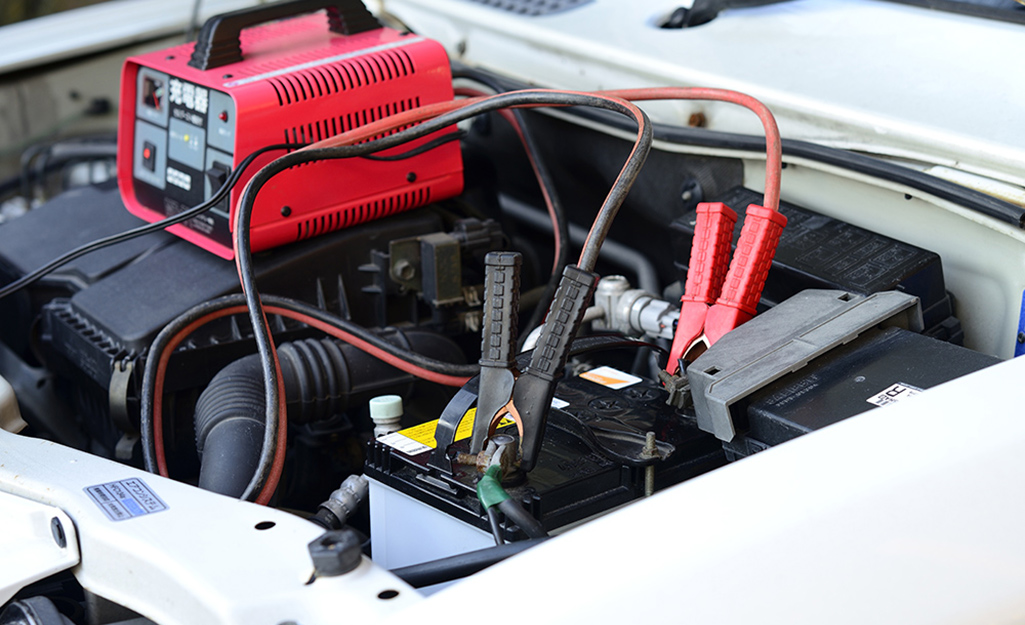
Let the Magic Happen: Charging Time
Plug in the charger. Turn it on. And... wait. This is the hardest part. Impatience is a virtue... sometimes. Not when charging a car battery.
Charging time varies. It depends on the charger, the battery's condition, and the amperage setting. Consult your charger's manual for guidance.
Some chargers have automatic shut-off features. They'll stop charging when the battery is full. Fancy, right? Others require you to keep an eye on them. Like a hawk.
The Moment of Truth: Disconnecting and Testing
Once the battery is charged (or you think it is), turn off the charger. Unplug it from the wall. Safety first, remember?
Remove the clamps in reverse order. Black first, then red. Don't let them touch each other while connected to the charger. Sparks aren't fun (unless you’re a pyrotechnician).
Now, the big test. Try to start the car. Cross your fingers. Say a little prayer to the automotive gods. Hope for the best.
Troubleshooting: When Things Go Wrong
If the car still doesn't start, don't panic. The battery might be too far gone. Or, the problem might be something else entirely.
Check your connections. Make sure everything is tight and secure. A loose connection can prevent the battery from charging properly.
If all else fails, consult a professional mechanic. They have fancy tools and years of experience. And probably a better understanding of how cars actually work than I do.
My (Slightly Controversial) Tips and Tricks
Trickle Chargers are Your Friend: If you don't drive your car often, consider a trickle charger. It keeps the battery topped off and prevents it from dying a slow, agonizing death.
Clean Those Terminals: Corrosion is the enemy of good connections. Use a wire brush or a special battery terminal cleaner to keep them sparkling.

Don't Overcharge: Overcharging can damage the battery. So, don't leave it on the charger indefinitely. Unless your charger has an automatic shut-off, of course.
Unpopular Opinion Alert!: I think charging a battery inside the car is generally fine (unless your charger manual specifically says not to). The fumes aren't that bad if you crack a window. But, you know, don't sue me if something goes wrong.
Invest in a Good Charger: A cheap charger might save you money upfront, but it could damage your battery in the long run. Go for a reputable brand with good reviews.
The Takeaway: Be Prepared, Be Patient
Charging a car battery is a simple skill that can save you a lot of time and hassle. And money! Who doesn't love saving money?
With a little preparation and patience, you can resurrect your dead battery and get back on the road. And maybe even impress your neighbors with your newfound automotive prowess.
So, go forth and conquer those dead batteries! Just remember to be safe, be smart, and don't blame me if you accidentally invent a time machine. I'm not responsible for temporal paradoxes.