How To Test Carbon Monoxide Detectors

Have you ever paused to truly notice that unassuming little device often found near your furnace, on the wall of your hallway, or perhaps tucked away in your basement? It’s not just another gadget; it’s a vigilant guardian, a silent sentinel standing watch over your home and family. We’re talking about your carbon monoxide detector, and learning how to give it a quick check isn't just about safety – it's about empowerment, understanding your home, and gaining a little peace of mind. Think of it as a simple, practical life skill, much like knowing how to change a lightbulb or jump-start your car, but with potentially far greater implications.
The primary purpose of a carbon monoxide (CO) detector is straightforward yet incredibly vital: to alert you to the presence of CO gas. Carbon monoxide is often called the “silent killer” because it’s invisible, odorless, and tasteless. It can build up in your home from faulty furnaces, blocked chimneys, gas stoves, or even idling cars in attached garages. Without a detector, you wouldn’t know it’s there until symptoms like headache, dizziness, or nausea set in, which can quickly escalate into much more severe, even fatal, health issues. The benefit of regularly checking your detector is immense – it ensures that the very thing designed to protect you is, in fact, working correctly when you need it most. It's not just a box that sits there; it's a critical, active part of your home safety system.
Understanding and testing CO detectors isn’t just for homeowners. In daily life, this knowledge is crucial for anyone living in an apartment, staying in a hotel, or even going camping in an RV. Many educational programs, from basic home economics classes to fire safety workshops, emphasize the importance of these devices. It’s a great way to introduce children to the concept of invisible dangers and responsible home care. Imagine teaching your kids about the unseen world of gases and how a simple sensor can protect them – it’s a practical science lesson disguised as a safety drill! This knowledge helps build a sense of awareness and responsibility, making everyone in the household a participant in maintaining a safe environment.
Must Read
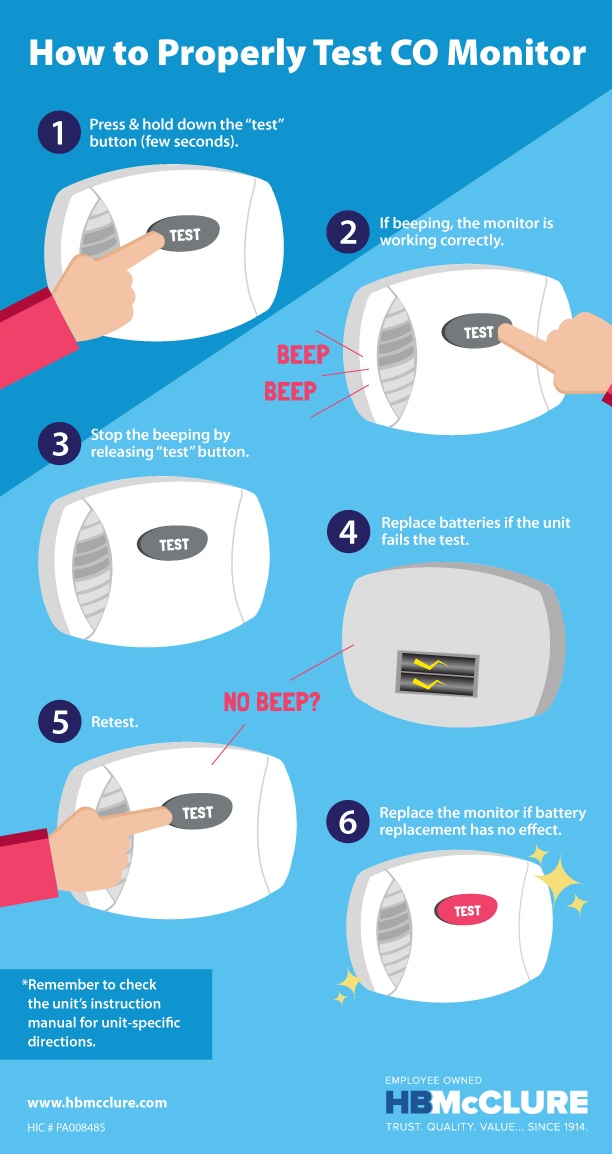
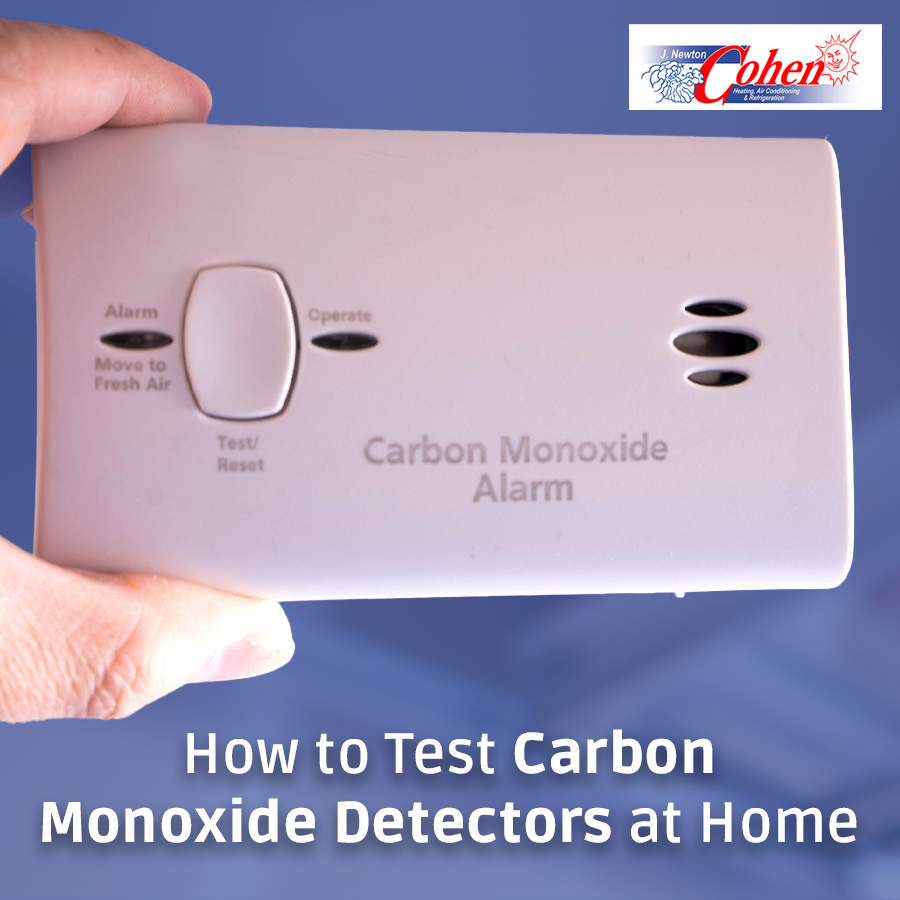
So, how do you explore this vital piece of tech? It’s surprisingly simple! Most detectors have a “Test/Reset” button. Pushing this button typically initiates a self-test of the unit’s electronics and alarm. It doesn't test for actual CO gas, but it confirms the internal components are functioning. You should press this button at least once a month. Also, pay attention to the manufacturer’s instructions, as detectors have a lifespan, usually 5-7 years, after which they need to be replaced, even if they seem to be working. Many units will actually "expire" and begin to chirp to indicate replacement is needed. If your detector is battery-powered, replace the batteries annually, or whenever it emits a low-battery chirp. Finally, know where your detectors are placed – ideally, one on every level of your home, and especially near sleeping areas. Taking these few simple steps ensures your silent guardian is always ready to speak up when it counts.