How To Start A Bonfire In A Fire Pit
Alright, folks! Ever gaze longingly at those pictures of perfectly crackling fire pits, imagining yourself toasting marshmallows or just soaking up some good old-fashioned warmth? You’re not alone! There’s something wonderfully primal about a fire. And guess what? Starting one isn't some mystic art; it’s totally within your grasp! Think of it less like launching a rocket and more like… well, making a really good grilled cheese. You need the right ingredients, a little know-how, and a sprinkle of patience. Let's get that cozy glow going!
First Things First: Safety (The Un-Boring Version)
Before we even think about striking a match, let's talk about safety. This isn't your mom nagging; it’s about making sure your evening is filled with laughter, not a frantic call to the fire department. Think of it like putting on your seatbelt before a joyride – just smart!
Location, Location, Location: Your fire pit needs to be on a non-combustible surface like dirt, gravel, or concrete. No wooden decks or dried grass nearby! Give it at least 10 feet of clear space from your house, fences, or trees. Flames love to wander, especially on a windy day!
Must Read
Be Prepared: Always have a bucket of water, a hose, or a fire extinguisher handy. It’s like having a superhero sidekick ready for action – you hope you don't need them, but you’re super glad they're there. And a quick check for local burn bans can save you a hefty fine.
Gather Your Crew: The Fire's Food Pyramid
Every great fire needs three things, just like a great dinner needs an appetizer, main course, and dessert. We call them Tinder, Kindling, and Fuelwood.
1. Tinder: The Spark of Life
This is the super-duper easy-to-light stuff, the fire's nervous system. It catches the spark and gets things moving.
What to look for: Dryer lint (yes, really!), crumpled newspaper (black ink only, please!), cotton balls, or thin birch bark. It absolutely needs to be bone-dry and fluffy. My personal favorite is dryer lint – it’s free, plentiful, and lights up like a tiny fireworks show!
2. Kindling: The Teenagers of the Fire World
Once your tinder is glowing, kindling steps in. This is slightly larger material that catches fire from the tinder and helps grow the flame big enough for the main logs. Think of them as the bridge between the tiny spark and the roaring inferno.
What to look for: Small twigs (pencil-thin or smaller), cardboard toilet paper rolls, or small strips of untreated wood. Again, dryness is key! Avoid anything with paint, chemicals, or plastic – we want cozy campfire smell, not toxic fumes!

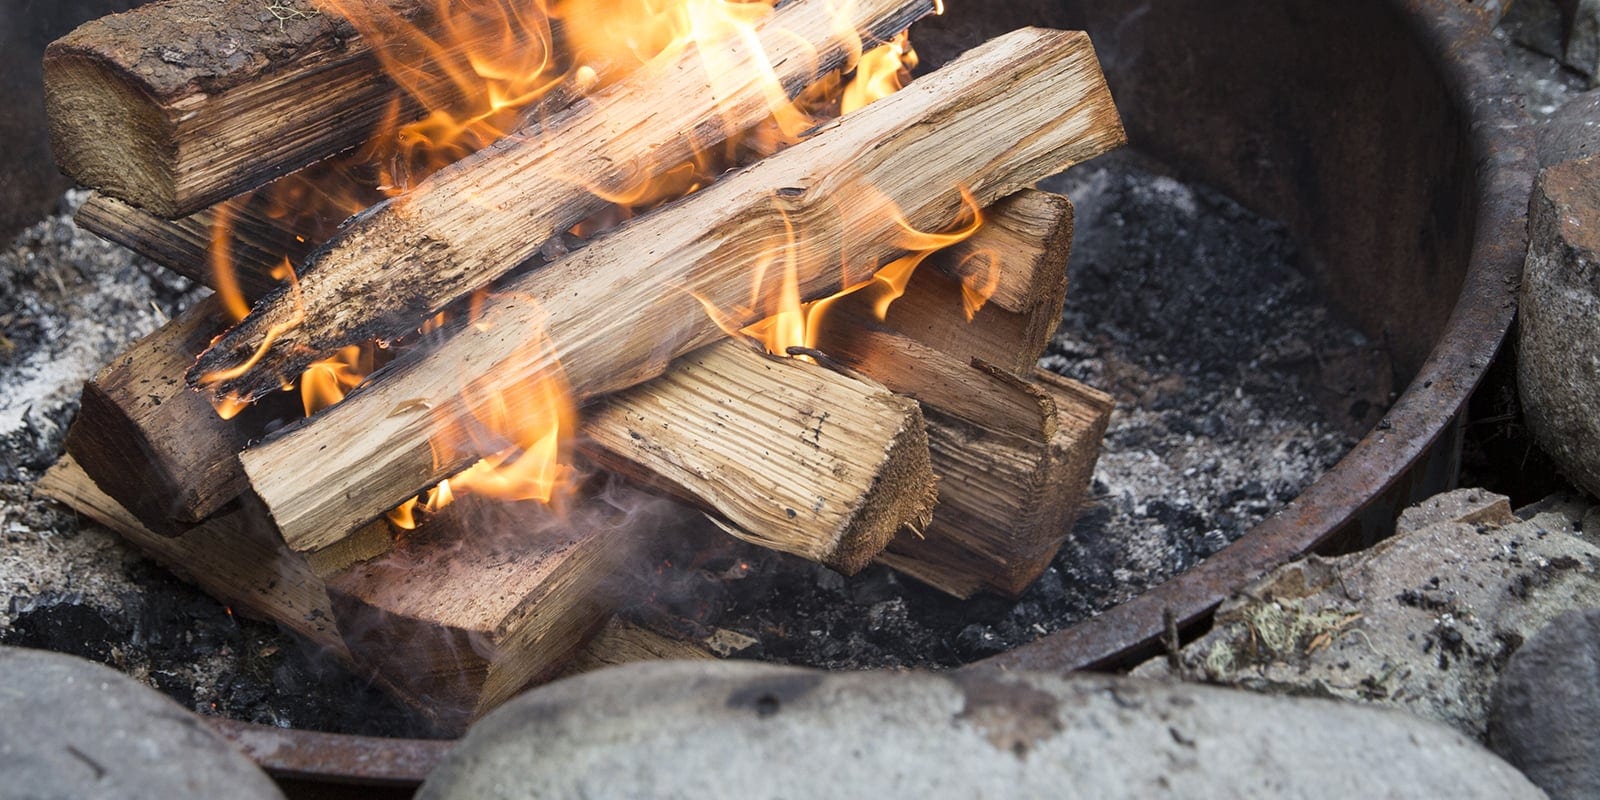
3. Fuelwood: The Heart of the Bonfire
These are your main logs – the big, hearty pieces that keep the fire going for hours. They’re the robust main course of your fire-pit feast.
What to look for: Seasoned hardwood like oak, maple, or hickory. "Seasoned" means it's been dried out for at least 6-12 months. It should sound hollow when you knock two pieces together, and the bark might be peeling. Unseasoned (green) wood is like trying to light a wet sponge – lots of smoke, little flame, and a whole lot of frustration. Choose logs that fit comfortably within your fire pit, leaving some breathing room.
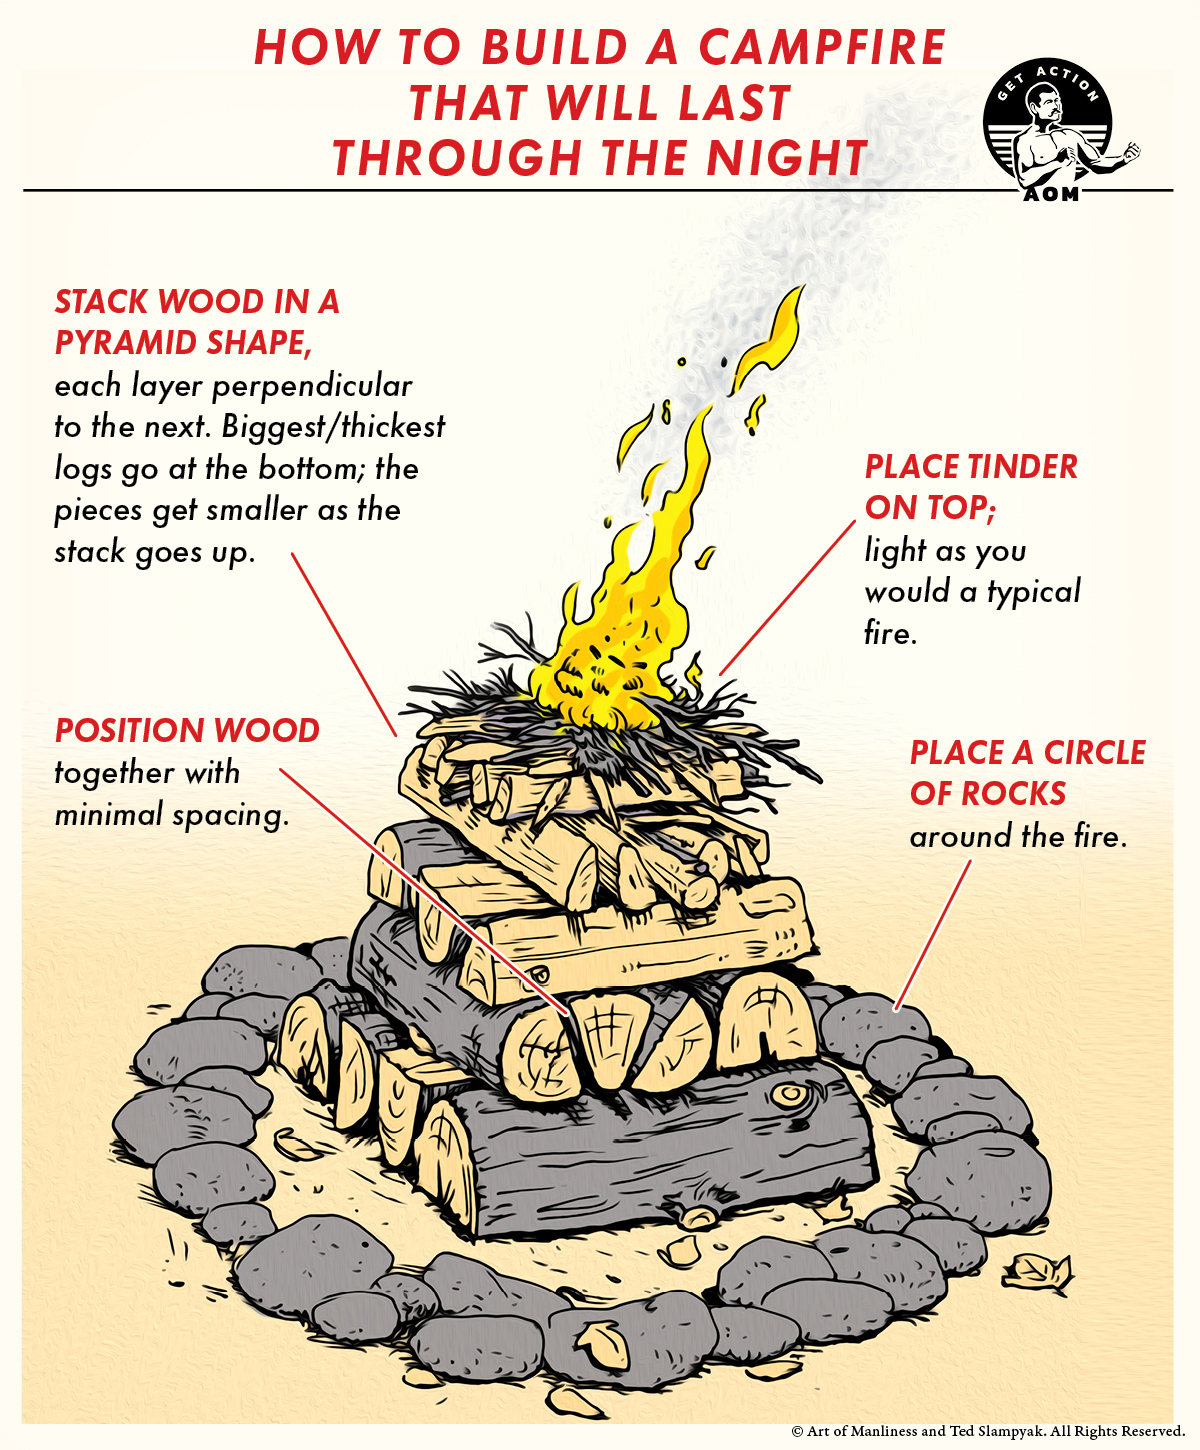
The Art of the Stack: Building Your Fire's Home
Now that you've got your ingredients, it's time to build! This isn't just tossing wood in haphazardly; it's about creating a little home for your flame to grow. We want good airflow – fire needs to breathe, just like you!
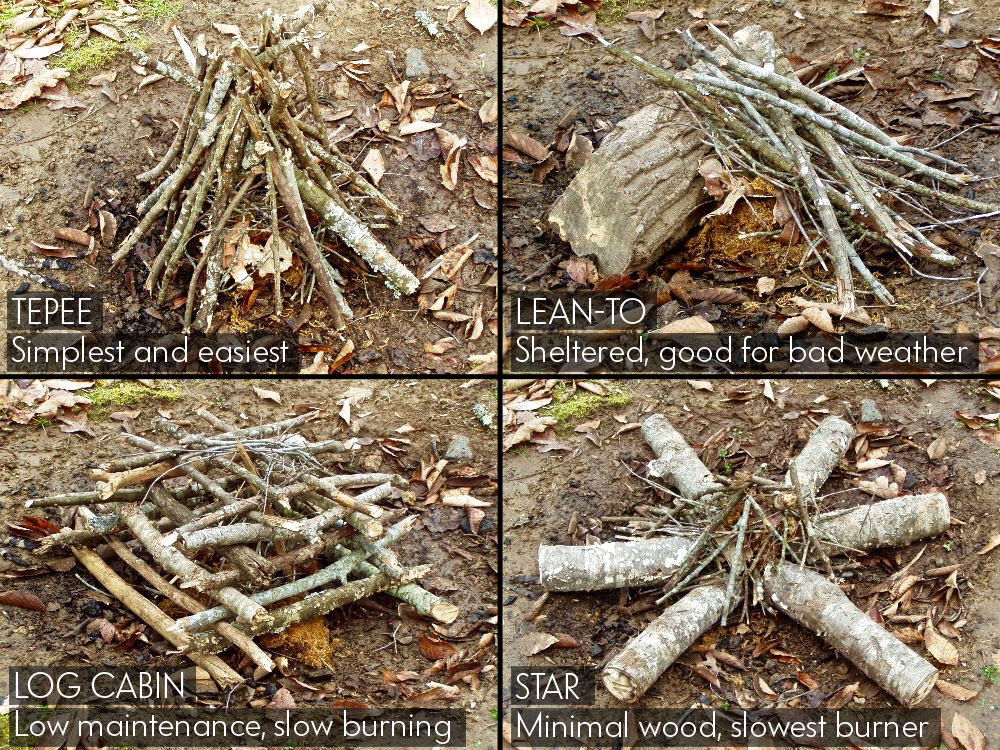
The Teepee Method: A Classic for a Reason
This is probably the easiest for beginners. Start by placing your tinder in the very center. Arrange your kindling around the tinder in a cone or teepee shape, leaning pieces against each other for air. Finally, lean a few smaller pieces of fuelwood against the kindling, maintaining that teepee structure. Don't smother it! The beauty is that flames naturally rise, licking up through the kindling to catch the larger logs.
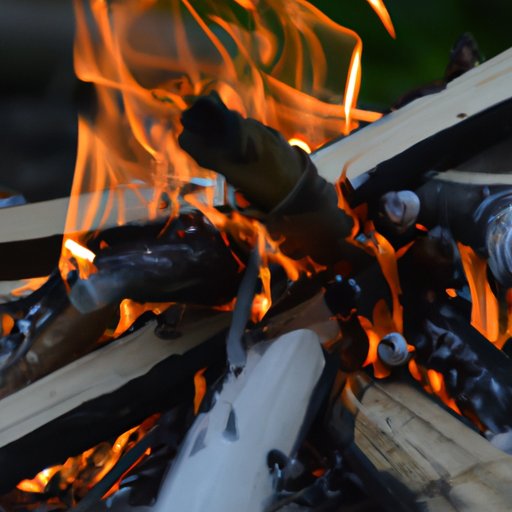
The Moment of Truth: Lighting It Up!
Okay, deep breaths! This is the exciting part. Grab a long match or, even better, a long-handled lighter (your eyebrows will thank you).
Reach into your teepee structure and gently light the tinder in several spots. Be patient. It might take a moment for the tinder to really catch and ignite the kindling. Resist the urge to poke it immediately. Let it do its thing! Once the kindling is burning merrily, you'll see flames starting to lick at your fuelwood. Congratulations, you’re officially a fire-starter extraordinaire!
Nurturing Your Flame: Keeping the Magic Alive
Once your fire is established, it's not a set-it-and-forget-it deal. It's more like tending a very hungry pet.
- Feed it gradually: As logs burn down, gently add more fuelwood, starting with smaller pieces. Don't overload it! Remember, fire needs air to breathe.
- Poke and prod (carefully!): A long fire poker is your best friend. Use it to gently adjust logs and break apart glowing embers, creating those satisfying crackling sounds. But don't go overboard – too much poking can smother a struggling fire.
- Enjoy the show: This is the best part! Sit back, relax, grab those marshmallows, and let the warmth wash over you. This is why you put in the effort!
The Grand Finale: Putting It Out Responsibly
All good things must come to an end, and safely extinguishing your fire is just as important as starting it. We want to be responsible fire-lovers, not accidental arsonists.
Let it die down naturally: Stop adding wood about an hour before you plan to head inside. Let the flames die down to embers. Then, douse it thoroughly. Slowly pour water over the embers and ash (it will steam!). Stir the ashes with your poker to expose any hidden hot spots and continue to douse until you hear no sizzling. Feel for heat (with the back of your hand, don't touch!) – if you feel any, add more water. Everything should be cool to the touch. Spread the ashes thinly within the pit to help them cool faster.
And there you have it! From a pile of wood to a glorious, mesmerizing bonfire, you're now equipped to create those unforgettable fire pit memories. So go forth, gather your friends, roast some treats, and enjoy the magical glow. Your backyard oasis awaits!