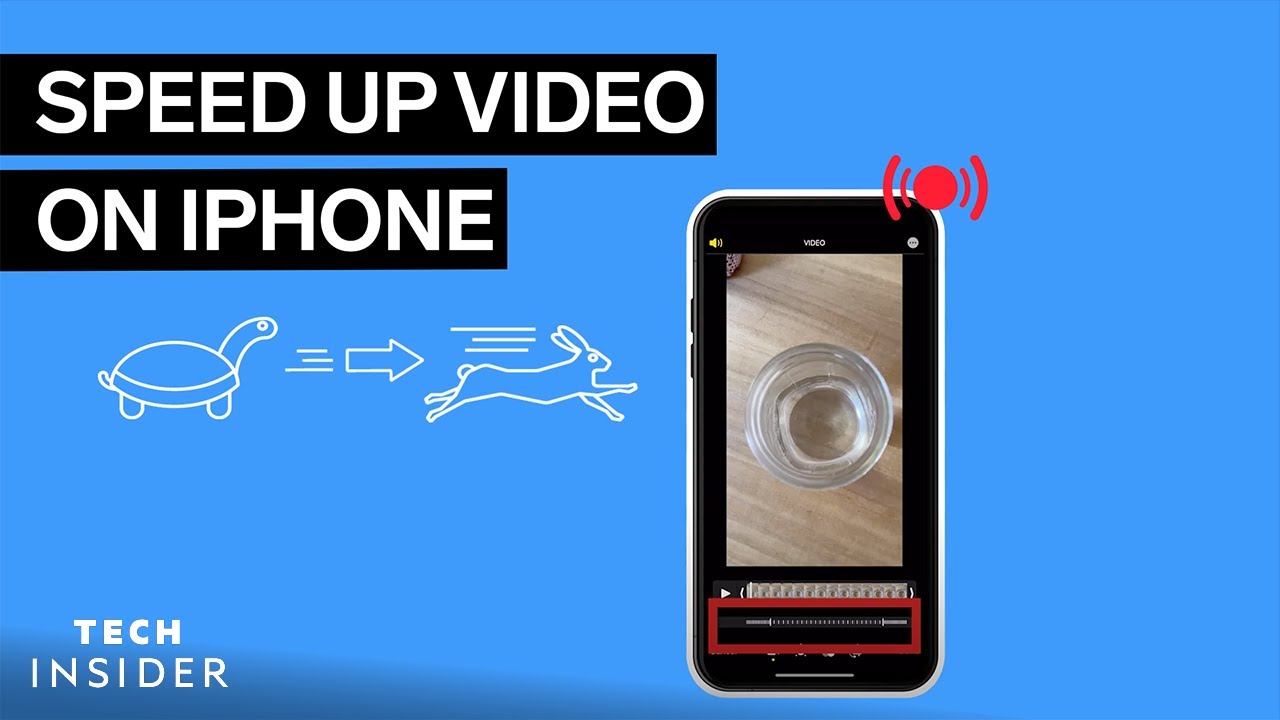
How To Speed Up An Iphone Video

Alright, settle in, grab your imaginary latte, because we need to talk about something that's probably stealing precious minutes of your life: slow iPhone videos. You know the ones. That epic sunset that turned into a glacial crawl. Your dog, bless its heart, sniffing the same blade of grass for what felt like an epoch. Or, heaven forbid, your Aunt Mildred's "quick" tour of her prize-winning petunias, filmed in glorious, agonizing real-time.
We've all been there, right? Staring at a video, finger hovering over the fast-forward button that stubbornly doesn't exist on your phone, wishing you could inject it with a shot of pure caffeine. Well, my friend, wish no more! Because today, we're going to transform those digital sloths into lean, mean, speed machines. And trust me, it’s way easier than trying to teach Aunt Mildred to edit.
Why Bother Speeding Up a Video?
Beyond saving you from existential dread during a drone shot of a particularly uneventful field, there are actual, legitimate, and often hilarious reasons. Maybe you want to create a snappy time-lapse of your morning coffee routine. Perhaps you're trying to condense a 10-minute dog walk into a 30-second montage of joyful zoomies. Or maybe, just maybe, you want to make that awkward silence in your friend's vlog disappear in a blink. It’s about efficiency, people! And sometimes, just making things funnier.
Must Read
The iPhone's Secret (But Limited) Superpower
Now, before we dive into the real magic, let's talk about the iPhone's own, rather shy, speed adjustment features. Think of it as a timid superpower, only showing up for very specific occasions. If your video happens to be one of those fancy-pants Cinematic Mode masterpieces or a gloriously dramatic Slo-mo creation, then congratulations! Your iPhone actually lets you tweak its speed right there in the Photos app.
Here’s how to access this elusive beast:

- Open the Photos app and select your Cinematic or Slo-mo video.
- Tap Edit in the top right corner.
- Look for the timeline bar at the bottom. For Cinematic, it’ll show a little depth map. For Slo-mo, you’ll see vertical lines representing the slow-motion segments.
- Drag the handles on this bar. For Slo-mo, widening the gap between the lines makes the slow-motion part longer; narrowing it makes it shorter and thus, faster. For Cinematic, you're mostly adjusting focus points, but subtle speed changes are sometimes perceived.
- Tap Done.
See? It's there! But, and this is a big "but" (no offense to Sir Mix-A-Lot), this only works for those specific video types. For 99% of your everyday, normal, run-of-the-mill videos, the Photos app just gives you a polite shrug and a "Sorry, buddy, not my job." That’s when we call in the big guns.
Enter the Heroes: Third-Party Apps!
For everything else – your dog, your petunias, your endless sunset – you need to embrace the wonderful world of third-party video editing apps. Think of these as your video's personal trainers, ready to whip it into shape. The App Store is absolutely brimming with them, and many excellent ones are either free or have incredibly affordable premium features. Popular choices include CapCut, InShot, and even Apple's own (but separate) iMovie.
The general workflow for speeding up your regular videos with these apps is remarkably similar across the board:
Step 1: Get an App (Duh!)
Go to the App Store, search for "video editor" or "video speed editor," and pick one with good reviews. CapCut is super popular and easy to use, and InShot is another great contender.

Step 2: Import Your Video
Open your chosen app. It'll usually have a big "New Project" or "Import" button. Tap that, grant it access to your Photos (if you haven't already), and select the video you want to put on fast-forward.
Step 3: Find the "Speed" Setting (The Magic Button!)
Once your video is in the app's timeline, tap on it to select it. This should bring up a menu of editing options. You're looking for something labeled "Speed," "Playback Speed," or sometimes even a little speedometer icon. Tap it!

Step 4: Choose Your Velocity
Now, most apps will give you a slider or a list of multipliers (e.g., 2x, 4x, 8x, even 0.5x if you want to go slower, gasp!). This is where you play mad scientist. Drag the slider to the right, or pick a higher multiplier. Want to make that dog walk really fly? Try 4x or even 8x! Want to make a boring intro slightly less boring? 2x might be perfect.
Step 5: Preview and Export (The Grand Reveal!)
Hit the play button to see your masterpiece at its new, blistering pace. Does Aunt Mildred’s petunia tour finally feel manageable? If so, great! If not, adjust and preview again. Once you’re happy, look for an "Export," "Save," or "Share" button (usually an arrow pointing out of a box). Tap it, and your super-speedy video will be saved back to your Photos library, ready to amaze or amuse.
A Few Speedy Side Notes (and Giggles)
- The Chipmunk Effect: When you speed up a video, the audio goes right along with it. This means voices will sound like tiny, caffeinated chipmunks. Sometimes hilarious, sometimes not what you want. Most apps let you mute the original audio, so you can add your own peppy background music instead.
- Experimentation is Key: Don't be afraid to play around! Try different speeds. Some apps even let you apply variable speeds within a single video, creating a dramatic slow-then-fast-then-slow effect. It's like a roller coaster for your eyeballs!
- Quality Check: While speeding up usually doesn't dramatically reduce video quality, always check the exported version. Sometimes, if you go really fast, things can get a bit blurry.
So there you have it! No more suffering through endless unedited footage. You now possess the power to take control of time itself, at least within your iPhone videos. Go forth, my friend, and transform those mundane moments into snappy, shareable, and seriously entertaining clips. Your viewers (and your sanity) will thank you. Now, if you'll excuse me, I think I just saw my imaginary latte doing a speed run across the table.