How To Set Date And Time On Honeywell Thermostat Wifi
Okay, picture this: It’s the first really chilly morning of fall. You’ve had your Honeywell WiFi thermostat set to a cozy 70 degrees for weeks, dutifully scheduled to kick on about an hour before your alarm. You roll out of bed, expecting that lovely wave of warmth, and instead… brrr. Your breath actually fogs in front of you. You rush to the thermostat, bleary-eyed, only to see it thinks it’s still 2 AM, or worse, last Tuesday. Sound familiar? Because, let me tell you, I’ve been there. More than once, usually after a mischievous power flicker or a forgotten daylight saving adjustment. It's a rude awakening, literally!
That little moment of panic, where you realize your smart home device isn't quite as "smart" as you thought, is precisely why we're here today. Even with all their fancy Wi-Fi connectivity and app control, sometimes our trusty Honeywell thermostats need a gentle nudge—or a firm instruction—to get their internal clock in order. And trust me, getting the date and time right isn't just about avoiding a chilly shock; it's the foundation of a comfortable, energy-efficient home schedule. Without it, your carefully crafted heating and cooling plans are, well, just suggestions.
So, let's dive into how to fix this digital time warp. Because who wants to live in a house that's perpetually confused about what day it is? Not you, my friend. Not you.
Must Read
Why Is Getting the Date and Time Right So Important, Anyway?
You might be thinking, "It’s a thermostat, not a Swiss watch, why all the fuss?" And that's fair! But here’s the thing: your Honeywell WiFi thermostat relies heavily on accurate time and date information for a few critical reasons:
- Scheduling Prowess: This is the big one. Your thermostat's entire schedule—those comfy warm mornings, cooler nights, and energy-saving away periods—is built on its internal clock. If the clock is off, your schedule is off. Simple as that.
- Daylight Saving Time (DST): Many Honeywell models have a setting to automatically adjust for DST. But if the base time or date is incorrect, that auto-adjustment might go haywire, leaving you an hour ahead or behind. (Seriously, who invented DST anyway? But I digress.)
- Energy Reporting: If you use the app to track your energy usage, an incorrect date means your reports will be skewed, making it harder to spot trends or savings.
Convinced yet? Good. Let's get down to business.
The Nitty-Gritty: Setting Date and Time on Your Honeywell WiFi Thermostat
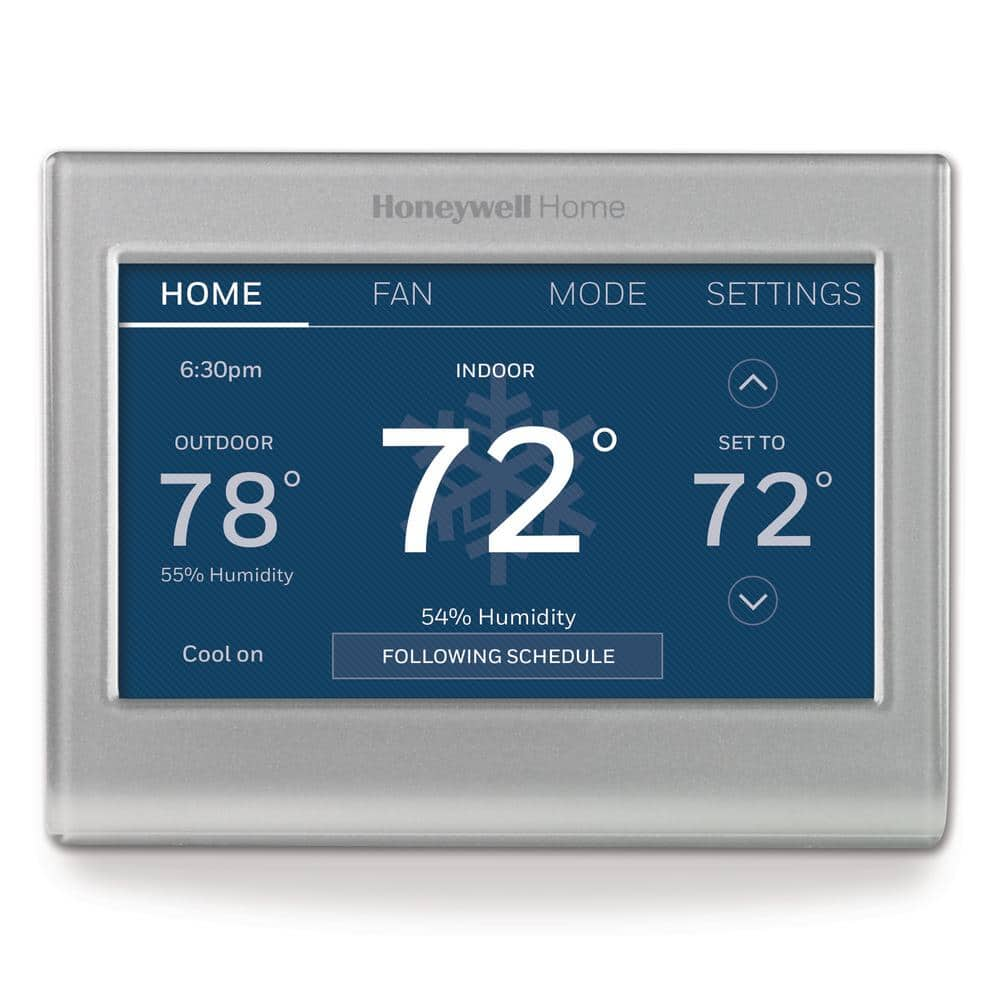
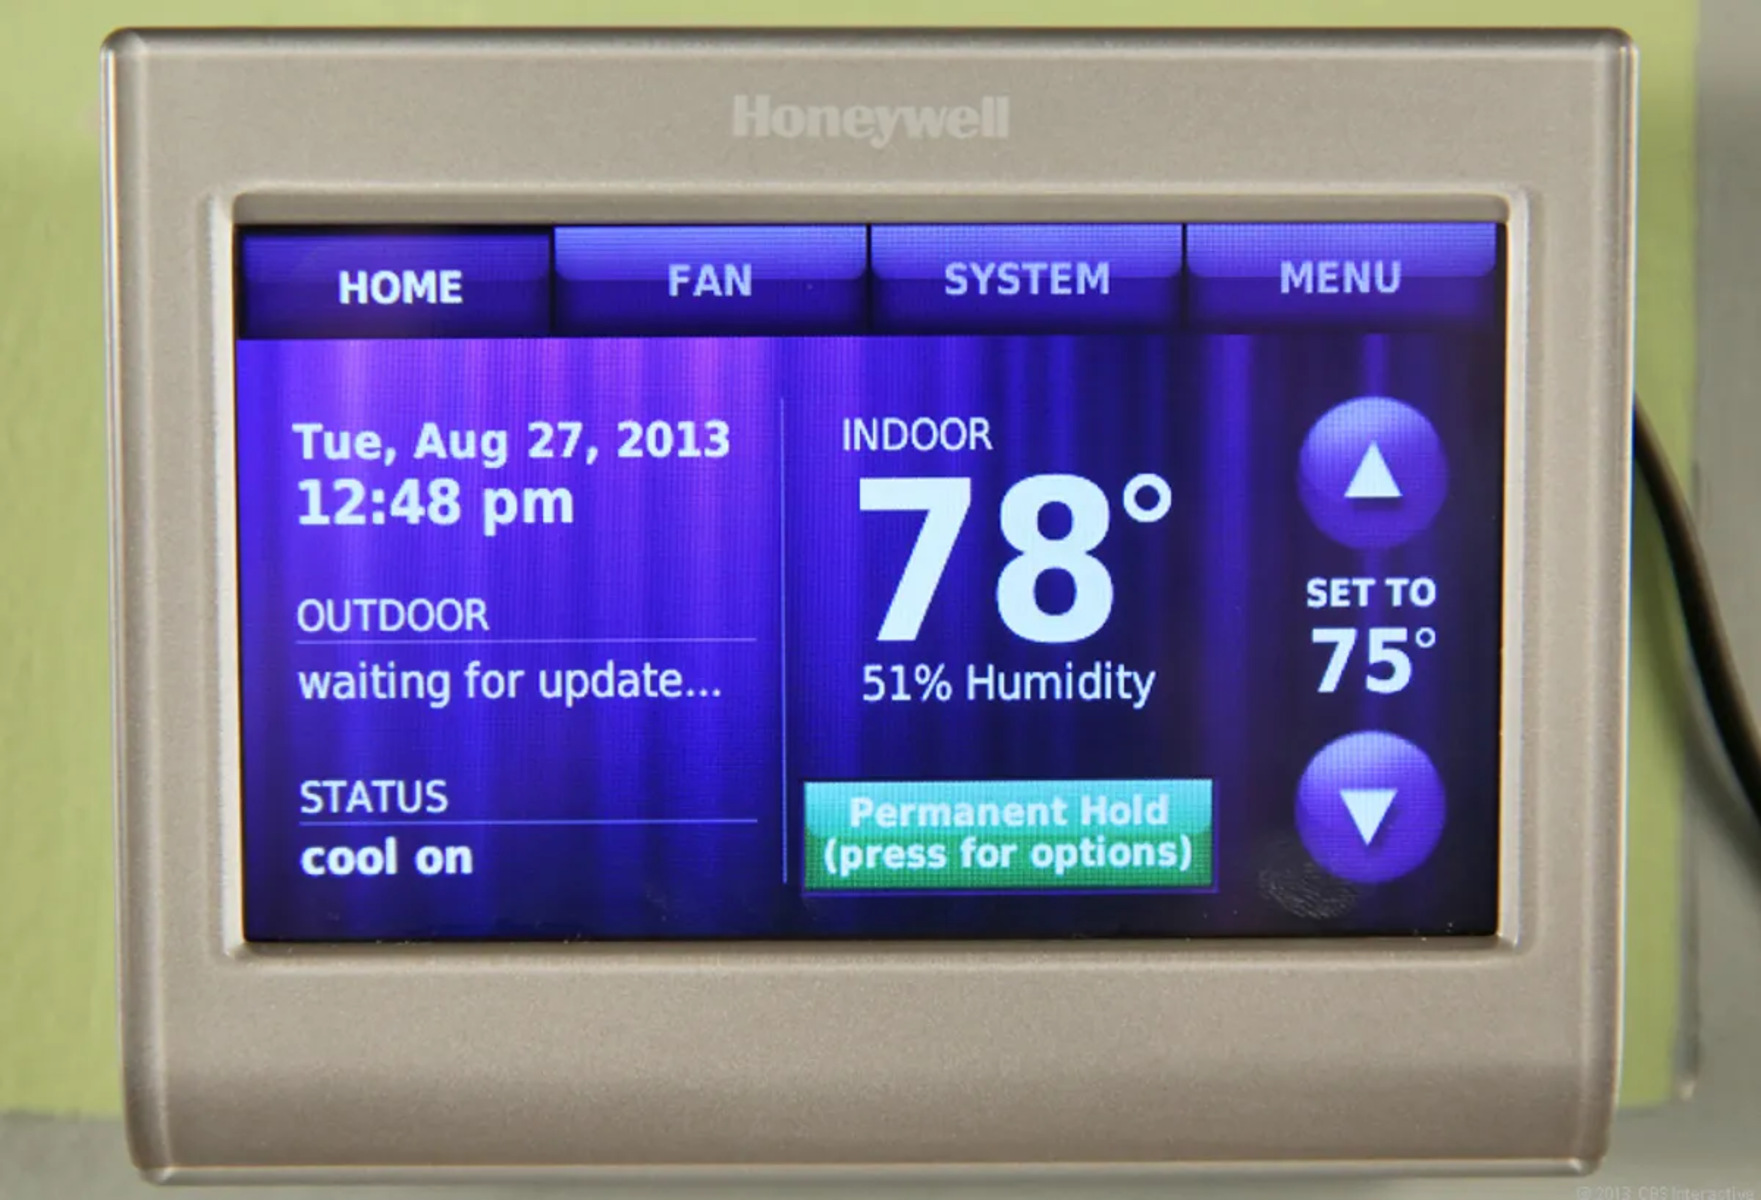
While Honeywell has a few different models floating around, the good news is that the process for setting the date and time is pretty consistent across most of their Wi-Fi enabled thermostats. We're talking T9, T10, T6 Pro WiFi, Smart Color Thermostats, and more. Don't sweat it if your screen looks slightly different; the general navigation will be similar.
Step 1: Wake Up Your Thermostat
First things first, make sure your thermostat's screen is active. Tap it once or twice if it's in power-saving mode. You want to see the main display.
Step 2: Find the Menu or Settings Option
Look for a button or icon that says "Menu," "System," or a little gear icon ( ). This is your gateway to the thermostat's deeper settings. Tap on it.
Step 3: Navigate to Date & Time
Once you’re in the menu, you'll likely see a list of options. You're looking for something along the lines of:
- "Date & Time" (the most straightforward!)
- "Preferences"
- "Settings"
- "Clock"
You might need to scroll down using the up/down arrows on the screen to find it. Select the appropriate option.
Step 4: Set the Current Time
Now, you'll typically see options to adjust the hour and minute. Use the up and down arrows (or plus/minus buttons) on the screen to set the current hour, paying close attention to AM or PM if your thermostat uses a 12-hour format. Then, do the same for the minutes.

Pro Tip: If your thermostat offers a 24-hour format, it might be called "Military Time." Choose what you prefer!
Step 5: Set the Current Date
Once the time is sorted, you'll usually be prompted to set the date. This will involve setting the month, day, and year. Again, use those trusty up/down arrows or plus/minus buttons. Make sure it's today's date, not some random day in the past (or future!).
Step 6: Don't Forget Daylight Saving Time (DST)
Many Honeywell WiFi thermostats have an option for "Daylight Saving Time" or "DST." You’ll want to make sure this is set to "On" or "Auto". This way, your thermostat should adjust itself automatically when DST rolls around, saving you from that annual "wait, is my house an hour off?" panic. (You're welcome!)

Step 7: Save Your Changes and Exit
This is crucial! Look for a button that says "Done," "Save," "Apply," or sometimes just an "Exit" or back arrow. Make sure you tap it to lock in your new settings. Otherwise, all that hard work might be for naught.
"But What If I Can't Find It?!"
Hey, it happens! Technology can be a bit finicky sometimes. If you've poked around and still can't locate the date and time settings:
- Check Your Manual: Seriously, the user manual for your specific model is your best friend. A quick Google search for "[Your Honeywell Thermostat Model] manual" will usually pull it right up.
- The App: Some advanced settings might be more easily accessible through the Honeywell Home app on your smartphone. Give that a whirl!
- Wi-Fi Sync: If your thermostat is actively connected to Wi-Fi, sometimes it should automatically sync its time from the internet. If it's consistently off, check your Wi-Fi connection. Maybe a quick power cycle (turn the breaker off then on for a minute) will help it re-sync.
There you have it! With a few taps, you've wrestled control back from your time-traveling thermostat. Now, your home will be warm (or cool!) exactly when you want it to be, and you can finally trust that your schedule is actually being followed. No more frosty morning surprises, just perfectly timed comfort. You're basically a time lord now. Go forth and enjoy your perfectly synchronized home!