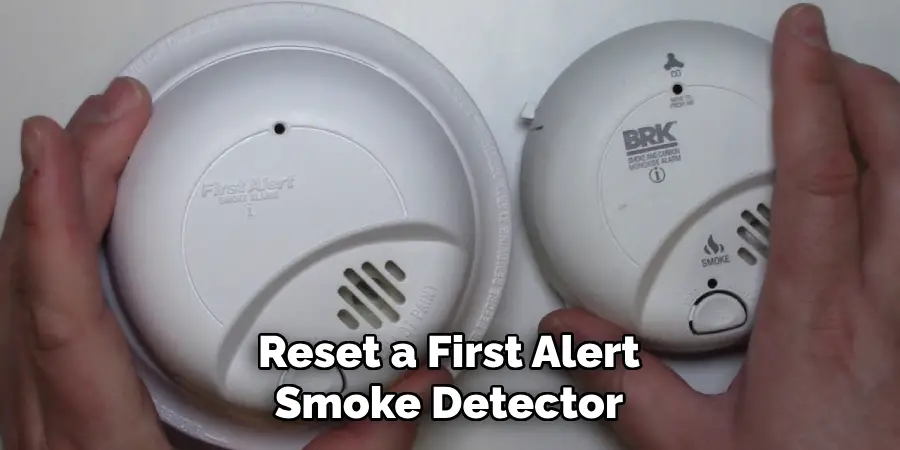
How To Reset A First Alert Smoke Alarm

You know that feeling, right? That moment of sheer panic mixed with utter annoyance when the smoke alarm decides to go full siren mode for absolutely no reason. Maybe you just burnt the toast (again, no judgment here), or perhaps a particularly steamy shower decided to wage war on your perfectly peaceful morning. The immediate threat passes, you air out the house, but then… that incessant, high-pitched chirp or full-blown WAIL just won't quit. And if you've got a First Alert smoke alarm, they can be particularly… opinionated.
Seriously, is there anything more grating than a smoke alarm that thinks it's still 1999 and refuses to acknowledge that the danger (or minor culinary mishap) is over? It’s enough to make you consider living in a tent. But before you pack your bags, let's talk about how to get that First Alert model back in line. Because, trust me, you're not alone in this digital cacophony, and resetting it is usually the hero move you need.
Why Does My First Alert Alarm Need a Reset Anyway?
Good question! It’s not just being dramatic (though sometimes it feels that way, doesn't it?). Smoke alarms, especially the smarter ones like First Alert, sometimes get a little "confused" after an event. Think of it like your computer freezing – sometimes all it needs is a good old restart to clear its head. Common culprits include:
Must Read
- False Alarms: Burnt toast, steam, dust, or even a spider thinking it's found a cozy new home.
- Battery Changes: Even after swapping out a dead battery, the unit might hold onto an error code.
- Power Surges/Outages: Hardwired alarms can get a jolt to their system that requires a manual reset.
- End of Life Chirp (sometimes): While often a sign to replace, a reset can rule out other issues first.
So, let’s empower you to become a smoke alarm whisperer. It’s easier than you think!
The Grand Reset Procedure: Your Step-by-Step Guide
Before we dive in, a quick safety note: If your alarm is high up, grab a sturdy ladder and maybe a buddy to spot you. Safety first, always!
Step 1: Identify Your Alarm Type
This is crucial. Is it hardwired (connected directly to your home's electrical system, usually with a couple of wires in the back and a mounting bracket) or battery-powered only (just batteries, no wires)?
- Hardwired: Often has a battery backup compartment.
- Battery-Powered: Just batteries. Simple.
Knowing this will determine how you "unplug" it.
Step 2: Disconnect the Power Source
This is where we cut the dramatics, literally.
- For Hardwired Alarms (with battery backup):
First, twist the alarm counter-clockwise to remove it from its mounting bracket on the ceiling. You'll see a wiring harness connecting it to the house wiring. Disconnect this harness. Then, open the battery compartment and remove the backup batteries.

Guide on How to Reset First Alert Smoke Alarm - For Battery-Powered Only Alarms:
Simply open the battery compartment (usually a slide-out tray or cover) and remove all the batteries.
So, now your alarm is truly powerless. Good. It can't bother you now.
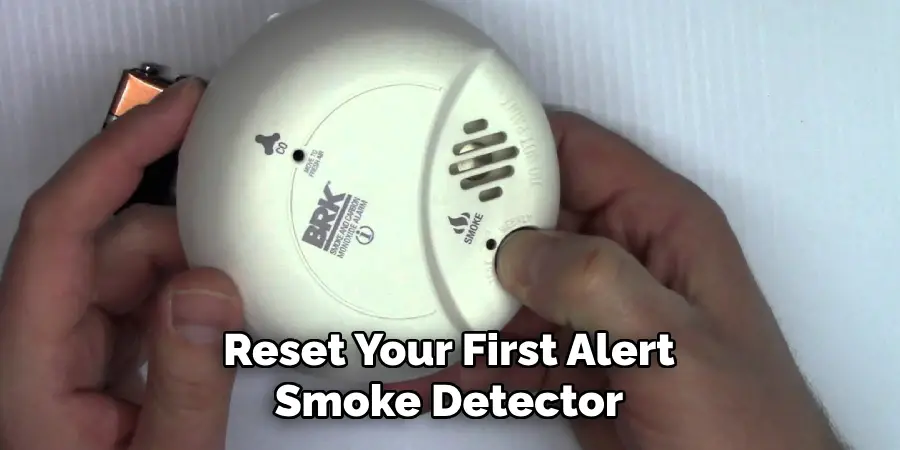
Step 3: The Magical "Press and Hold"
This is the secret sauce, folks. With all power completely disconnected (both electrical and batteries), you need to discharge any residual charge left in the unit. Think of it as hitting the "reset" button for its tiny brain.
Press and hold the "Test" button on the alarm for at least 15-20 seconds. You might hear a small chirp as it finally gives up the ghost. This step is critical for a full reset.

Step 4: Repower and Reassemble
Now, let's bring it back to life, but on our terms.
- For Hardwired Alarms:
First, put fresh batteries (seriously, use new ones, don't skimp here!) back into the battery compartment. Then, reconnect the wiring harness to your home's electrical system. Twist the alarm clockwise back onto its mounting bracket.
- For Battery-Powered Only Alarms:
Insert fresh batteries into the compartment, ensuring they’re oriented correctly (check those + and - signs, you savvy technician, you!).
How to Reset a First Alert Smoke Detector | 10 Easy Steps (2025)
Step 5: Test It Out!
Once everything is reassembled and powered up, press the "Test" button again briefly. You should hear a loud, clear alarm sound. This confirms it's working properly and, more importantly, that it's no longer performing its irritating solo act.
If it chirps once or twice and then goes silent, congrats! You've successfully performed a smoke alarm exorcism. Go forth and make some more toast!
Still Chirping? Don't Throw in the Towel Just Yet!
If, after all that, your First Alert alarm is still being a drama queen, here are a couple of extra troubleshooting tips:
- Check Batteries Again: Are they truly fresh? Is the polarity correct? Sometimes a slightly loose connection is the culprit.
- Clean It Up: Gently vacuum around the vents or wipe down the unit to remove any dust or debris that might be interfering with the sensor.
- Age Matters: Smoke alarms aren't immortal. Most have a lifespan of about 7-10 years. Look for a "replace by" date on the back of the unit. If it's expired, it's time for a new one, my friend. No amount of resetting will fix that.
There you have it! You’ve tamed the wild beast that is the uncooperative smoke alarm. Feel pretty good about yourself, don't you? You should! A working smoke alarm is a non-negotiable safety feature, and now you know how to give it a swift, firm talking-to when it misbehaves. Stay safe (and quiet!) out there!