How To Replace First Alert Smoke Alarm Battery

Alright, friend, let's talk about that pesky little beep. You know the one. It always seems to start at 3 AM, or right in the middle of your favorite binge-watching session, sending shivers down your spine and making you wonder if your house is haunted… or just in need of a new battery for your First Alert smoke alarm. Good news! Changing it is about as complicated as tying your shoes (but way less likely to result in a tripped shoelace). Consider this your friendly, no-stress guide to becoming a smoke alarm battery-changing superstar!
Seriously, before you decide to move to a cave just to escape the chirping, let's get this done. It's not just about silencing that annoying noise; it's about keeping your home and loved ones safe and sound. And honestly, it feels pretty good to conquer a small household task, doesn't it? You're practically a handy hero in the making!
First, What You'll Need (Spoiler: Not Much!)
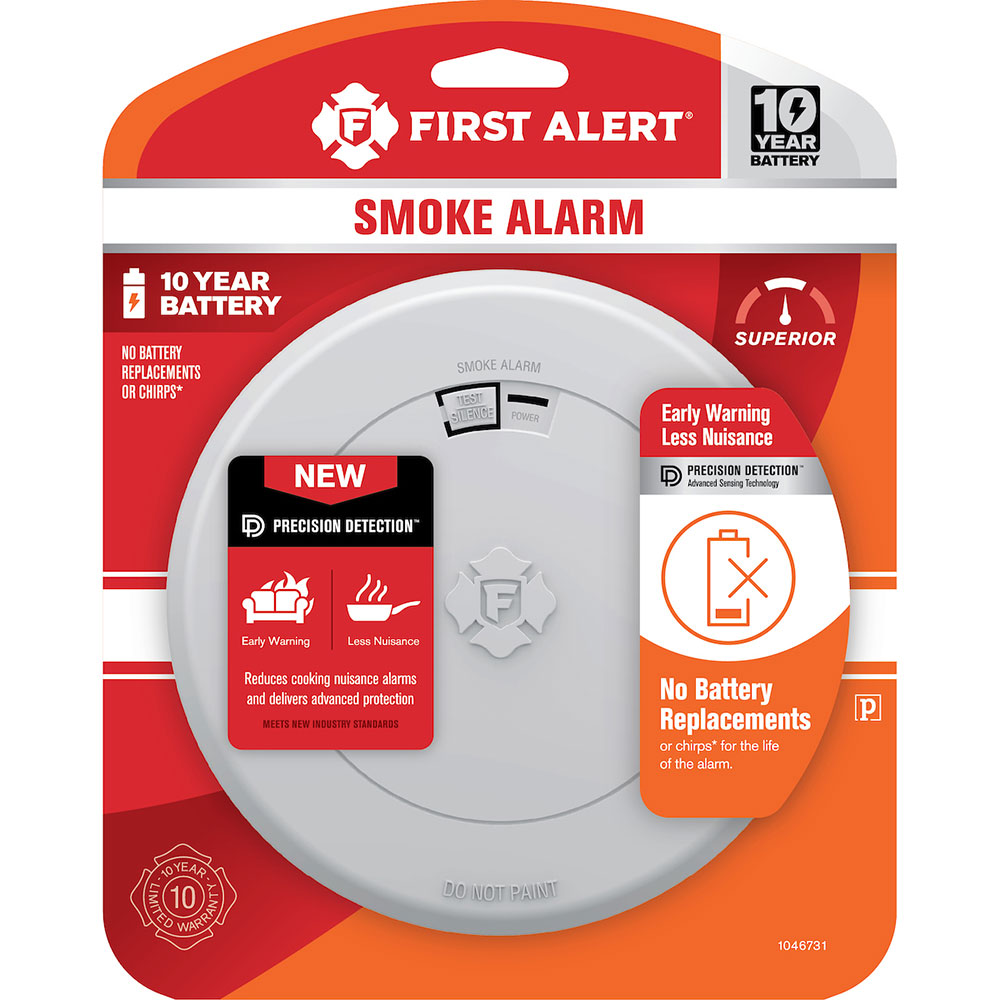
- A New Battery: Most First Alert smoke alarms use a standard 9-volt battery. You know, the rectangular one. Make sure it's fresh!
- A Step Stool or Ladder: Unless you’re a professional basketball player, you'll probably need a little boost to reach the ceiling. Safety first, folks! No standing on wobbly chairs.
- A Small Flathead Screwdriver (Optional): Some models might have a tiny screw, but many are tool-free. Better to have it and not need it, right?
- A Sense of Adventure: Just kidding! Mostly. But a positive attitude always helps.
The Great Battery Swap: Step-by-Step!
Okay, deep breath. You've got this. Let's silence that chirpy little alarm once and for all!
Must Read
Step 1: Silence the Alarm (If It's Still Beeping Its Head Off)
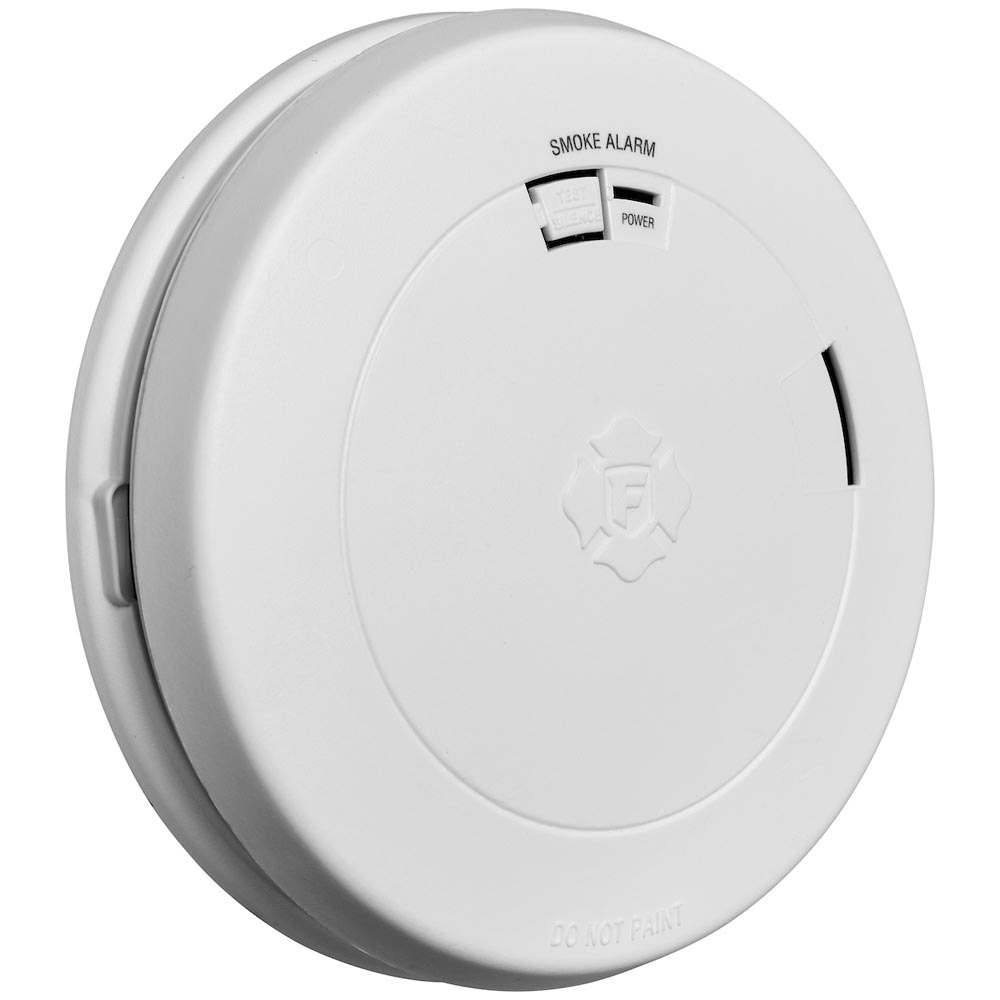
If your alarm is still performing its midnight symphony, most First Alert models have a "Hush" or "Test/Silence" button on the front. Give it a good press! This might quiet it down for a bit, giving you some much-needed peace while you gather your things. If not, don't worry, we're going straight for the kill!
Step 2: Get Up There (Safely!)
Grab your trusty ladder or step stool and carefully position it directly under the smoke alarm. Make sure it’s stable. We’re changing batteries, not auditioning for a circus act!
Step 3: Detach the Alarm from the Ceiling
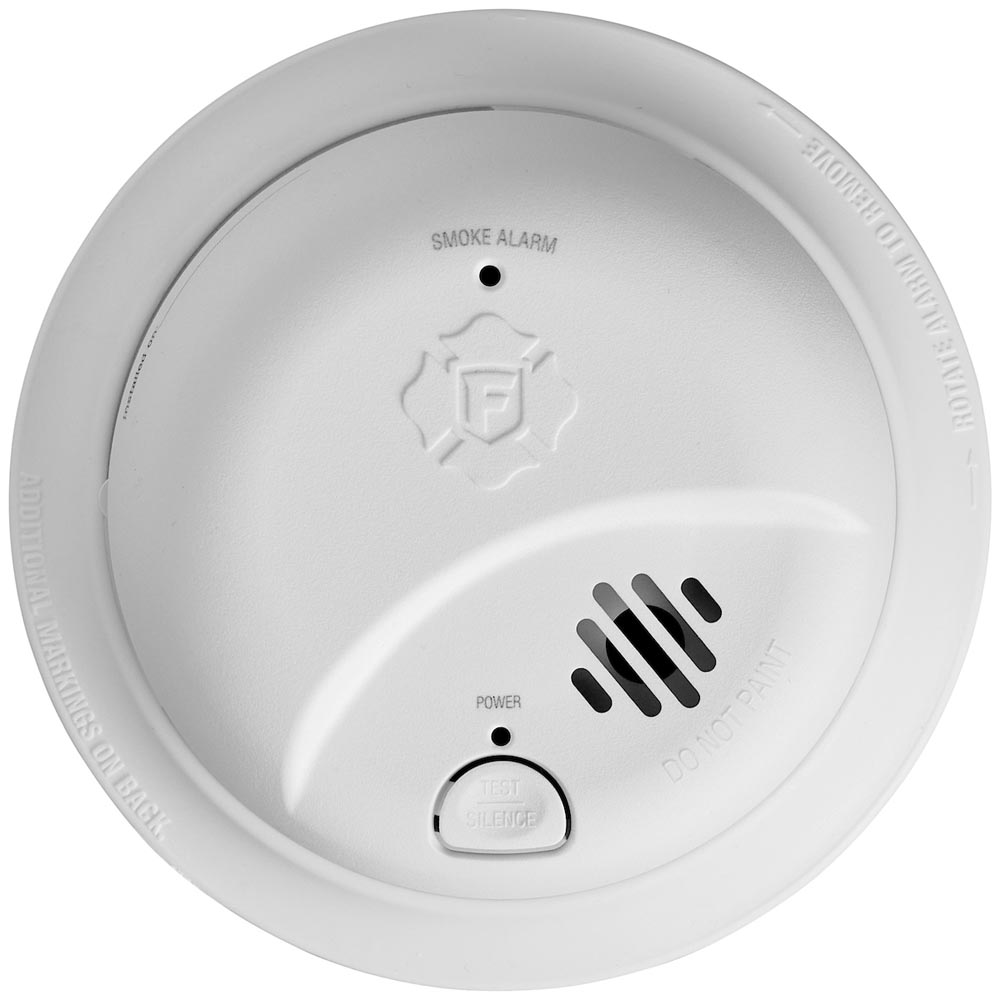
This is where it can vary slightly, but most First Alert models are attached by a simple twist-and-lock mechanism. Gently grasp the smoke alarm and rotate it counter-clockwise. It should detach from its mounting bracket with a gentle twist. Some might have little clips you need to squeeze. Don't be afraid to give it a firm, but gentle, twist. It won't bite!
Pro tip: If there's a wire connecting it, just let it hang safely. You don't need to disconnect the whole unit unless you want to clean it (which is always a good idea while it's down!).
Step 4: Open the Battery Compartment
Once you have the alarm in your hand (or hanging), look for the battery compartment. It’s usually a small door or flap on the back or side. It might be clearly labeled "BATTERY." You might need to slide a tab, press a latch, or if you're one of the "lucky" ones, use that tiny flathead screwdriver to loosen a small screw. Pop it open!
Step 5: Evict the Old Battery
The old 9-volt battery will likely be staring back at you. Simply pull it out. Give it a proper send-off; it's done its duty! (And no, don't try to recharge it – it's a one-and-done kind of deal for these guys.)
Step 6: Welcome the New Battery!
Take your fresh 9-volt battery and align the positive (+) and negative (-) terminals with those inside the compartment. They only fit one way, so don't force it! Gently snap the new battery into place. You might hear a little chirp or beep – that’s a good sign! It’s saying, "Hello, world, I'm back in business!"
Step 7: Close 'Er Up and Reattach
Close the battery compartment door securely. Then, line up the smoke alarm with its mounting bracket on the ceiling. Twist it clockwise until it locks firmly into place. Give it a gentle tug to ensure it’s secure – we don't want it pulling a surprise dive bomb later!
Step 8: The Moment of Truth – Test It!
Now for the grand finale! Press and hold the "Test" button on the front of the alarm for a few seconds. It should emit a loud, piercing alarm. Don't jump too high! This means it’s working perfectly. If it doesn't sound, double-check your battery insertion. If it still doesn't, try another new battery. If that doesn't work, it might be time for a new alarm altogether (they usually last about 10 years).
A Few Friendly Reminders!
- When to Change: It's recommended to change smoke alarm batteries at least once a year, even if they aren't chirping yet. A good habit is to do it when you change your clocks for Daylight Saving Time – "spring forward, fall back, change your batteries!"
- Don't Ignore the Beep: That little chirp isn't just annoying; it's a warning sign that your battery is low. Don't procrastinate!
- Different Models: While this guide covers most First Alert models, if yours is a bit different, a quick peek at the manual (or a Google search with your specific model number) can clear things up.
And there you have it! You've successfully conquered the dreaded smoke alarm battery change. Give yourself a huge pat on the back – you're a responsible, safety-conscious homeowner (or renter!). Now you can go back to your peaceful existence, knowing your home is protected and your ears are spared from that incessant, attention-demanding chirp. Sleep tight, knowing you've done a great job keeping everyone safe. You rock!
