How To Replace Battery On First Alert Smoke Detector
You know that sound, right? That insistent, high-pitched, seemingly random chirp that only ever seems to make an appearance at 3:17 AM? Yeah, you do. We’ve all been there, jolted awake, heart pounding, convinced it’s an alien invasion, only to slowly, agonizingly realize it’s your smoke detector. Not just a smoke detector, mind you, but that one – the one you can’t quite reach, the one that blends perfectly with the ceiling, playing a cruel game of hide-and-seek with your sleep. For me, it was always the one in the hallway, mocking my groggy attempts to pinpoint its exact location in the cavernous darkness.
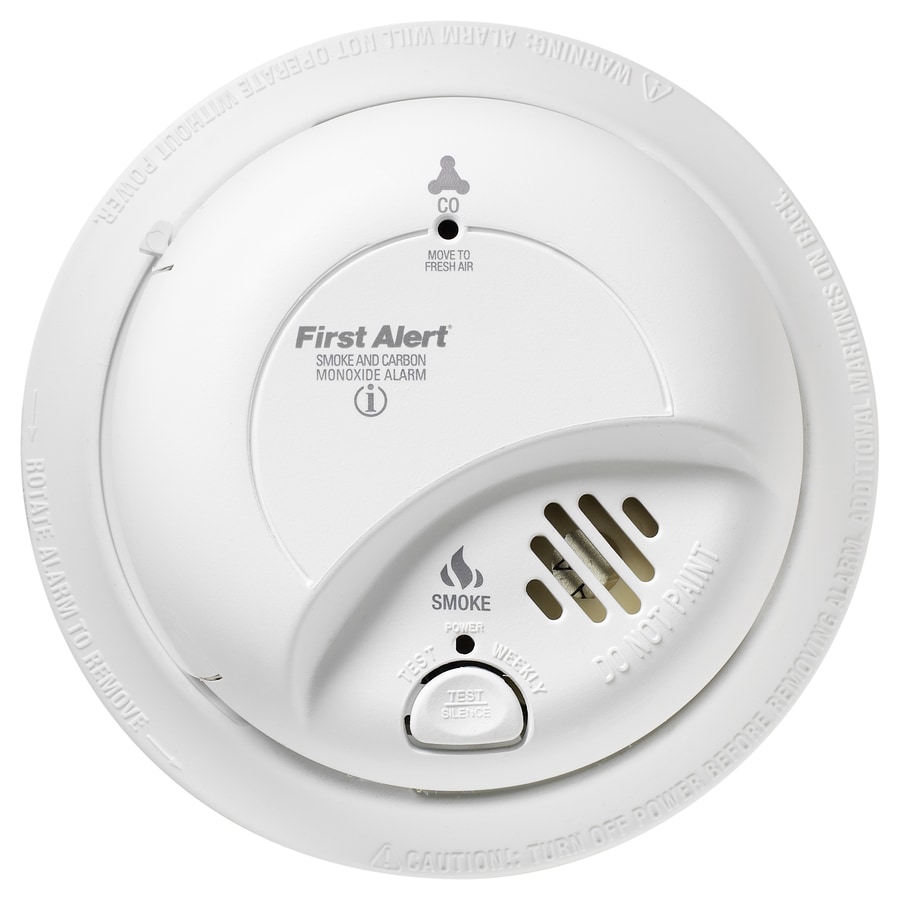
After what felt like an Olympic-level deciphering mission (is it upstairs? Downstairs? In the fridge?), the relief of finally locating the culprit was often short-lived, replaced by the dread of, "Okay, now what?" Because, let's be real, while we appreciate these little life-savers, actually dealing with them when they demand attention can feel like disarming a tiny, plastic bomb. Especially when it's a First Alert smoke detector, which are super common and reliable, but sometimes a little perplexing to open if you don't know the trick.
Why Bother with This Little Guy? (Besides the Noise)
Before we dive into the nitty-gritty, let's just take a moment for these unsung heroes. Smoke detectors are, quite simply, essential for your safety. They're the early warning system that can literally save lives. So, while that incessant chirping might feel like a personal attack on your REM cycle, it's actually just a tiny, desperate plea for a fresh battery, ensuring it’s ready to do its job when it really counts. Think of it as its way of saying, "Hey, I'm still here for you, just need a quick snack!"
Must Read
What You'll Need for Your Smoke Detector Battery Swap Mission
Okay, commando, let's gear up. This isn't rocket science, but having the right tools makes all the difference (and prevents you from cursing loudly at your ceiling).
- A new 9-volt battery: This is the most common type for First Alert detectors, but it's always a good idea to double-check your specific model or even just peek at the existing one once you get it down.
- A sturdy step stool or ladder: Safety first! No balancing acts on wobbly chairs, please. We don't want any broken bones during this heroic task.
- Maybe a flathead screwdriver (optional, but handy): Some older models might be a tad stubborn to open.
- Patience: Especially if you're still half-asleep.
The Grand First Alert Battery Replacement Procedure (Don't Worry, It's Easy!)
Alright, deep breaths. You've got this. Let's send that annoying chirp into oblivion.

Step 1: Silence the Siren (If It Hasn't Driven You Mad Already)
Once you’ve located the culprit, you might want to press the "Test/Silence" button on the front. This will usually quiet it down for a few minutes, giving you some much-needed peace while you get set up. Ah, the sweet relief of silence!
Step 2: The Great Detachment (Gently Now!)
Most First Alert smoke detectors are attached to a mounting bracket with a simple twist. Get up on your ladder and look for arrows or instructions on the side of the unit. You'll typically need to twist the detector counter-clockwise about a quarter turn. It should then easily pop off the mounting plate. If it’s stuck, give it a firm but gentle twist. Don't yank any wires if it's hardwired; just detach the main unit.
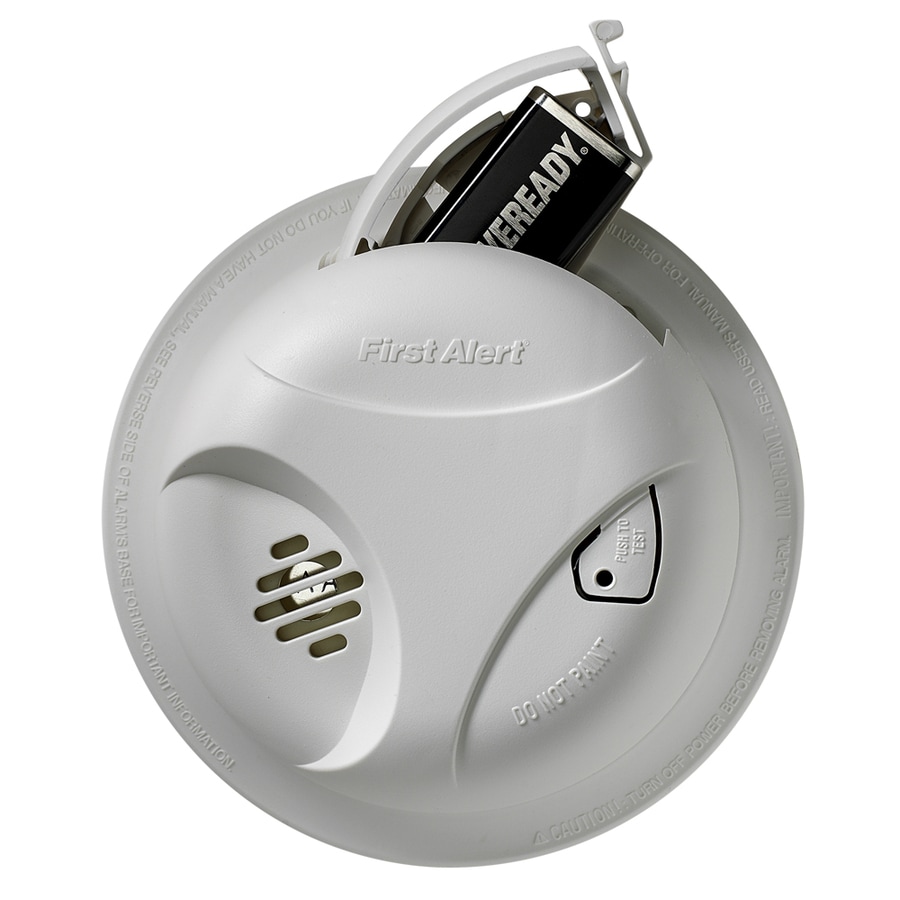
Step 3: Uncover the Power Source
Once you have the detector in your hands (congratulations, you've conquered gravity!), look for the battery compartment. On many First Alert models, there's a small door or tab on the side or back. You might need to slide a latch or press a small button to open the battery door. Some older models might even require a small screwdriver to pry open a tab. Don't be shy, it's not a secret vault!

Step 4: The Old-for-New Swap
Carefully remove the old 9-volt battery. Notice how it’s oriented. The positive (+) and negative (-) terminals need to match up. Grab your fresh 9-volt and insert it firmly, making sure the polarity is correct. It should snap securely into place. You might even hear a little beep of satisfaction from the detector, almost like it's saying, "Ah, much better!"
Step 5: Test, Re-Attach, and Rejoice!
Before you put everything back, it's crucial to test the detector. Press and hold the "Test" button. You should hear a loud, piercing alarm. This confirms the new battery is working and the unit is functional. Don't skip this step! Once tested, align the detector with its mounting bracket on the ceiling and twist it clockwise until it locks securely into place. You'll feel it click. Give it a gentle tug to ensure it's firmly attached.

Still Chirping? A Quick Sanity Check
If, after all that, the chirping starts up again, don't despair (or throw the detector out the window). Here are a few things to check:
- Battery orientation: Double-check that the battery is inserted correctly.
- New battery dud?: It happens! Try another brand new 9-volt.
- Different detector?: Sometimes the sound echoes, making it hard to tell. Confirm you replaced the battery in the correct chirping unit.
- Reset button: Some models have a small reset button. Consult your detector's manual (if you still have it!).
Beyond the Battery: When to Say Goodbye
Even with fresh batteries, smoke detectors don't last forever. Most manufacturers, including First Alert, recommend replacing the entire unit every 10 years. There's usually a manufacturing date printed on the back. If your detector is pushing a decade, it might be time for a full replacement, not just a battery swap, to ensure optimal performance.
And there you have it! No more 3 AM wake-up calls from a grumpy smoke detector. You've successfully navigated the treacherous waters of battery replacement and ensured your home is safer. Give yourself a pat on the back – you've earned a good night's sleep!