How To Replace Batteries On Honeywell Thermostat

Ever have one of those moments where you glance at your thermostat, that quiet guardian of your home's comfort, and it just… looks a little off? Maybe the display is dim, or it’s not quite responding to your friendly taps? It’s a bit like when your favorite gadget starts to subtly whisper, "Hey, I'm running low!" But instead of a phone, it’s the brain of your home's climate control, and it's probably just asking for some fresh batteries. And guess what? Replacing them is one of those surprisingly satisfying, super simple tasks that makes you feel like a minor tech wizard!
The Thermostat: Your Home's Unsung Hero
Think about it. Your thermostat isn't just a static box on the wall. It’s like the mini-captain of your indoor environment, constantly monitoring the temperature, sending signals to your furnace or AC, and ensuring you’re snug as a bug or delightfully cool, depending on the season. It’s always there, working tirelessly in the background. But even captains need their sustenance, right? For many Honeywell models, that sustenance comes in the form of a couple of ordinary batteries.
Isn’t it fascinating how such a crucial component relies on something so common? It’s not some hidden, exotic power source. It’s usually just a couple of AA or AAA batteries, tucked away, silently powering a device that orchestrates your comfort. Understanding this small detail gives you a cool sense of control and self-reliance. No need to call a professional for this little hiccup!
Must Read
Signs Your Thermostat Is Thirsty For Power
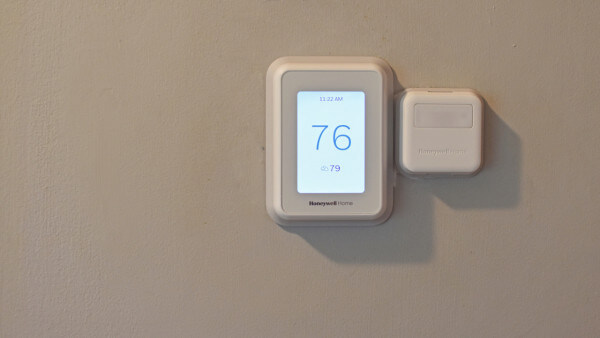
So, how do you know it's battery swap time? Your Honeywell thermostat is pretty good at giving you clues. You might notice the display looking a bit faint or pixelated, like it's trying to conserve energy. Or perhaps, you press a button, and there’s a noticeable delay, or it simply doesn't respond with its usual pep. The most common and helpful clue, however, is a little icon – usually a blinking battery symbol or the words "Low Batt" appearing right on the screen. It's like your thermostat is holding up a tiny, digital flag, politely asking for a refill.
Catching these signs early is key. Why? Because a completely dead thermostat battery means your system might stop regulating the temperature altogether. Imagine waking up to a surprisingly chilly house in winter or a stuffy one in summer – not ideal! A quick battery change ensures your home stays in its happy zone, no matter what the weather outside is doing.
The Great Battery Reveal: Where Are They Hiding?
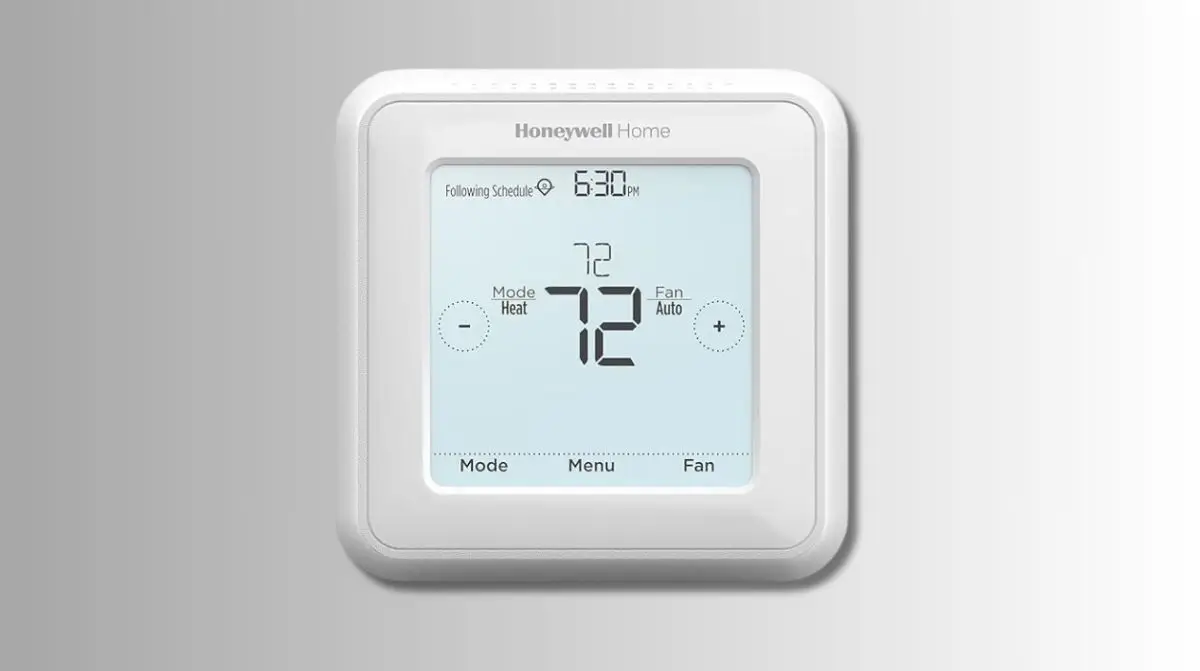
Now for the main event! You might be picturing a secret panel hidden behind a bookshelf, or maybe even a tiny trapdoor that requires a special key. But fear not, this isn't a spy novel! For most Honeywell thermostats, the magic happens right on the front display unit itself. It’s often incredibly straightforward.
Many models have a pull-out battery compartment on the side or bottom of the display unit. It’s like a tiny drawer designed just for its power source. Other models might require you to gently pull the entire front panel straight off its base plate, revealing the battery slot on the back of the panel. Don't worry, these are designed to be user-friendly, not to baffle you! A little gentle pressure is usually all it takes. Just remember, be gentle, not forceful, as if you’re disarming a very friendly (and not at all explosive) little comfort-bot.
Your Mini Mission: Swapping The Power Packs
Okay, let’s get down to business. This is where you become the hero of your household comfort!
Step 1: Gather Your Supplies
First things first, what batteries do you need? Most Honeywell thermostats use either AA or AAA alkaline batteries. It’s a good idea to check your specific model’s manual if you’re unsure, but often, the old batteries will tell you exactly what kind they are. Always opt for fresh, good-quality alkaline batteries. Think of them as high-octane fuel for your climate control system!

Step 2: The Gentle Open
Locate the battery compartment. As mentioned, it could be a small tab to pull on the side or bottom, or it might involve gently pulling the entire front housing of the thermostat straight off the wall plate. Don't twist or yank – a straight, firm pull is usually all that's needed for the latter. It's surprisingly satisfying when it clicks free!
Step 3: Out With The Old, In With The New
Once you’ve exposed the battery slot, you’ll see the old, tired batteries. Carefully remove them. Pay attention to the orientation – where the positive (+) and negative (-) ends are placed. This is crucial! Most compartments will have little diagrams to guide you. Now, slide in your fresh, new batteries, making sure they’re facing the correct way. It’s like giving your thermostat a fresh shot of espresso!

Step 4: Close It Up & Celebrate!
Gently reattach the battery compartment cover or snap the thermostat's front housing back onto its wall plate. You should hear a satisfying click. Voila! The display should immediately spring back to life, bright and clear. The low battery icon will be gone, replaced by the usual temperature readings. Your thermostat is now refreshed, re-energized, and ready to continue its important work.
Isn't that cool? In just a few minutes, you’ve performed a vital maintenance task, kept your home comfortable, and saved yourself a service call. It’s a small act of self-sufficiency that brings a surprising amount of satisfaction. You've essentially given your home's brain a fresh pair of running shoes, and it's ready to sprint through another long season of temperature regulation.
A Little Victory
So, the next time your Honeywell thermostat starts looking a little sleepy, don't fret! See it as an opportunity for a quick, rewarding DIY project. It’s a reminder that sometimes, the most important functions in our homes rely on the simplest, most accessible solutions. You've got this! Go forth and conquer those dim displays; your cozy home awaits your heroic battery-swapping skills.