How To Replace Batteries Honeywell Thermostat

Alright, settle in, grab your beverage of choice – preferably something warm if your thermostat is currently staging a silent protest – because we’re about to embark on a journey. A thrilling, nail-biting, profoundly domestic adventure: replacing the batteries in your Honeywell thermostat.
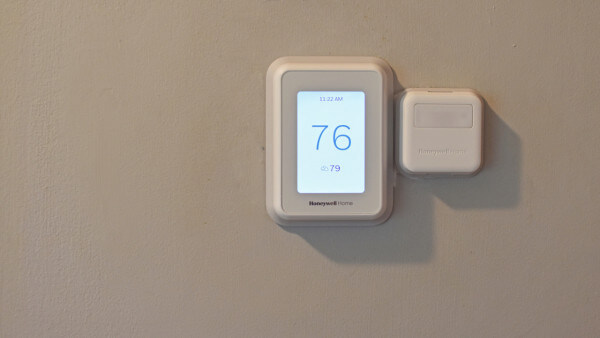
You know the moment, don't you? It's usually the dead of winter, or the peak of summer, because the universe has a rather dark sense of humor when it comes to HVAC. You walk past your thermostat, maybe give it a casual glance, and suddenly… it’s doing the blinking thing. Or worse, it’s completely blank, a black void where once a comforting temperature glowed. It’s like discovering your favorite houseplant has suddenly given up the ghost, but with higher stakes because now your comfort (and possibly your pipes) hangs in the balance.
The Dreaded Blink: Your Thermostat’s Cry for Help
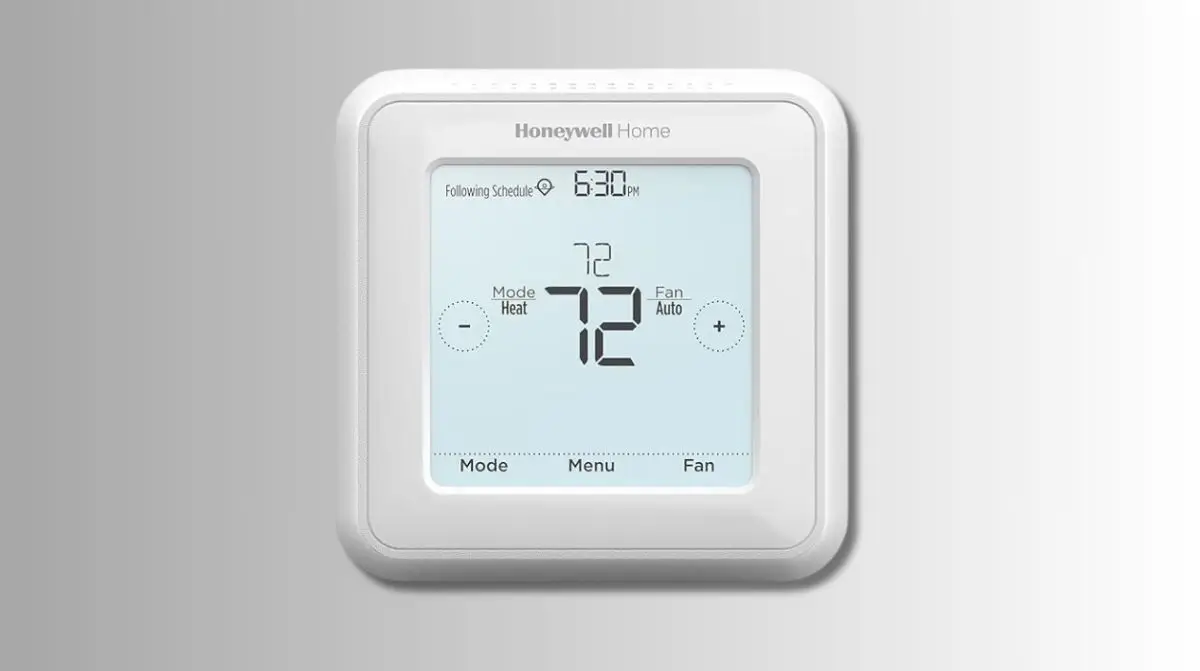
First, let's acknowledge the beast. Honeywell. They’re everywhere, aren’t they? Like a benevolent, omnipresent tech guru who decided that controlling our indoor climate was their divine mission. Your grandpa probably had one. Your cool, minimalist neighbor probably has one. They're reliable, steadfast, until they decide to get a little… moody. And by moody, I mean they flash a tiny, passive-aggressive battery icon, or just flat-out die. It's their way of saying, "I'm tired, boss. Very tired."
Must Read
My own Honeywell once decided to go dark during a heatwave. I genuinely considered sacrificing a small, non-essential appliance to the thermostat gods, perhaps my toaster, which I only use on Tuesdays. Instead, I remembered a crucial piece of ancient wisdom passed down through generations of homeowners: "Check the batteries, you absolute amateur."
The Sherlock Holmes Phase: Tools (Mostly Your Brain)
Now, before you go rummaging through your toolbox for a Phillips head, a flathead, and that mysterious screwdriver with the square tip you've never once used but refuse to throw away… pause. For most Honeywell thermostats, you need precisely zero tools. Your fingers, maybe a gentle push, and a dollop of patience will suffice. Isn't that a relief? It's like finding out the monster under your bed just wants to borrow a book, not eat your socks.
However, if your particular model is a bit more… ornate, or perhaps installed by someone who really, really enjoyed making things permanent, you might need a tiny screwdriver. Just keep it on standby, like a superhero's lesser-known sidekick, ready for action if needed.
Operation: Find the Secret Battery Lair
This is where the real fun begins. Honeywell, in its infinite wisdom, has designed several ingenious (read: occasionally infuriating) ways to hide those little power cells. It’s like a mini escape room on your wall, but the prize is climate control.
Option 1: The Front Flap Gambit. Many common models, especially the older, more rectangular ones, have a subtle little compartment that pulls out from the bottom front of the unit. Imagine a tiny drawer that's shy. Look for a small indent, a slight lip, or a seam. Give it a gentle tug. Don't yank it like you're starting a lawnmower; think more "opening a delicate jewelry box" or "coaxing a particularly stubborn cat out from under the couch."
Option 2: The Whole Shebang. Some models, particularly the sleeker, more modern ones, require you to unclip the entire front face of the thermostat from its backplate. This sounds terrifying, I know. My heart rate spikes just typing it. But fear not! Look for small notches on the sides or bottom. Often, a gentle press and a pull will release it. It's usually designed to hinge forward, revealing the battery compartment on the back of the detached faceplate. It's like taking off a mask to reveal... more batteries! A plot twist worthy of a Hollywood blockbuster.
Surprising Fact! Did you know some thermostats, particularly older mercury switch models (the ones with the tiny glass tubes that tilt when you adjust the temperature), don't even have batteries? They draw power directly from your furnace or AC unit. So, if yours is ancient and unresponsive, and you can't find batteries, congratulations! Your problem might be bigger (or just different). But for 90% of us navigating the blinking icon of doom, it's those glorious AA or AAA cylinders you're after.
The Main Event: Swapping the Power Pods
Okay, you’ve located the battery lair. Pat yourself on the back, you magnificent detective. Now, observe the battery type. It's almost always AA or AAA alkaline batteries. Rarely anything fancier, because Honeywell knows you just want to get warm/cool, not conduct a science experiment or construct a miniature fusion reactor.
-
Remove the old ones: They'll probably look a bit sad and tired, perhaps a little corroded if they've been in there since the last Ice Age. Pop 'em out. Dispose of them responsibly, don't just toss them into the abyss of your junk drawer with that single, lonely sock.

How to Replace Batteries in Honeywell Thermostat: Simple Guide -
Insert the new ones: Pay attention to the polarity! That little "+" and "-" symbol isn't just there for decoration; it's vital. Most thermostats will actually have tiny diagrams to guide your hand. Inserting them backward is the equivalent of trying to fuel your car with orange juice – it just won't work, and might even cause a minor existential crisis for the thermostat.
The Moment of Truth: Reassembly and Revival
Once the fresh batteries are snugly in place, carefully reattach the cover or snap the front faceplate back on. You should hear a satisfying click. It’s the sound of victory, my friend. It's the sound of your home's climate control system awakening from its slumber, ready to do your bidding once more.
Now, watch the screen. It should flicker to life. Some models might go through a quick boot-up sequence, displaying all segments, or asking you to confirm the time. This is perfectly normal. It's like your thermostat saying, "Hello, cruel world! What did I miss?"

Set your desired temperature. Feel the gentle hum of your furnace or AC kicking in. That, my friends, is the sweet symphony of success. You've conquered the mighty Honeywell, armed with nothing but fresh batteries and a can-do attitude.
What if it still doesn’t work? (The Panic Button Section)
If, after all that, your thermostat is still giving you the silent treatment, take a deep breath. Double-check the battery polarity. Seriously, it's often the culprit. Then, if your thermostat has a tiny reset button (some do, buried near the battery compartment), try pressing it with a paperclip. It's like hitting Ctrl+Alt+Del for your wall. As a last resort, consult the manual (the one you probably threw out the day you moved in, right?). Or, gasp, call a professional. But let’s be honest, 9 times out of 10, it’s just the batteries. You've got this!
So, there you have it. You've stared into the blank abyss of a dead thermostat and emerged victorious. You are now officially a master of indoor climate. Go forth and bask in your perfectly regulated environment, knowing you tamed the Honeywell beast with just a couple of AAAs. You’re basically a wizard, only instead of a wand, you wield a fresh pack of Duracells.