How To Remove Honeywell Thermostat From The Wall
Ever looked at your thermostat and thought, "Hmm, how do I get that thing off the wall?" You're not alone! Whether you're upgrading to a fancy new smart thermostat, giving your wall a fresh coat of paint, or just need to troubleshoot a small issue, knowing how to safely and easily remove your Honeywell thermostat is a surprisingly useful skill. It's one of those satisfying little DIY tasks that makes you feel like a home improvement wizard, even if it's just for a few minutes!
This topic might seem niche, but it's actually incredibly popular and useful for a few different reasons. For beginners, it's a fantastic entry point into home DIY. It builds confidence without requiring complex tools or advanced knowledge. You'll learn a bit about your home's HVAC system and the importance of electrical safety. For families, understanding this process means you can easily upgrade to more energy-efficient smart thermostats, saving money on utility bills and adding modern convenience. Imagine controlling your home's temperature from your phone! And for the seasoned hobbyist or general DIYer, removing a thermostat is often just one step in a larger project, like a full room renovation, smart home integration, or simply updating older, less attractive units.
There are a few variations to consider when tackling this task. Most Honeywell thermostats come in two main types for removal: those where the faceplate simply pulls off, often with a gentle tug or by pressing small tabs, and those where the faceplate is hinged or secured by a small screw. Once the faceplate is off, you'll usually see the mounting screws that hold the thermostat's base plate to the wall. The underlying wires are usually low-voltage, but always treat them with respect. You might want to remove your thermostat to replace batteries (if it's not hardwired), to paint the wall behind it, or to install a brand new, fancier model. Each scenario benefits from knowing the correct, gentle approach.
Must Read
Ready to give it a try? Here are some simple, practical tips to get you started:
- Safety First: Power Down! This is the most crucial step. Go to your circuit breaker panel and turn off the power to your furnace or air handler. You want to ensure no electricity is flowing to the thermostat before you touch any wires.
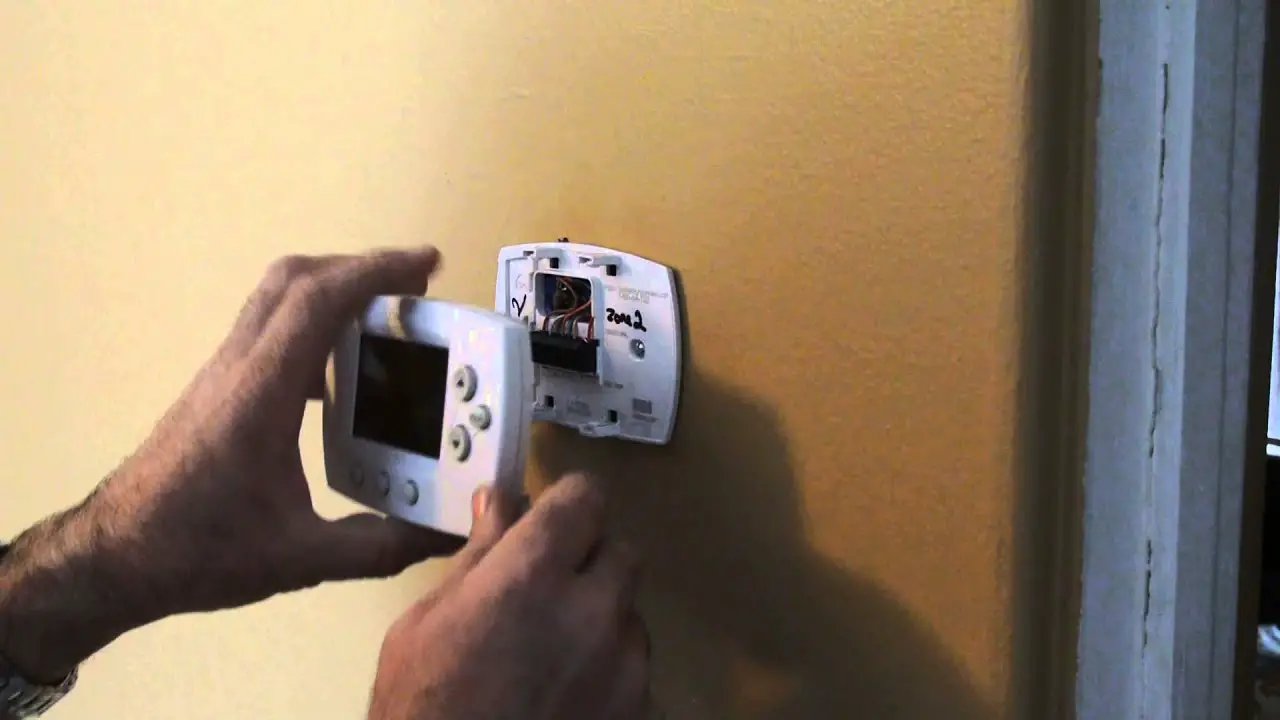
- Snap a Photo: Before you disconnect anything, use your phone to take a clear picture of the wiring. This will be your map when installing a new thermostat or reconnecting the old one. Labeling wires with small pieces of painter's tape (R, W, Y, G, C, etc.) is also a brilliant idea.
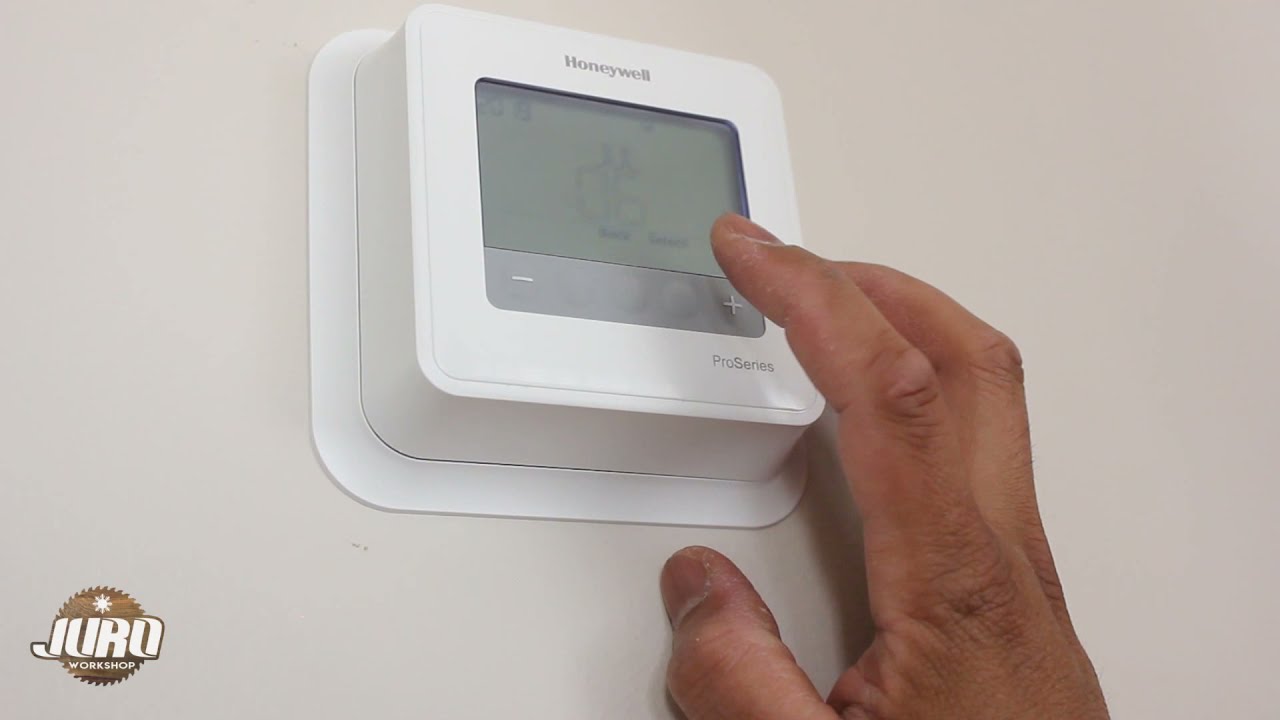
- Find the Release: Most Honeywell thermostats have a front cover that either snaps off (look for tabs on the sides or bottom to gently press) or unlatches. Sometimes there's a small screw at the bottom. Once the front cover is off, you'll see the terminal block where the wires connect and the screws holding the base plate to the wall.
- Disconnect Wires and Unscrew: With the power off and wires photographed/labeled, gently loosen the terminal screws and remove the wires. Then, use a screwdriver to remove the mounting screws holding the thermostat's base plate to the wall.
- Gentle Does It: Don't force anything. If it's not coming off easily, double-check for hidden screws, tabs, or consult the thermostat's manual (a quick online search for your specific model usually does the trick).
There you have it! Removing your Honeywell thermostat from the wall is a surprisingly straightforward process once you know the steps. It's a small victory that can lead to bigger home improvements, help you troubleshoot issues, or simply make your home more comfortable and efficient. Enjoy the satisfaction of tackling a simple DIY task – you just earned your home improvement badge for the day!