How To Remove Hard Wired Smoke Detector
Ever found yourself staring up at that smoke detector, wondering if it's silently judging your cooking, or worse, making an annoying little chirp every few minutes? Removing a hardwired smoke detector might sound like a job for an electrician, but it's actually one of those incredibly satisfying DIY tasks that gives you a genuine sense of accomplishment. It's not just about silencing that persistent beep; it's about taking control of your home's maintenance and feeling empowered to tackle little projects yourself. Plus, who doesn't love the idea of updating their home safety without calling in a professional?
This little project offers benefits for just about everyone. For beginners, it’s a fantastic entry point into basic home electrical work. You'll learn fundamental safety practices and gain confidence in handling circuits, which can open the door to many other useful DIY tasks. Families will appreciate the peace of mind that comes with knowing their smoke detectors are up-to-date and functioning correctly, free from nuisance alarms or outdated technology. Upgrading to newer, more reliable models means better protection for your loved ones. And for the budding hobbyist or seasoned DIYer, it's another skill to add to your repertoire, allowing you to customize your home's safety systems, perhaps integrating with smart home technology or simply ensuring every device is perfectly placed and maintained.
There are several reasons you might want to tackle this. Perhaps your current smoke detector is past its prime – most have a lifespan of about 10 years and need replacing. Maybe you're doing a bit of home renovation, painting a ceiling, or moving a wall, and the detector is simply in the way. Or, you might be upgrading from an older ionization sensor (prone to false alarms near kitchens) to a more modern, efficient photoelectric sensor, or even a combination unit. Whatever the reason, knowing how to safely remove and install these essential devices is incredibly useful.
Must Read
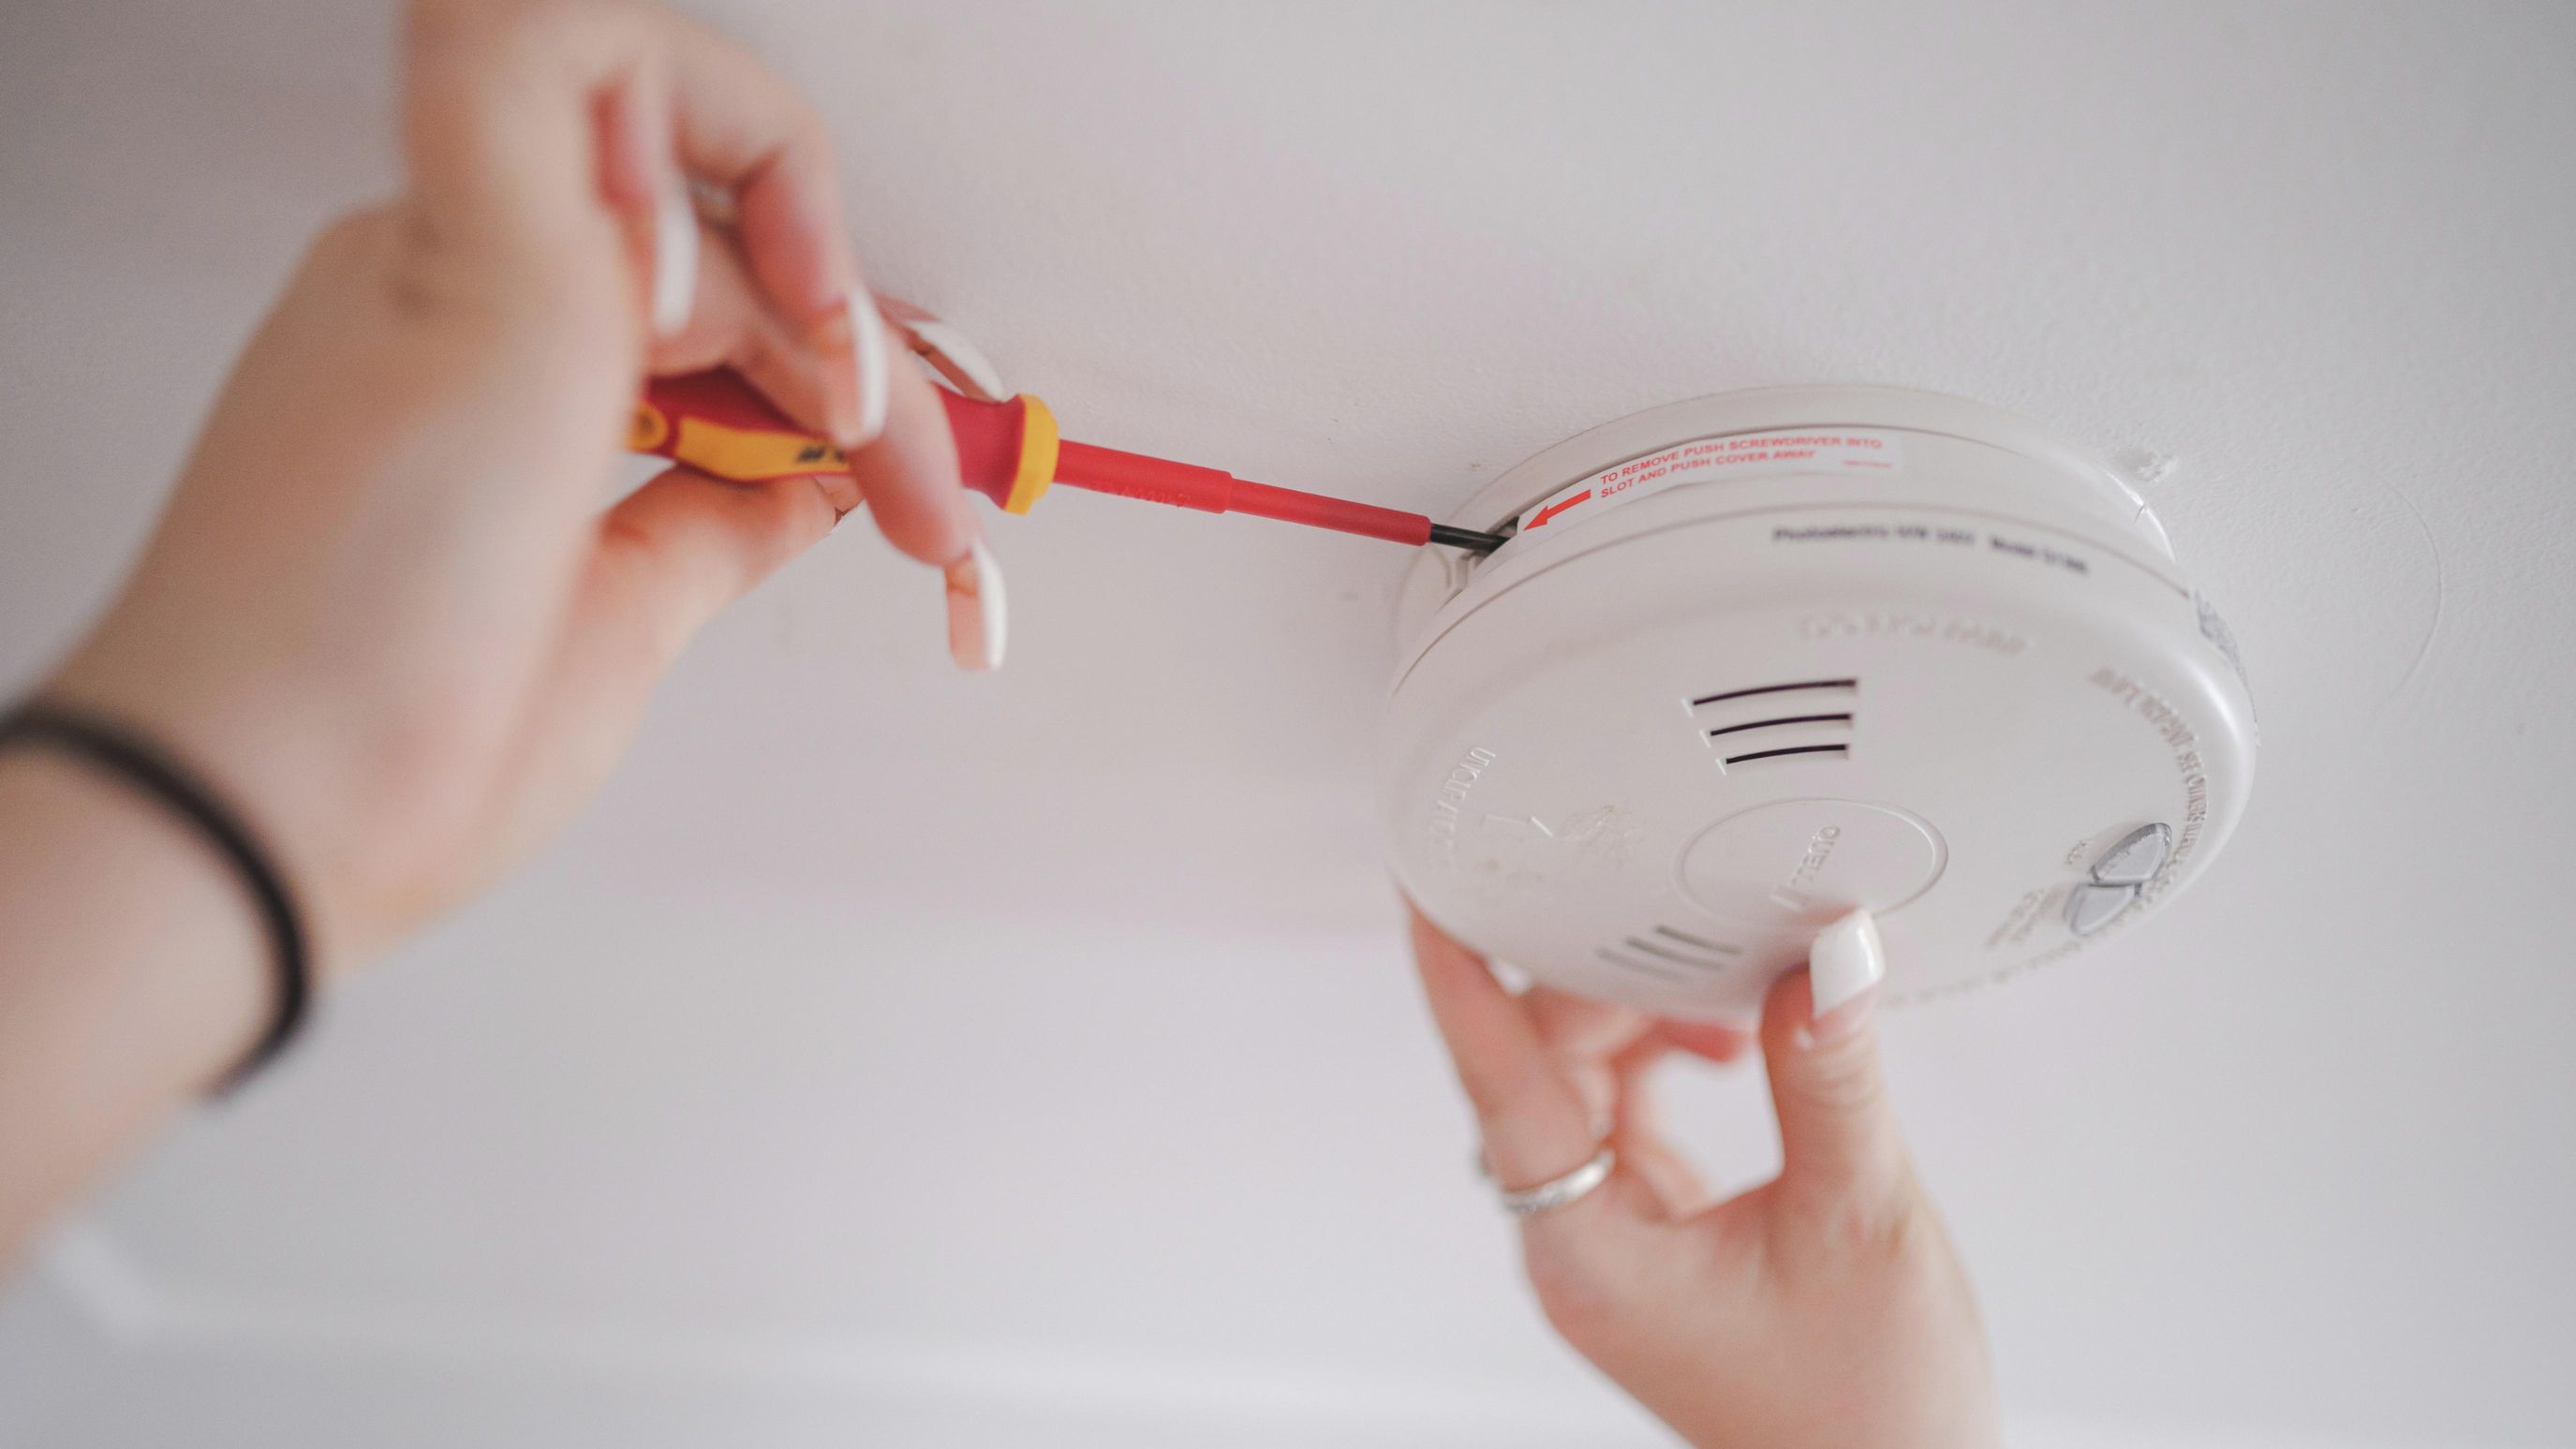
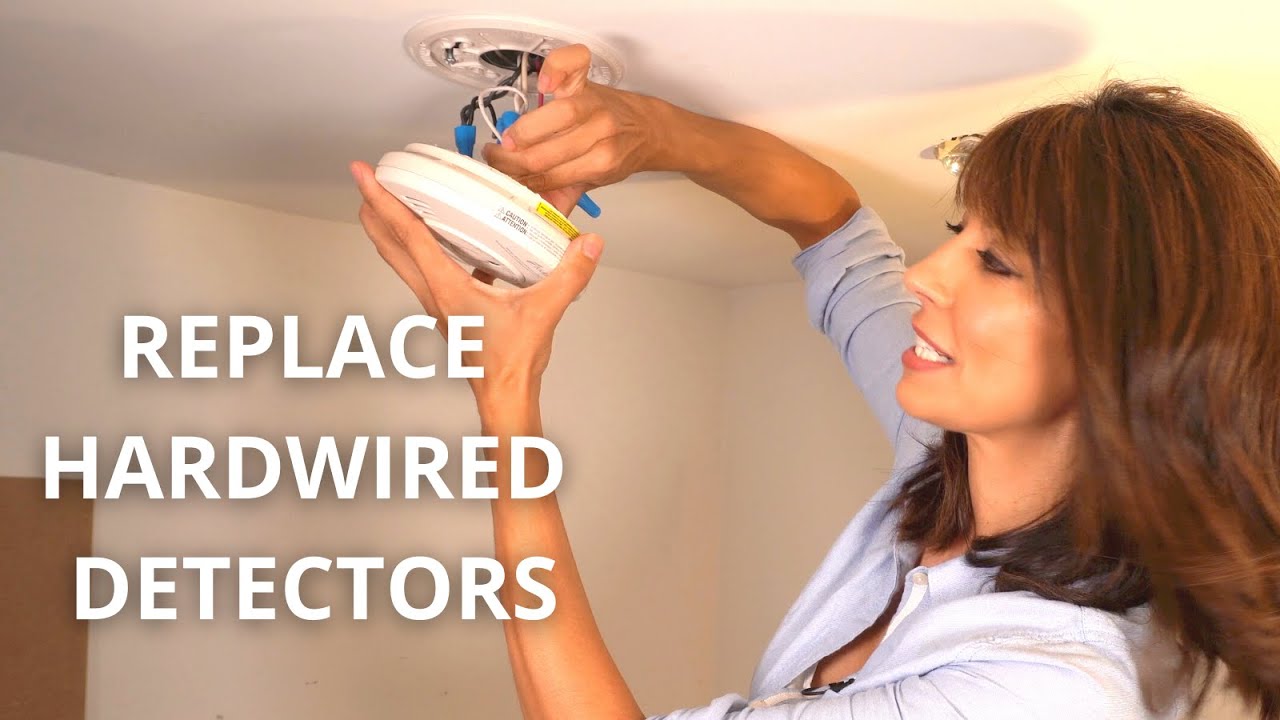
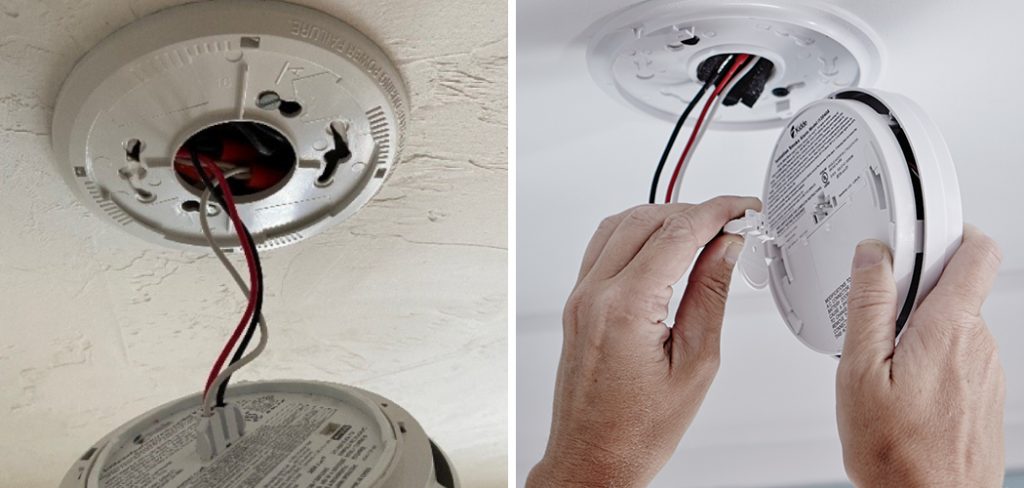
Ready to silence that chirp or make way for a shiny new model? Here are some simple, practical tips to get you started. The most crucial step is always safety first! Find your home's main electrical panel and turn off the power to the circuit that supplies your smoke detector. Don't skip this! You can usually identify it by flipping breakers until the detector (and any lights on the same circuit) loses power. Use a non-contact voltage tester to double-check the wires are truly dead before you touch them. Once the power is off, you'll typically twist the detector off its mounting bracket, then unplug the wire harness connecting it to your home's wiring. Finally, unscrew the mounting bracket from the ceiling. If you're replacing it, you'll then connect the new unit's harness to the existing wires (usually black for hot, white for neutral, and red/orange for interconnect) and mount the new detector. Remember to restore power and test the new unit thoroughly!
Removing a hardwired smoke detector might not be the flashiest DIY project, but it's one that brings immense satisfaction and genuine value. You'll not only enhance your home's safety but also gain confidence in your own abilities. It’s a small step towards becoming a more capable homeowner, ready to tackle whatever comes next. Enjoy the quiet, and enjoy the feeling of a job well done!