
How To Put Stems On Sola Wood Flowers

Let's Get Flowery! Stems and Sola Wood: A Match Made in Crafting Heaven
So, you've got a pile of beautiful sola wood flowers. Now what? Time to give them some stems! Seriously, this is where the magic happens. It's like giving your little wooden blossoms a chance to stand tall and show off their stuff.
Trust me, adding stems is way easier than you think. And it's surprisingly addictive! You'll be stemming everything in sight before you know it. But hey, who doesn't love a good crafting obsession?
The Stemming Starter Pack
First, gather your supplies. You'll need your sola wood flowers, of course. Then, grab some floral wire. Think of it as the backbone of your floral masterpiece. You can also use bamboo skewers or even twigs if you're feeling extra earthy and whimsical. Don't forget your glue gun! This is your best friend in this floral adventure.
Must Read
Optional, but highly recommended: wire cutters. They make life so much easier when you need to trim your wire. Also, a pair of pliers can be handy for bending the wire and getting a super secure grip.
The Stemming Shuffle: Step-by-Step
Okay, ready to get down to business? Here's the lowdown on attaching those stems:
Step 1: Glue Time! Put a generous dollop of hot glue on the bottom of your sola flower. We're talking a good, solid blob here. You want that stem to stay put.
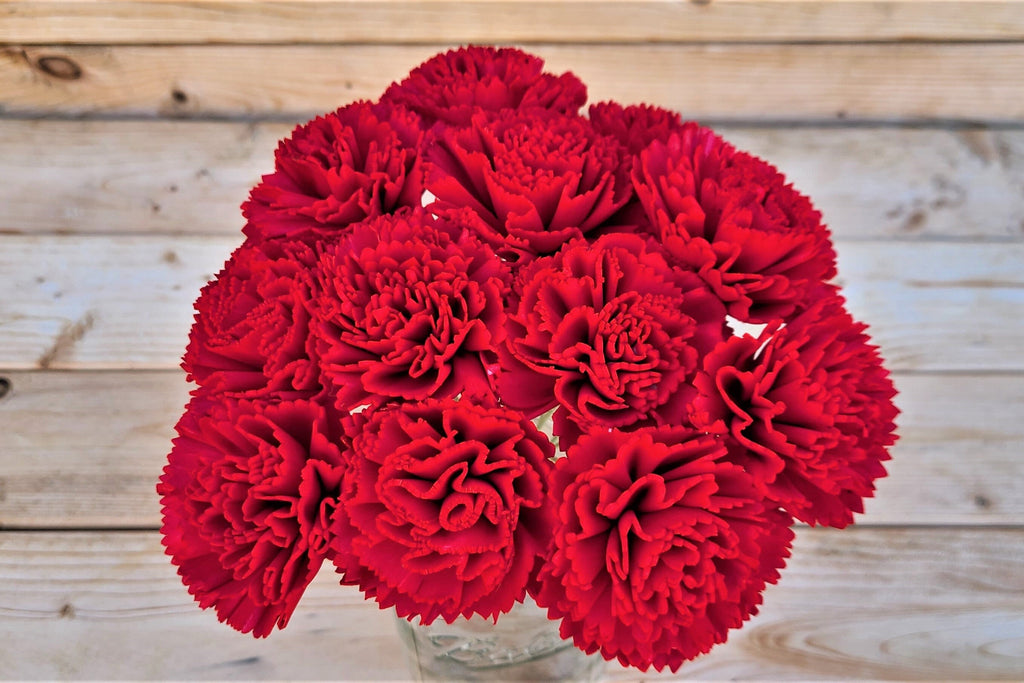
Step 2: Insert the Stem! Quickly push your floral wire (or skewer, or twig) into the glue. Wiggle it around a little to make sure it's really grabbing on. You want a snug fit, like a hand in a glove (a very hot, gluey glove).
Step 3: Hold On Tight! This is crucial. Hold the stem in place for a few seconds while the glue cools. Patience is a virtue, my friend. Don't rush it!
Step 4: Reinforcements! (Optional) For extra security, you can add a little more glue around the base of the stem where it meets the flower. Think of it as floral insurance.

Step 5: Repeat! Keep going until all your flowers have stems. This is where you can put on some music, zone out, and just enjoy the process. It's strangely therapeutic.
Stemming Secrets and Pro Tips
Want to take your stemming game to the next level? Here are a few insider tips:
Wire Gauge Matters: Thicker wire is sturdier, especially for larger flowers. Flimsy wire might bend under the weight.
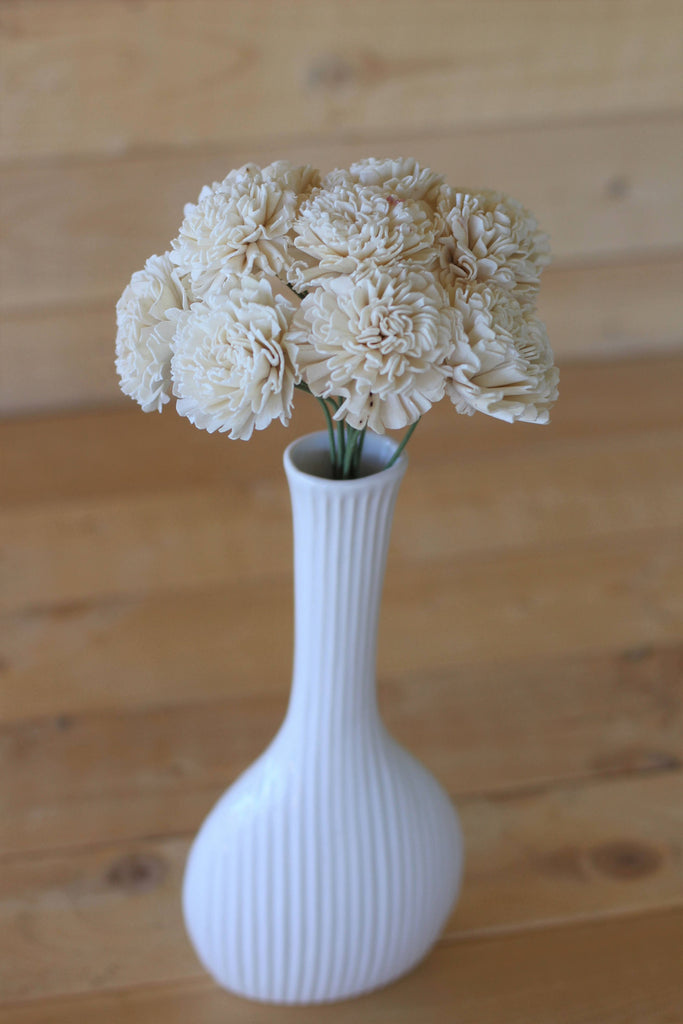
Pre-Cut Your Wire: Save time and hassle by cutting your wire into the desired lengths before you start gluing. This is like prepping your ingredients before cooking; it makes the whole process smoother.
Hide the Glue: If you're worried about the glue showing, you can cover it with floral tape or ribbon. Get creative!
Embrace Imperfection: Don't stress about making every stem perfectly straight. A little bit of wabi-sabi (the beauty of imperfection) adds character to your arrangements.
Beyond the Stem: Creative Possibilities
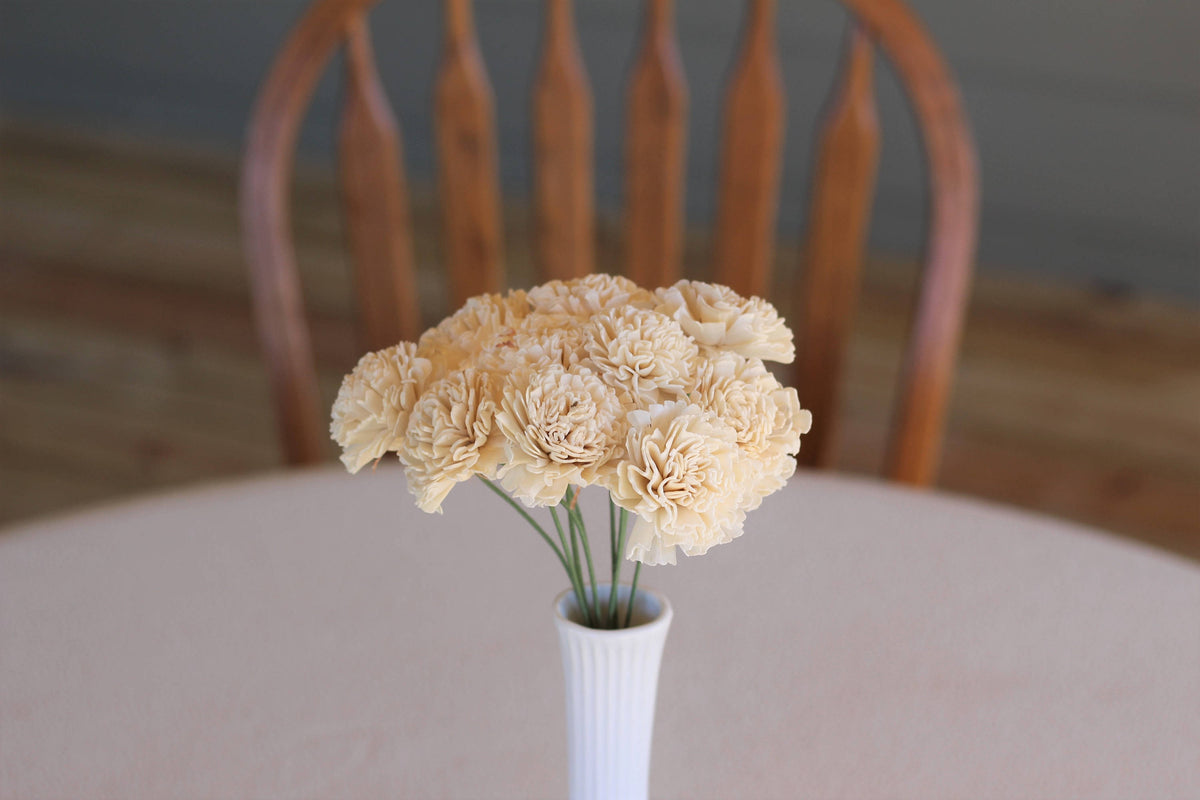
Once your flowers are stemmed, the real fun begins! You can arrange them in vases, make bouquets, create wall hangings, or even use them to decorate cakes. The possibilities are endless!
Think about adding some greenery to your arrangements. Ferns, eucalyptus, and even artificial leaves can add a touch of realism and visual interest. You can also experiment with different colors and textures. Spray paint your flowers, add glitter, or even embellish them with beads and sequins.
The beauty of sola wood flowers is that they're a blank canvas for your creativity. So, go wild, experiment, and have fun! Don't be afraid to make mistakes. That's how you learn and discover new techniques. And who knows, you might just create the next floral masterpiece!
So grab your glue gun, your flowers, and get ready to unleash your inner florist. Happy stemming!