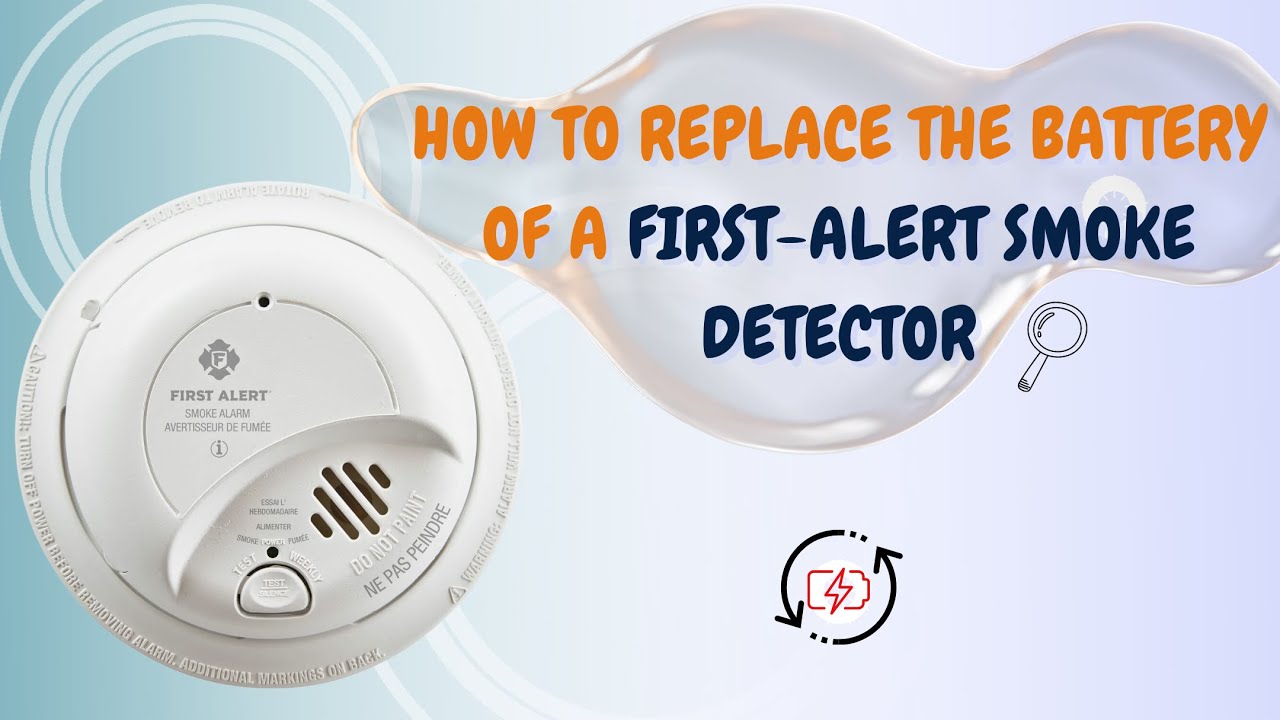
How To Open First Alert Smoke Alarm Battery Compartment
Ah, the dreaded "chirp." If you've ever woken up in the middle of the night to that insistent, tiny beep, you know the particular brand of frustration and urgency it brings. It's not just a sound; it's a declaration that your smoke alarm needs attention, and often, that means a fresh set of batteries. But here's where the "fun" part comes in: successfully opening that battery compartment can feel like cracking a secret code! It's a small, satisfying victory that empowers you, saves you a potential service call, and most importantly, ensures your home stays safe.
Learning how to pop open your First Alert smoke alarm's battery compartment isn't just about silencing that annoying chirp; it's about proactive home safety. Smoke alarms are our first line of defense against household fires, and their effectiveness hinges entirely on working batteries. Regularly checking and replacing them (experts recommend at least once a year, and definitely when you hear that chirp!) ensures they're always ready to warn you and your loved ones. Plus, it's incredibly rewarding to tackle a common household chore with confidence, knowing you've got the know-how right at your fingertips.
So, let's get down to business! Opening a First Alert smoke alarm battery compartment is usually a straightforward process, though models can vary slightly. Here’s your friendly guide:
Must Read
Step 1: Get Down (or Up!) to Your Alarm
If your alarm is ceiling-mounted, you'll likely need a sturdy step stool or ladder. For wall-mounted units, it's a bit easier. Safety first! Ensure you're stable before reaching for the alarm. If your alarm is hardwired (connected to your home's electrical system), don't worry about turning off the main power unless you're removing the entire unit; for just the battery compartment, it's usually not necessary.
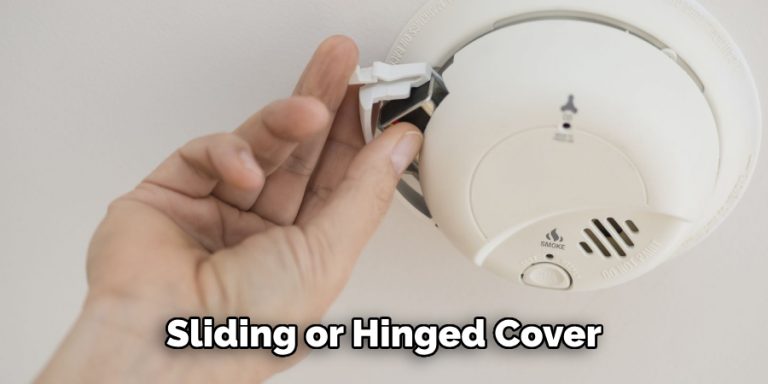
Step 2: Locate the Battery Compartment
Most First Alert smoke alarms have the battery compartment on the side or back of the unit. Look for a small door, often with a hinge or a subtle line indicating where it opens. Sometimes, there will be arrows or an indicator that says "Push" or "Slide."
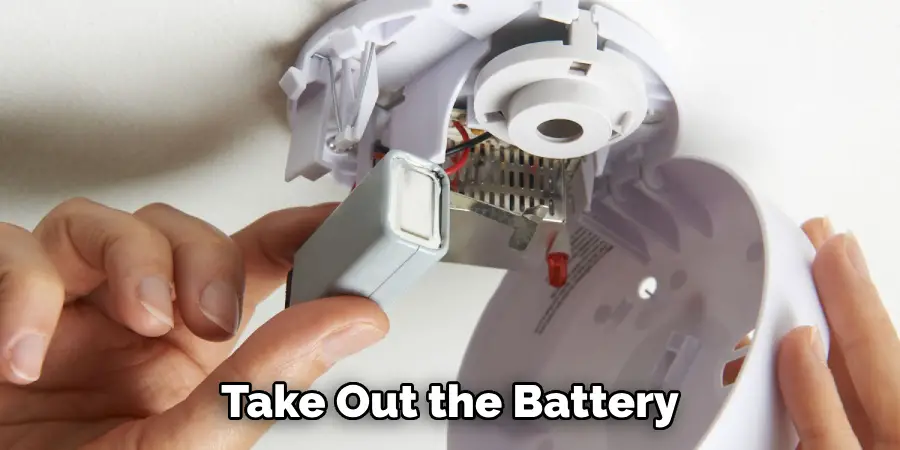
Step 3: The Big Reveal – Opening It Up!
This is where the magic happens, and it usually involves one of two common methods:
- The Push-and-Slide Method: Many First Alert models have a small tab or latch. You'll need to gently push this tab inward or upward, and then simultaneously slide the battery door open. It might require a little finesse, but don't force it too hard. If it feels stuck, double-check for arrows guiding your slide direction.
- The Twist-Off Base Method: For some models, especially those that twist off their mounting bracket, the battery compartment might be accessible once the entire alarm unit is removed from its base. You'd typically twist the alarm counter-clockwise to detach it, and then you'll find the battery door on the back.
Step 4: Replace and Test!
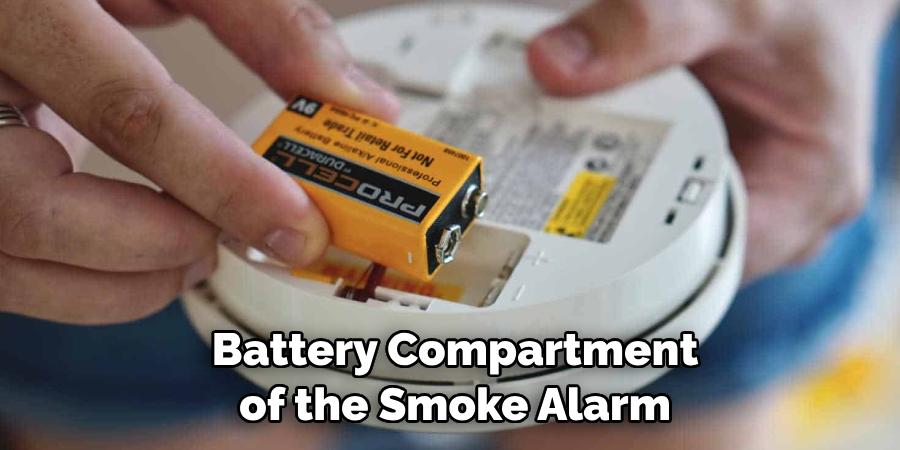
Once open, note the battery type (usually a 9V, or AA/AAA batteries). Replace the old battery with a fresh one, making sure to match the polarity (+ and - symbols). Close the compartment firmly until you hear a click. Finally, press the "Test" button on the front of the alarm. You should hear a loud, piercing siren, confirming your heroic efforts have paid off! Reinstall the alarm securely on its mounting bracket.
And there you have it! You've successfully navigated the thrilling world of smoke alarm battery replacement. Not only have you silenced that persistent chirp, but you've also contributed to the safety of your home, all with a simple, satisfying DIY fix. Go ahead, give yourself a pat on the back!