How To Mute Video Sound In Windows Movie Maker

Okay, let's talk about silencing those noisy videos in Windows Movie Maker. Because sometimes, silence really is golden. Especially when your cat's opera rendition accidentally got recorded.
First, the Basics: Find the Clip
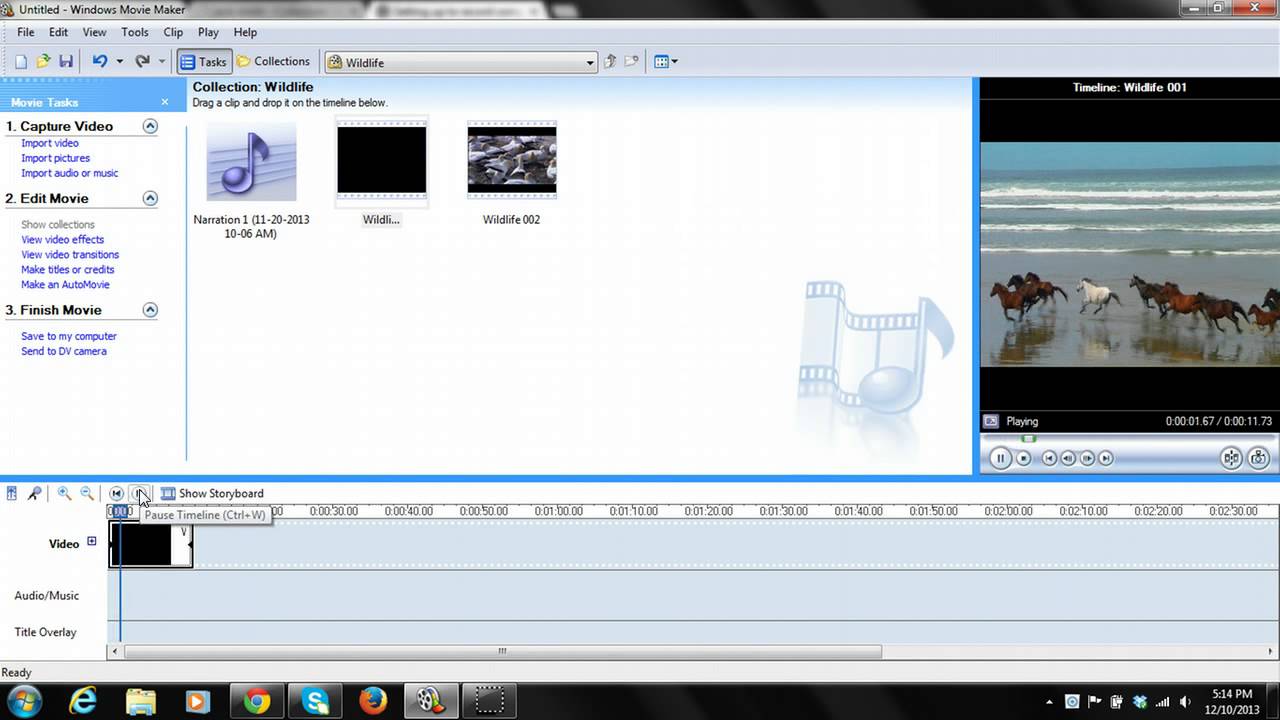
Spot the video clip you're about to muzzle. You know, the one with the questionable audio? Drag it to the timeline if it's not already there. That's step one, soldier.
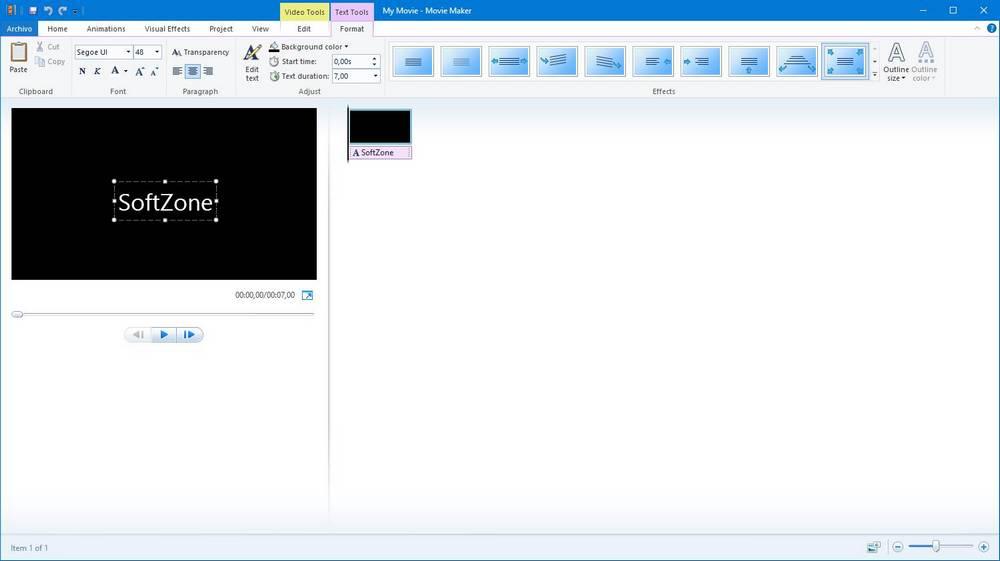
Now, are we dealing with Windows Movie Maker from a bygone era? Or a newer, slightly-less-ancient version? It matters more than you think. Trust me.
Must Read
The Mute Button: If You Can Find It
Some versions of Windows Movie Maker have a super obvious mute button. Lucky you if you have one! It's usually a little speaker icon looking sad and crossed out. Click it!
If you do see that speaker icon, go for it! One click, and instant blissful silence. You're basically a sound-muting ninja at this point.
But what if the audio controls are hiding? Don't fret! We'll dig deeper, my friend.
Adjusting the Volume Directly
Here's a trick that works in many versions. Right-click on the video clip in the timeline. Look for something like "Volume" or "Audio."

A slider probably appears. Slide that bad boy all the way to the left. That’s right, take it to zero. Congrats, the sound is officially banished.
Sometimes, it's under "Edit" or "Audio Options." Keep poking around! It's like a treasure hunt, but the treasure is quiet.
The Unpopular Opinion: Just Remove the Audio Altogether
Now, here's where things get controversial. This might be an unpopular opinion, but hear me out. Just ditch the audio. Completely. Get rid of it!
There's usually a way to detach the audio track from the video track. Find that option (again, right-click is your friend). Then, delete the audio track. Problem solved.
Think about it. If you don't need the sound, why even bother muting it? Just remove it. Cleaner. Simpler. More satisfying. I said what I said!
Splitting the Clip: For Selective Silence
Okay, maybe you only want to mute part of the video. Like, just the section where your dog starts barking at the mailman. That’s doable.
Use the "Split" function to cut the video into pieces. The offending section becomes its own clip. Then, mute that clip only.
It’s like surgery, but for your video's audio. Precise. Effective. And way less messy than real surgery.

Replacing the Audio: A Pro Move
Feeling fancy? Instead of muting, replace the audio. Add some music. A voiceover. Birdsong. Anything's better than that vacuum cleaner noise you accidentally recorded.
Import your new audio file. Drag it to the audio track. Adjust the timing. Boom. Silent video turned into a masterpiece. Or at least, something slightly less embarrassing.
This requires a bit more effort, but the results can be amazing. Transform a mundane video into something special. All by killing the original sound.
Troubleshooting: When Things Go Wrong
Sometimes, Windows Movie Maker is just plain stubborn. The volume slider disappears. The mute button vanishes. Audio becomes sentient and refuses to be silenced.
If that happens, restart the program. Sometimes, all it takes is a fresh start. It’s like a digital spa day for your video editor.
If that doesn't work, Google is your friend. Search for "Windows Movie Maker won't mute audio." You're not alone. Many have suffered this fate before.
Embrace the Silence
Ultimately, muting video sound in Windows Movie Maker is about control. Taking charge of your audio. And sometimes, admitting that silence is a virtue.
So, go forth and mute! Banish those unwanted noises. Create videos that are peaceful, engaging, and free from the tyranny of bad sound.
And remember, my controversial opinion still stands. When in doubt, just delete the audio. You won't regret it. Unless, of course, you actually needed that cat opera. Then, I apologize.