How To Make Supports Easier To Remove

Okay, let's talk about 3D printing. We all love it, right? It's like having a tiny robot friend who makes plastic toys (or, you know, important prototypes) on demand. But there's a hidden villain lurking in this otherwise utopian world: supports. Those pesky scaffolding structures we need to build anything remotely complicated. They're there to help, but boy, do they sometimes make things difficult.
We've all been there. You spend hours crafting the perfect model, meticulously adjusting settings, and then… the print finishes! You're giddy with excitement! You rush over, ready to behold your creation… only to be confronted by a tangled web of plastic clinging stubbornly to every conceivable surface.
And then begins the battle. You grab your trusty tools – pliers, snippers, maybe even a tiny dental pick you borrowed from your Aunt Mildred. You start hacking and sawing, praying you don't accidentally snap off an arm, a leg, or, heaven forbid, the delicate little nose you spent ages perfecting. Sometimes, you feel like an archaeologist carefully excavating a precious artifact from a hardened layer of sediment. Other times, you feel like a toddler attacking a piñata with a blunt spoon.
Must Read
But fear not, fellow 3D printing enthusiasts! There's hope! It doesn't have to be this way. We can tame these support structures, making them less like tenacious barnacles and more like… well, polite little plastic helpers who detach with a gentle nudge.
The Great Bed Adhesion Liberation
First, let’s talk about getting a grip. Literally. That first layer of plastic needs to stick to the build plate like a lovesick limpet. If it doesn't, the whole print, supports included, will lift off, leaving you with a warped, stringy mess. The solution? A clean bed. Seriously, clean it. I use isopropyl alcohol (the higher percentage, the better), but glass cleaner also works in a pinch. Make sure you let it dry completely before starting your print. We need the plastic to commit!

Now, the first layer is important here. If the gap between the nozzle and bed is set right, it will create a smooth finish that will be easier to remove.
The Temperature Tango
Next up: temperature! Think of your 3D printer as a picky dancer. It needs the right environment to perform at its best. Experiment with your nozzle and bed temperatures. A slightly lower nozzle temperature can sometimes make the supports a little less fused to your model. It's like asking them to hold hands, not get permanently glued together. Bed temperature is equally important. Too hot, and everything melts together; too cold, and nothing sticks. Again, play around with the settings to see what works best for your filament.

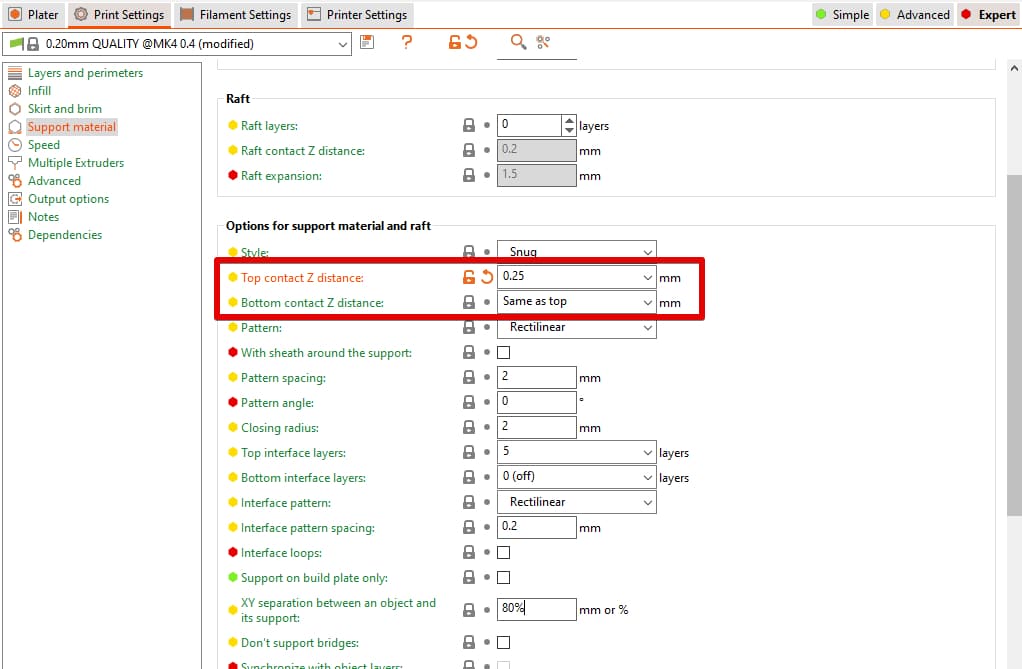
The Z-Gap Revelation
This is where things get slightly more technical. The Z-gap is the distance between the supports and the model. A slightly larger gap can make a world of difference. It creates a tiny buffer zone, a no-man's-land where the supports aren't directly attached to the part. This means less effort, less damage, and fewer tears when it's time to separate them. Find that sweet spot!
Think of it like this: imagine trying to separate two Lego bricks that have been pressed together really hard. Now imagine there's a thin piece of paper between them. Much easier, right? That paper is your Z-gap!

The Filament Fable
Let's talk about filament. Not all plastic is created equal. Some filaments, like PLA, tend to be more brittle and break away from supports more easily than others. ABS, on the other hand, can be a bit more… clingy. Experiment with different materials to see what works best for your needs. You might discover that a particular brand or type of filament is your secret weapon in the war against stubborn supports.
Ultimately, removing supports is a bit of an art form. It requires patience, a delicate touch, and a willingness to experiment. But with a little practice and these helpful tips, you can transform the process from a frustrating chore into a satisfying and even therapeutic experience. Just remember to breathe, take your time, and maybe put on some calming music. After all, you're creating something amazing!
And who knows, maybe one day, we'll have 3D printers that automatically dissolve supports with a magical potion. Until then, happy printing and may your supports detach with ease!