How To Make Background Black In Lightroom Mobile

Hey, friend! So you wanna learn the secret sauce to making those backgrounds pop with a deep, dark black in Lightroom Mobile? Awesome! You've come to the right place. Seriously, it's easier than ordering a latte (and probably faster too, depending on the barista...). Let's dive in!
First things first: Grab your phone, fire up Lightroom Mobile (you do have it, right? If not, download it! It's free-ish!), and pick the photo you want to work your magic on.
The Selective Tool is Your New Bestie
Okay, so here's where the fun begins. Forget global adjustments for this. We're going selective! You'll want to tap that little icon that looks like a circle with a plus sign inside (it's usually at the bottom). That's the Selective Tool.
Must Read
Think of the Selective Tool as your digital paintbrush. It lets you tweak specific areas of your image without messing everything else up. Neat, huh?
Brushing It On (Like a Pro!)
Now, you'll see a few options, including the Brush. Select that one! And get ready to… well, brush. You’re basically painting over the background with a selection mask.

Don't worry if you're not perfect at first. Zoom in! Use two fingers to pinch and zoom, just like you do when stalking someone on Instagram (kidding… mostly!). Accuracy is key here, my friend. The more precise you are, the better the result. Nobody wants a halo effect around their subject!
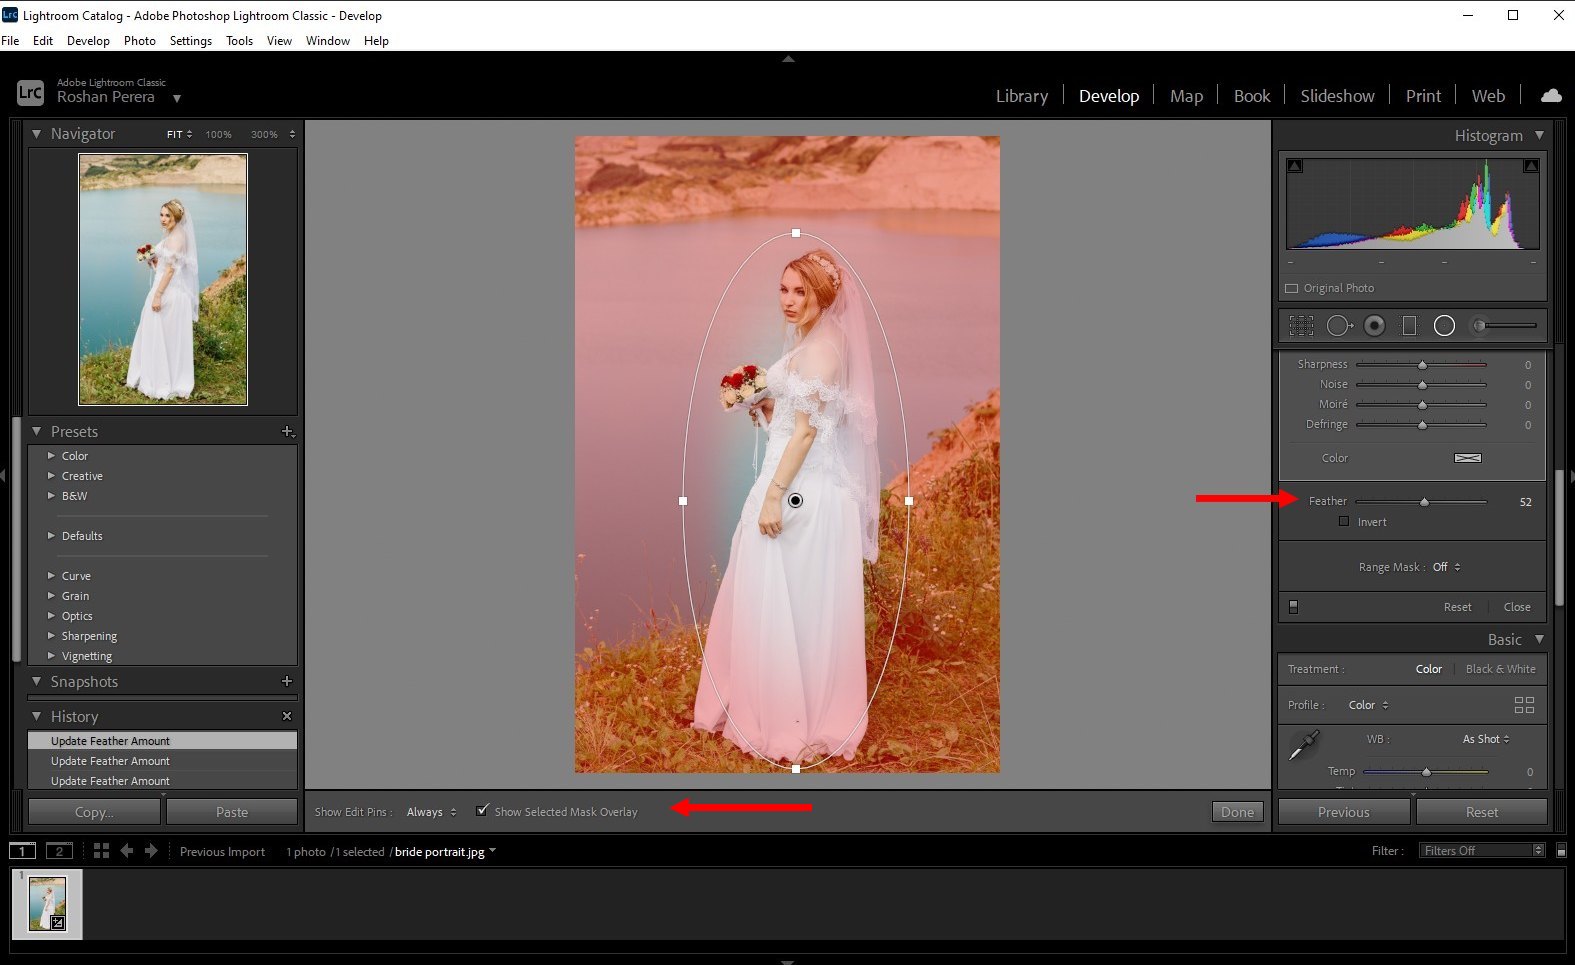
Pro-tip: Adjust the brush size and feathering. The smaller the brush, the more detailed the work. Feathering determines how soft the edges of your selection are. Play around with it until you get a nice, natural blend. What if you mess up? No biggie! The eraser tool is right there. Just tap it and undo your sins. We all make mistakes, right? Especially after that second (or third) cup of coffee.
Turning Down the Lights (Dramatic Effect!)
Alright, you've painstakingly (or effortlessly, if you’re some kind of Photoshop wizard) selected the background. Now for the real magic: dragging that Exposure slider wayyyy down. Like, almost all the way to the left. Don't be shy!
See how the background is getting darker? Keep going until you reach that beautiful, inky blackness. Mwah! Chef's kiss!
But wait! Don’t go overboard. We want it dark, but not… void-of-all-existence dark. You still want a little bit of detail, so you can fine-tune your adjustments. It’s all about balance.
Fine-Tuning is Key, My Friend
Okay, so exposure is your main tool here, but don't neglect the other sliders. Maybe decrease the Highlights a tad to kill any bright spots. You can also mess with the Shadows if needed. Sometimes, just a tiny nudge is all it takes.
Also, consider desaturating the background a tiny bit. Sometimes, color can linger even in shadows. A little desaturation can help achieve that true black. We're talking subtle, though. Don't turn your background grayscale unless that's the look you're going for.
Spot Healing: Because Imperfection Happens
Notice any little imperfections after all that work? Maybe some stray hairs or dust spots? No sweat! The Healing Brush is your savior. It's usually in the toolbar at the bottom. Just tap on those little distractions and watch them vanish like magic!

Remember, small brush size for small imperfections! You don't want to accidentally heal away half your subject's face. That would be awkward.
Before & After: Bask in Your Glory!
And… that’s it! Take a peek at the before-and-after to admire your handiwork. Tap and hold on the image to see the original, then release to see your edited masterpiece. Pretty cool, huh?
Now, go forth and conquer the world, one dramatically black background at a time! Share your creations, tag me (just kidding… unless you want to!), and most importantly, have fun! And if you get stuck, just re-read this guide. I promise, it’ll all make sense. Happy editing!