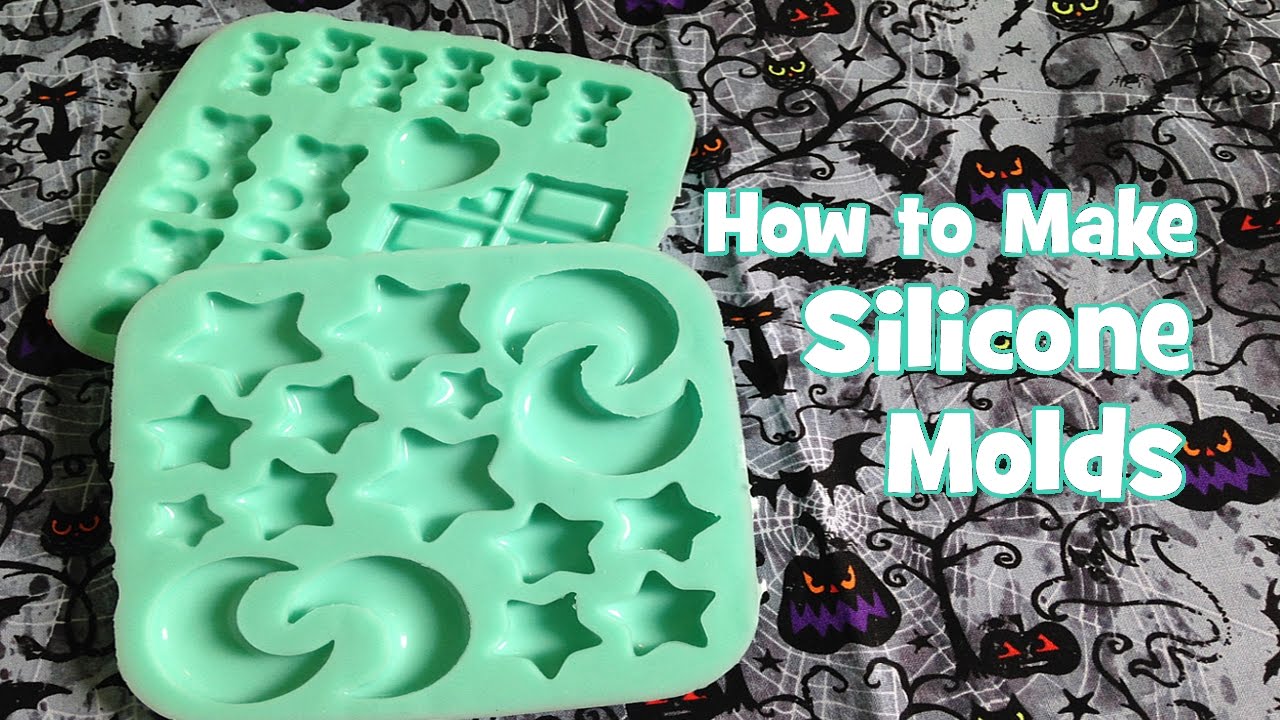
How To Make A Silicone Mold

Ever looked at a perfectly quirky little trinket – maybe a wonky ceramic mug your niece made, a oddly charming garden gnome, or that one particularly scrumptious-looking donut that just begs to be immortalized – and thought, "I wish I could have a dozen of these?" Well, buckle up, buttercup, because we’re about to dive into the delightfully squishy, surprisingly simple world of making a silicone mold. It’s less like rocket science and more like a very patient, very satisfying baking project, minus the actual baking.
The Star of the Show: Your Original Masterpiece
First things first, pick your champion! This is the original object you want to clone. Let’s imagine it's Barnaby the Bigfoot, a small, slightly lopsided clay creature your kid made that holds a special place on the mantel. Make sure Barnaby is clean, dry, and ready for his big close-up. If he has any tiny nooks or crannies, give them a gentle scrub with an old toothbrush – we want every charming imperfection captured. This is where the magic truly begins: selecting the thing that sparks joy.
Next, Barnaby needs a cozy little temporary home. You’ll build a small, sturdy box around him – think of it as a tiny, custom-fit swimming pool. Cardboard, LEGO bricks, or even repurposed plastic containers work wonders. Just make sure the walls are taller than Barnaby and sealed tight at the bottom. A hot glue gun can be your best friend here, creating little dams to prevent any leaks. We’re essentially creating a perfectly sized little theatre for our star.
Must Read
Mixing Up the Magic Potion
Now for the part that feels like a scene from a playful science experiment! You'll be working with a two-part liquid silicone. It usually comes in two bottles, like a secret recipe for everlasting squishiness. You’ll measure out equal parts of Part A and Part B into a clean mixing cup. Seriously, equal parts. Don't eyeball it unless you enjoy surprises – and not the fun kind where a new puppy appears.
Once measured, grab a stir stick (a popsicle stick works great!) and start mixing. This isn't a gentle stir, folks; this is a thorough, scrape-the-sides-and-bottom-like-you're-making-the-best-omelet-ever kind of mixing. You'll see the two clear or colored liquids combine, often turning into a uniform color. The key here is to mix for about 3-5 minutes, ensuring every molecule gets to meet its counterpart. It’s like a tiny chemical speed-dating event, and you’re the matchmaker! This is often the point where you might think, "Is this actually going to work?" and the answer is a resounding, "Oh yes!"

"The best part is watching the two liquids merge, knowing you're about to capture something truly unique."
The Gentle Pour and the Waiting Game
Here's the Zen moment. With your mixed silicone, slowly, ever so slowly, pour it into Barnaby’s little pool. Aim for the lowest point next to Barnaby, letting the liquid gently flow and creep up around him. Imagine pouring warm honey or molasses – slow and steady wins the race, especially when trying to avoid pesky air bubbles. Those little bubbles can be quite mischievous, trying to hide in all the wrong places. A little tap on the side of the container can sometimes encourage them to surface, like tiny, translucent fish swimming upwards.
Once Barnaby is completely submerged, looking like he's taken a very luxurious, very thick bath, it's time to wait. This is the hardest part for the impatient among us! Depending on the silicone you used, it could be a few hours or even overnight. It’s like waiting for a cake to bake, but instead of delicious aromas, you get the quiet hum of anticipation. Go do something else. Read a book, walk the dog, ponder the mysteries of the universe. Just don't poke it every five minutes – it needs its space to solidify into that magical, flexible rubber.

The Grand Reveal: A Star is Born (Again!)
The moment of truth! When the silicone is firm to the touch – no longer sticky or squishy, but wonderfully rubbery – it’s time for the big reveal. Carefully peel away the walls of your temporary box. This part is surprisingly satisfying, like unwrapping a particularly well-done present. Then, ever so gently, start to separate the silicone from Barnaby the Bigfoot. You’ll carefully flex and pull the silicone, and Barnaby will pop out, often with a soft, rubbery sigh.
And there you have it! A perfect, flexible, and utterly charming silicone mold. It’s a mirror image of your original, capturing every tiny detail, every heartwarming imperfection. You’ll hold it in your hands, marveling at its uncanny resemblance, and perhaps let out a little cheer.
"It’s like magic, but with science and a whole lot of careful pouring!"From here, the possibilities are endless. You can use this mold for resin, wax, clay, even chocolate (if it’s food-safe silicone, of course!). You've not just made a mold; you've opened a tiny portal to endless creativity, ready to replicate your beloved Barnaby a thousand times over, or whatever other quirky treasures you want to bring into the world. It’s a simple process that yields truly remarkable results, proving that sometimes, the best surprises are found in the most unexpected squishy places.