
How To Make A Flower Bracelet With Real Flowers

Okay, so picture this: I was at a music festival last summer, attempting to channel my inner flower child (which, let’s be honest, mostly involved sweating profusely and trying not to spill my overpriced lemonade). Everyone had these amazing flower crowns, and I was suffering from serious flower crown envy. BUT, I also knew I'd probably end up crushing one in about five minutes. Then I saw a girl with a delicate little flower bracelet, and BAM! Inspiration struck. Flower bracelet: achievable, adorable, and significantly less likely to be destroyed by clumsy me. Thus began my quest to master the art of the real flower bracelet.
And guess what? It's actually super easy! So easy, in fact, that I'm almost ashamed I didn't think of it sooner. Almost. Let’s dive in, shall we?
What You’ll Need
Alright, gathering your supplies is the first step to floral fabulousness. Here’s your shopping (or scavenging, depending on your access to flowers!) list:
Must Read
- Fresh Flowers: Obviously! Go for smaller blooms that are relatively sturdy – daisies, baby’s breath, small roses, even some sturdy wildflowers work great. Think delicate, not dramatic. And hey, foraging is fun, but make sure you're not picking anything rare or protected! wink
- Floral Tape: This is your best friend. Trust me. It’s that slightly sticky, greenish tape that florists use. You can find it at most craft stores. Don’t skimp on this, cheap tape will just lead to frustration.
- Scissors or Wire Cutters: For snipping those stems. Sharpness is key! (Safety first, kids!)
- Floral Wire (Optional, but Recommended): This adds extra stability, especially if you’re using slightly heavier flowers. Think of it like the backbone of your bracelet.
- String or Ribbon: To tie the bracelet closed. Choose something that complements your flowers. Raffia, embroidery floss, even a pretty piece of lace work! You get bonus points for creativity.
- Water Spray Bottle: Keep those blooms hydrated!
Let's Get Crafting!
Now for the fun part! Prepare to unleash your inner floral artist (even if your inner artist is just a stick figure drawer, like mine).
Step 1: Prep Your Flowers. Snip the stems of your flowers to about 1-2 inches long. This makes them easier to work with. Gently remove any extra leaves near the top of the stem – you don’t want those getting in the way. Give them a little spritz with water to keep them happy and hydrated. Happy flowers, happy bracelet, happy you!
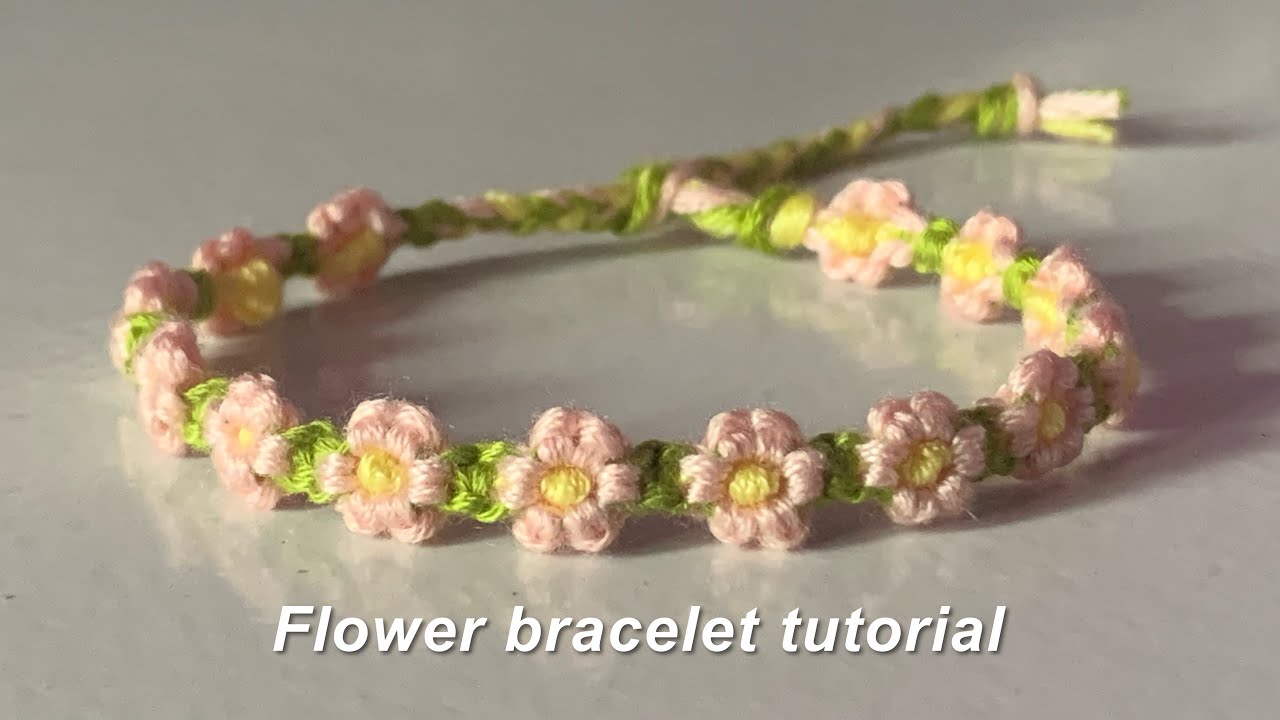
Step 2: Wire It Up (If Using). Cut a length of floral wire slightly longer than the desired length of your bracelet. Gently wrap floral tape around the wire to create a smooth base. This will prevent the wire from poking your skin and provide a better surface for attaching the flowers. This step is totally optional, but I find it makes the bracelet much more durable. Especially if you, like me, are prone to accidental arm-flailing.
Step 3: Start Attaching Flowers. This is where the magic happens! Take one flower and place its stem along the wire (or directly onto the floral tape if you skipped the wire step). Secure the stem with floral tape, wrapping it tightly around both the stem and the wire/tape base. Add another flower, slightly overlapping the first, and secure it with more floral tape. Repeat this process, alternating flower colors and types as desired, until you reach your desired bracelet length. Don’t be afraid to experiment with different arrangements! It’s your bracelet, after all.

Step 4: Secure the Ends. Once you’ve reached the desired length, make sure the last flower is securely taped. Leave a little extra tape at each end for added security. Trim any excess tape.
Step 5: Add the Ties. Cut two equal lengths of string or ribbon. Attach one piece to each end of the bracelet using more floral tape. Make sure they’re securely attached so your bracelet doesn’t fall apart mid-dance-move. No one wants a flower-bracelet-related wardrobe malfunction!

Voila!
You've officially created a real flower bracelet! Now, go forth and adorn your wrist with floral beauty.
Important Note: These bracelets are delicate and won’t last forever. The flowers will eventually wilt. But that’s part of their charm! They're a fleeting piece of natural art. Think of it like a beautiful, ephemeral statement. And if they start to look a little sad, just make another one! It’s a great excuse to get crafty.
Pro-Tip: Store your bracelet in the refrigerator when you’re not wearing it to help it last longer. Seriously, a little fridge time can work wonders. Also, avoid getting it wet. Trust me on this one. Happy crafting, and may your wrists always be adorned with flowers!
