How To Make A Clipping Mask In Clip Studio Paint
Okay, so picture this: I was working on this super cool illustration of a robot cat wearing a tiny sombrero (don't ask), and I wanted to add some really detailed patterns inside the sombrero. I was painstakingly drawing each individual stitch, and let me tell you, my hand was cramping up faster than you can say "meow-chihuahua." Then, my artist friend swooped in like a digital art superhero and said, "Why aren't you using a clipping mask?!" I stared blankly. Clipping…what now? Turns out, this magical thing called a clipping mask would have saved me approximately 47 years of my life. (Okay, maybe not that long, but it felt like it!). That's when I decided to learn how to use it, and now I want to share the wisdom with you!
So, what exactly is a clipping mask? Think of it like this: you have a cookie cutter (your shape) and some cookie dough (your pattern or image). The cookie cutter determines what part of the dough you actually get to keep. In Clip Studio Paint, the layer below acts as the cookie cutter, and the layer above is the dough. Only the part of the top layer that overlaps the bottom layer is visible. Pretty neat, huh?
The Simple Steps to Clipping Mask Glory
Alright, let's get down to the nitty-gritty. Here's how to create a clipping mask in Clip Studio Paint:
Must Read
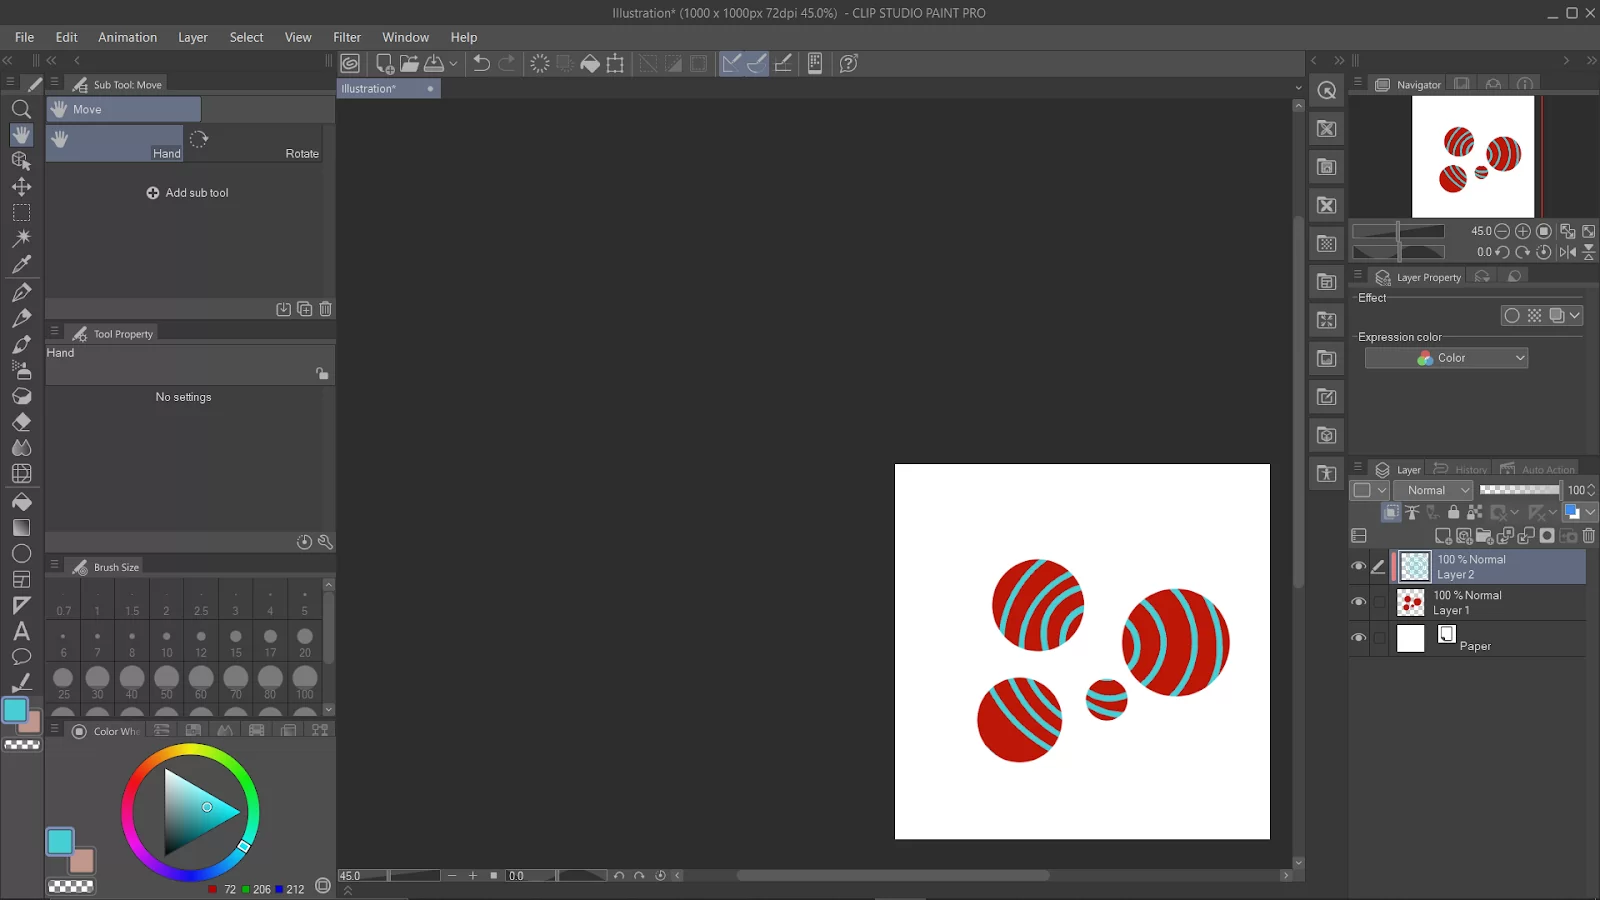
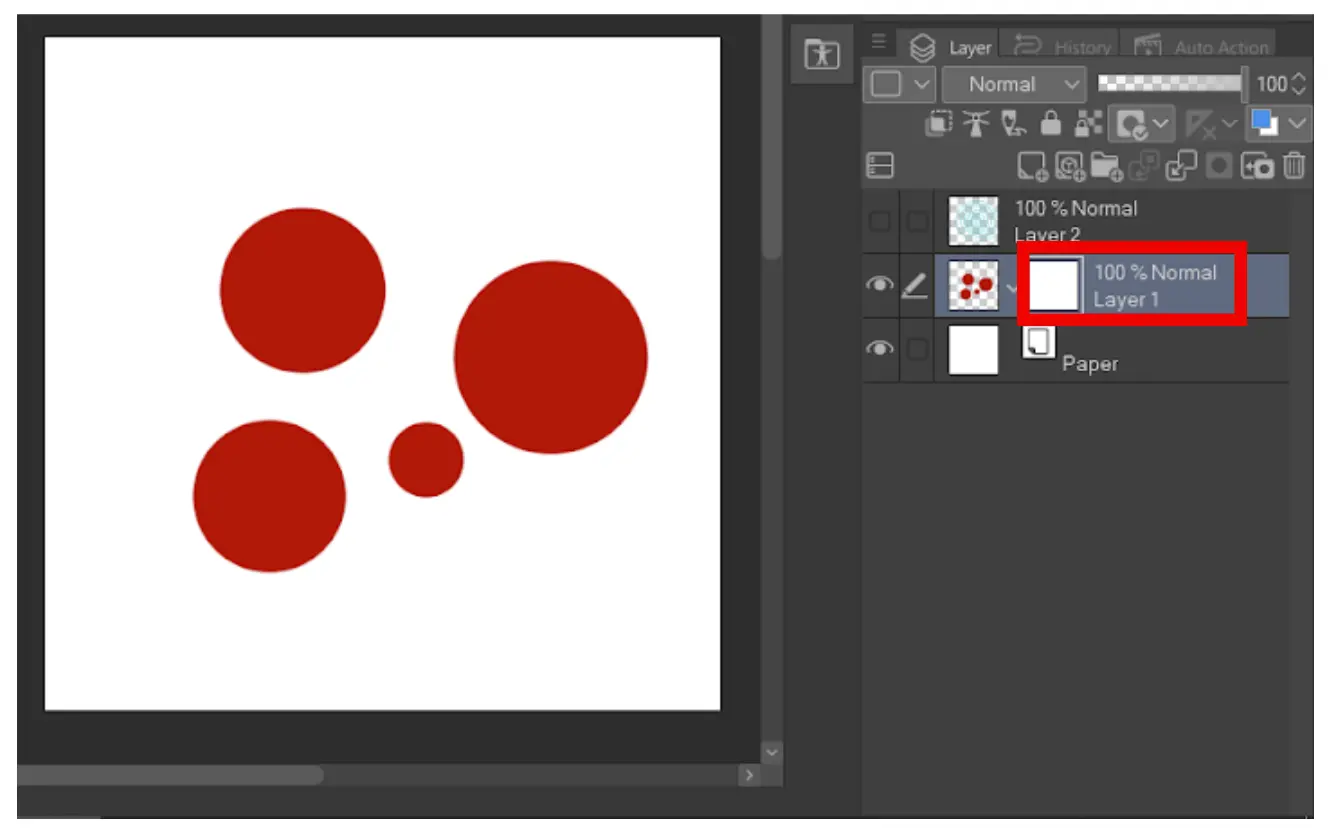
- Prepare your layers. This is the most crucial step. Make sure you have your base layer (the shape you want to clip to) and the layer you want to clip on top of it. In my robot cat example, the sombrero outline was the base layer, and the stitch pattern was the layer I wanted to clip. (Pro tip: always rename your layers so you don’t end up painting on the wrong one. Trust me, we’ve all been there!)
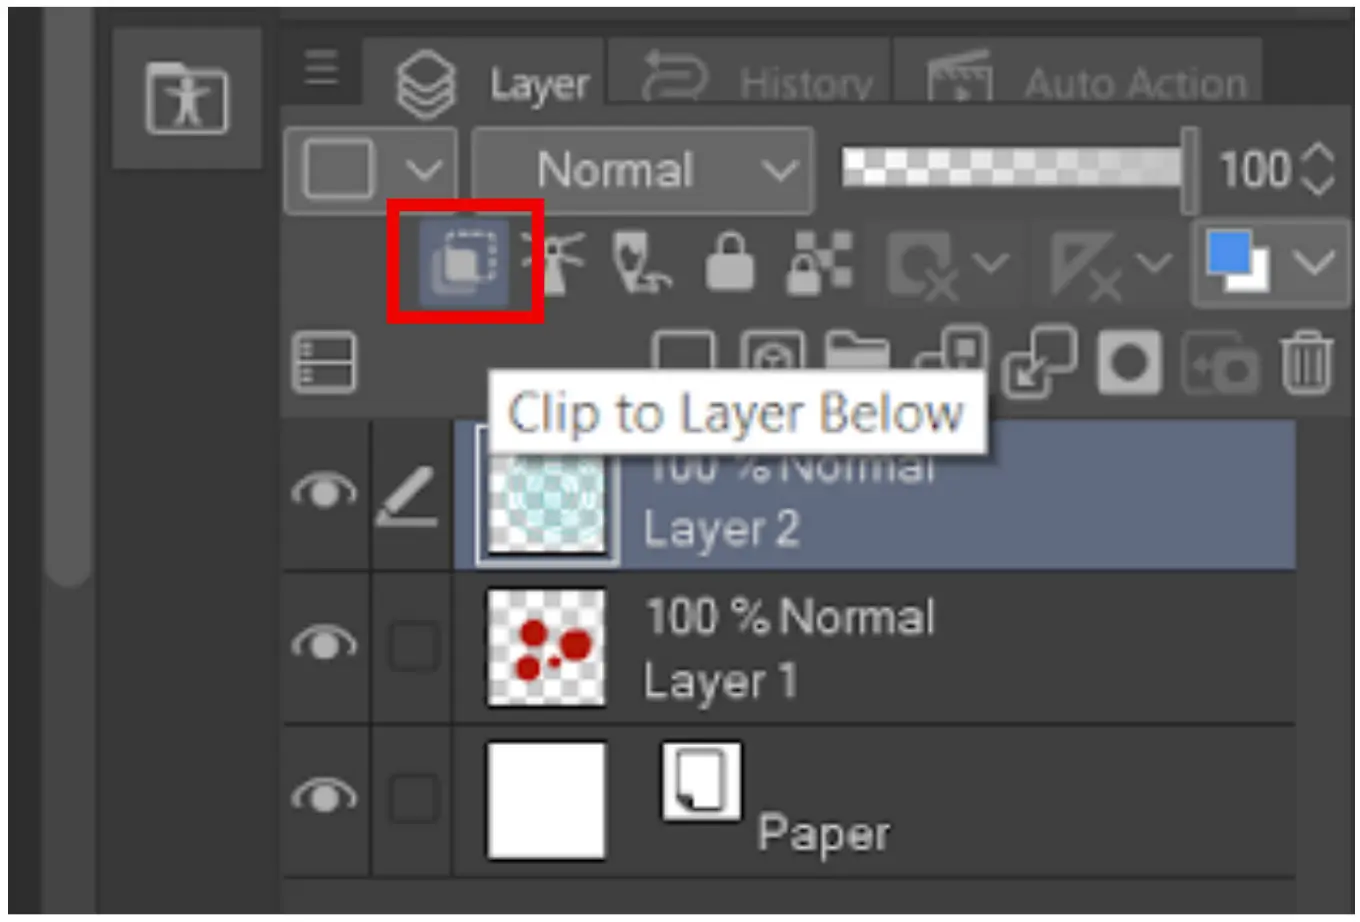
- Select the layer you want to clip. Click on the layer you want to be "inside" the shape. This is the layer that will be affected by the clipping mask.
- Click the "Clip to Layer Below" icon. This is the magic button! It looks like a little square with a smaller square tucked inside. You can find it in the Layer panel, usually right above the blending modes. One click, and BAM! Your layer is now clipped.
See? Easy peasy lemon squeezy! You should see a little vertical red line next to the clipped layer in your layer panel, indicating that it's clipped to the layer below.

Troubleshooting and Extra Tips
Sometimes, things don't go exactly as planned. Here are a few common issues and how to fix them:
- Nothing seems to be happening! Make sure your layer order is correct. The layer you want to clip must be directly above the base layer. Also, double-check that you've actually clicked the "Clip to Layer Below" icon!
- The clipping is weird and patchy. This might be because your base layer isn't a solid shape. Make sure it's filled with color or has a clearly defined outline. If it's a transparent layer with only strokes, the clipping might not work as expected.
- Want to unclip a layer? Simply click the "Clip to Layer Below" icon again, and the clipping will be released. Freedom!
Bonus Tip: You can clip multiple layers to the same base layer! Just make sure they're all stacked above the base layer and each one is clipped. It’s clipping mask inception!
Why You Need Clipping Masks In Your Life
Okay, so besides saving you from carpal tunnel syndrome, why should you bother with clipping masks? Well, for starters:
- They're non-destructive. You can edit the clipped layer as much as you want, and it won't affect the base shape. It's like painting with training wheels!
- They're great for adding details and textures. You can easily add patterns, shading, and highlights to specific areas without worrying about going outside the lines.
- They're incredibly versatile. You can use them for everything from adding textures to clothing to creating complex patterns and designs. The possibilities are endless!
Seriously, once you start using clipping masks, you'll wonder how you ever lived without them. They're a total game-changer! Go forth and clip, my friends, and may your robot cats always have perfectly patterned sombreros! (And if you do draw a robot cat with a sombrero, please send it to me!) Happy creating!