How To Make A Bridal Veil For Bachelorette Party

Okay, let's be honest. Bachelorette parties can get… intense. Between the matching outfits and the questionable activities, sometimes you just need something simple. Something… crafty? Yeah, let's go with that.
Operation Veil: Bachelorette Edition
So, you’re tasked with making a veil for the bride-to-be. Don’t panic! We’re not talking about cathedral-length lace masterpieces. We're talking about something fun, silly, and probably slightly embarrassing. Perfect for a bachelorette bash!
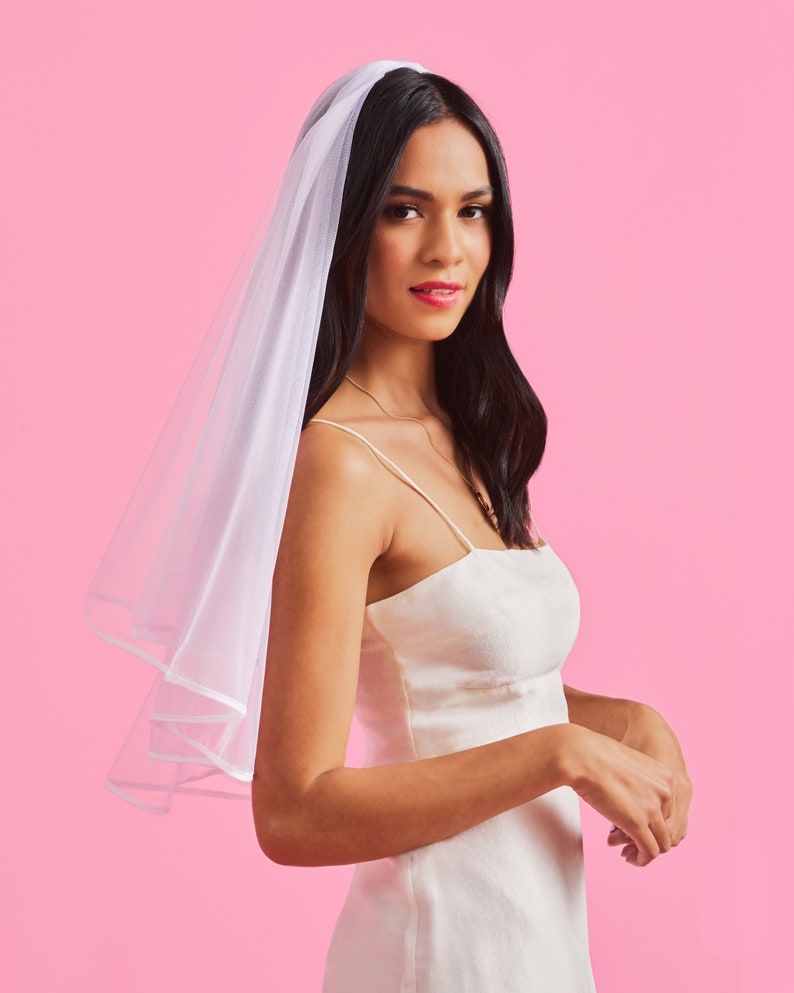
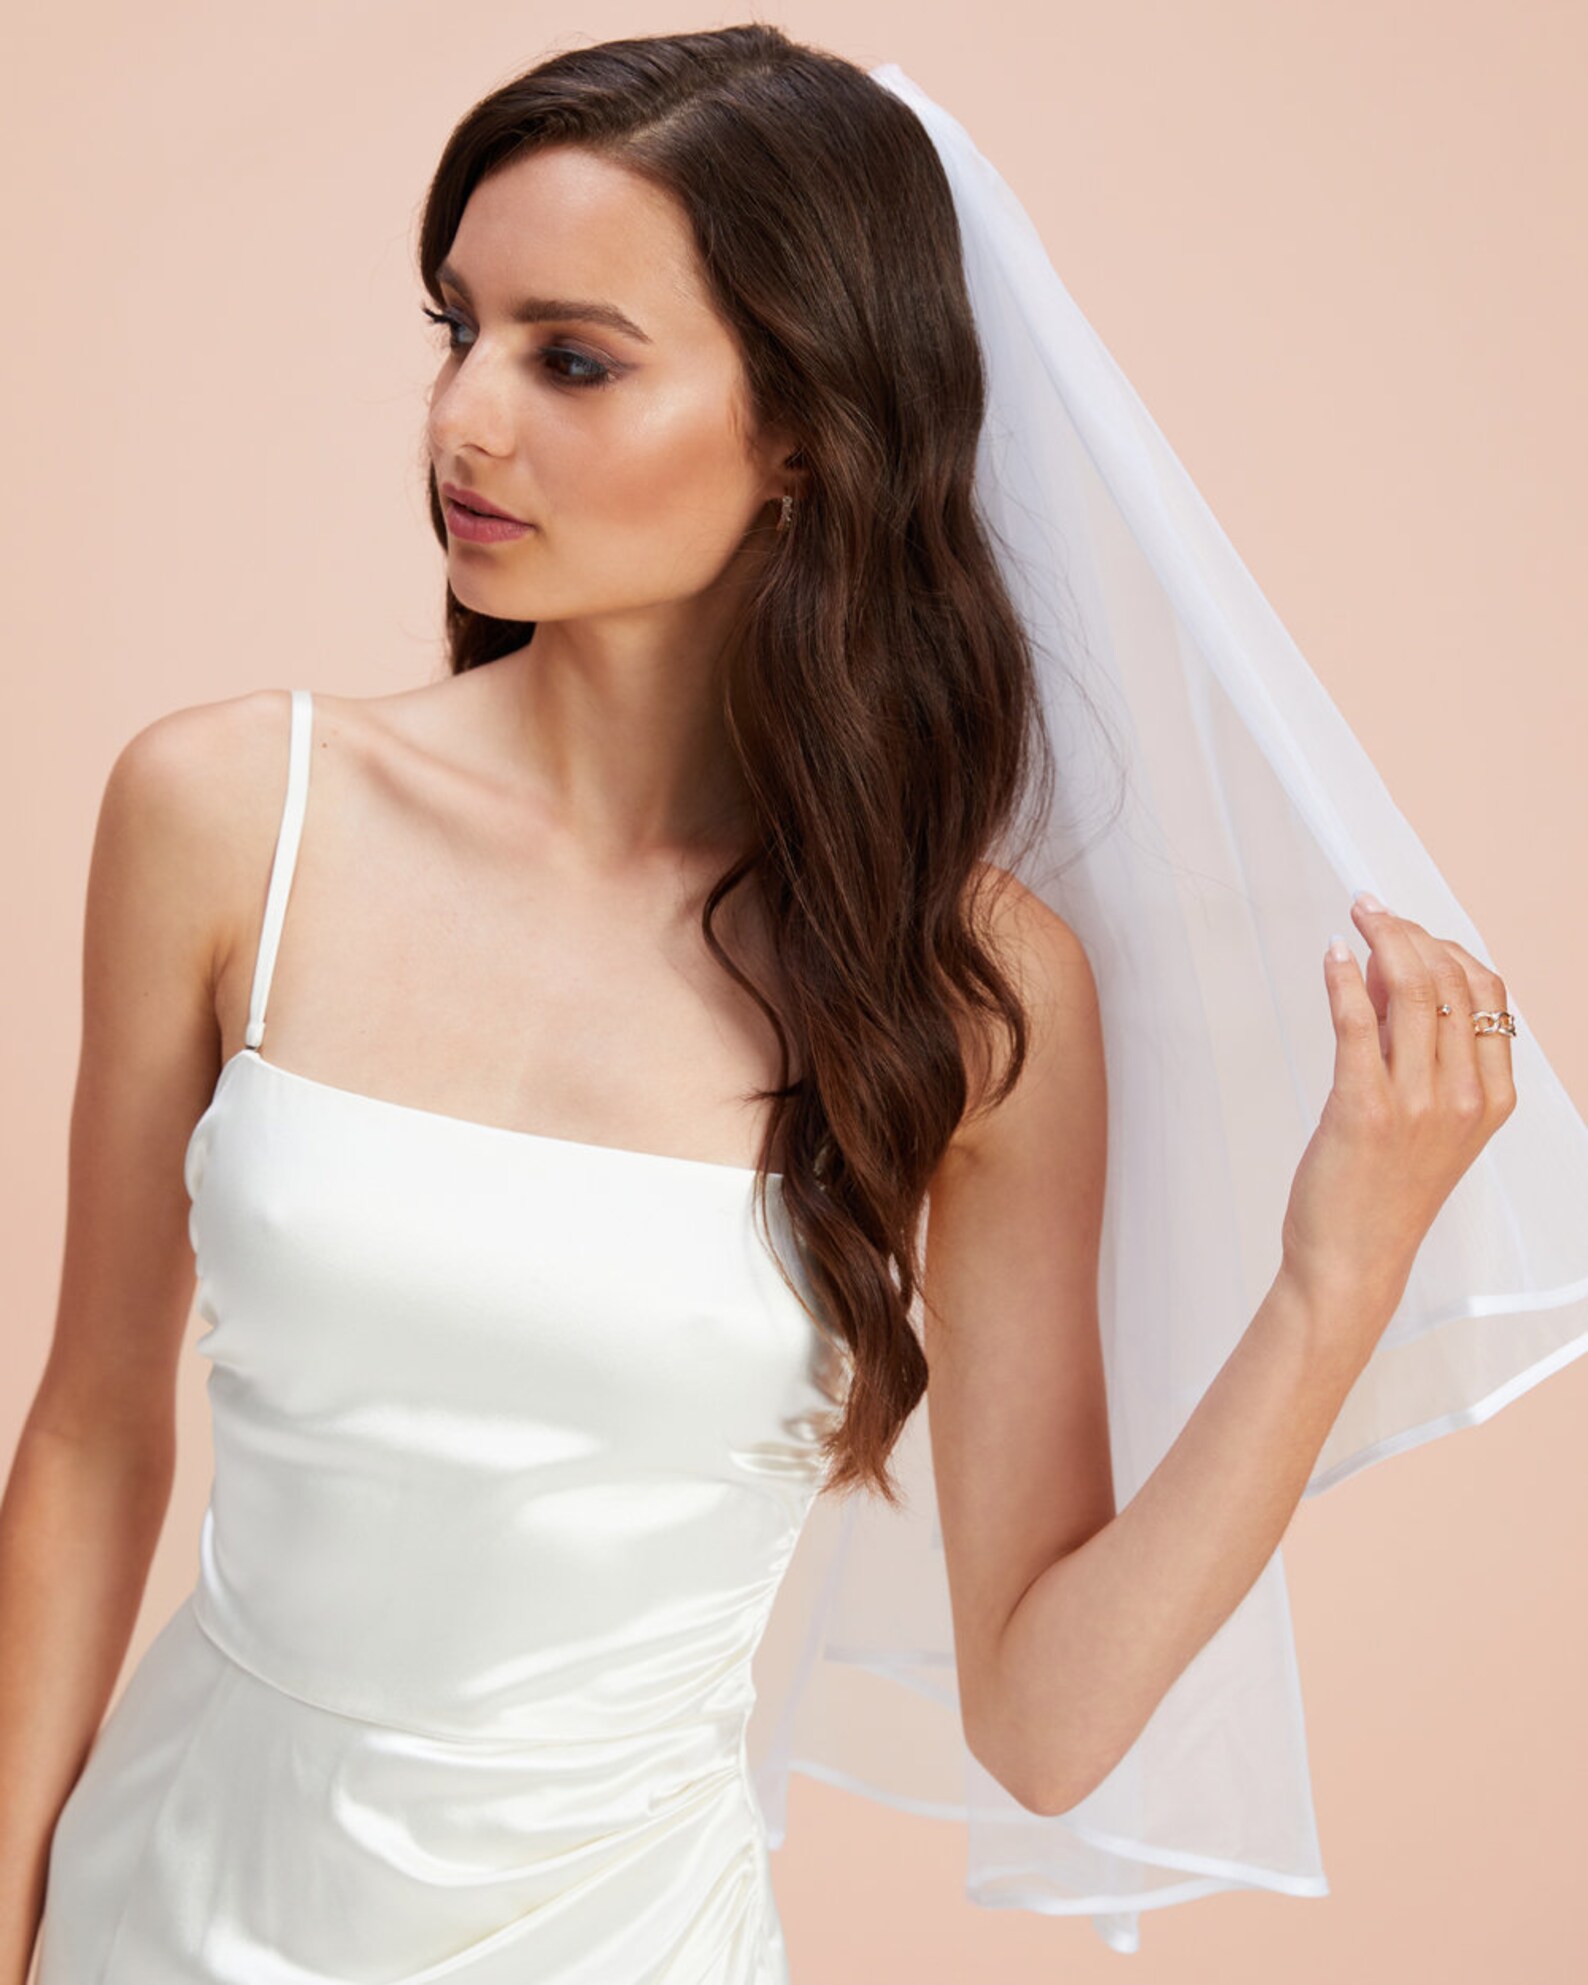
First, ditch the satin. Seriously. Unless the theme is "glamorous grandma," steer clear. We're aiming for "fun and festive," not "vintage heirloom." My unpopular opinion? Tulle is your best friend. It’s cheap, comes in a million colors, and hides a multitude of sins (i.e., uneven cutting).
Must Read
You'll need a few supplies. Tulle (duh!), a comb (plastic is fine, no need to raid your grandma's antique collection), scissors (sharp ones, unless you want a jagged mess), and a hot glue gun. Oh, and maybe some reinforcements… like wine. Crafting requires hydration, right?
The Assembly Line (of Fun!)
Cut the tulle. Now, here's where the “no rules” part comes in. How long do you want the veil? Knee-length? Shoulder-length? "Barely there" length? The choice is yours! (And maybe the bride's, if she has strong opinions. But where’s the fun in that?). I say cut several strips of tulle, about 4-6 inches wide. Again, precision is NOT the goal here.
Next, gather those strips. Fold each strip in half. This creates a nice loop at the top. Now, using your trusty (and potentially wine-stained) hot glue gun, attach the folded tulle to the comb. Start in the middle and work your way out. Be generous with the glue, but try not to burn yourself. We want a veil, not a trip to the ER.
Repeat this process until the comb is covered. The more tulle, the fuller the veil. Feel free to mix and match colors! Rainbow veil? Why not! Leopard print tulle? If you're brave enough! This is a bachelorette party, after all. Embrace the chaos.
Accessorize, Accessorize, Accessorize!
Okay, the basic veil is done. But we're not stopping there. Time to unleash your inner Martha Stewart… on a sugar rush.
Glitter? Yes! Rhinestones? Absolutely! Feathers? Go wild! (Just maybe keep the glitter away from the bride's hair. Trust me on this one.) Hot glue those bad boys on! The more over-the-top, the better.
Consider adding a fun phrase using felt letters. Things like "Bride to Be," "Last Fling Before the Ring," or even something a little more… risqué. (Use your best judgment here, folks.)

Another idea? Miniature plastic toys! Think tiny dinosaurs, rubber duckies, or even miniature liquor bottles (empty, of course!). Attach them strategically for maximum impact. This is your chance to get truly creative (or completely ridiculous).
The Unpopular Opinion on Perfection
Listen, this isn’t a wedding dress. It's a bachelorette party veil. Imperfection is not only acceptable, it's encouraged! A crooked rhinestone? A slightly lopsided piece of tulle? That's what makes it unique! That's what makes it… perfect!

So, gather your supplies, grab your friends, and get crafting! Don’t stress about making it perfect. Just have fun. And remember, the best veils are the ones made with love… and a healthy dose of silliness.
Finally, my last piece of advice? Take pictures! This veil, whether gorgeous or gloriously awful, will be a fantastic memory (and a great source of amusement) for years to come. Enjoy the chaos! And cheers to the bride!