How To Install Weather Stripping On Door Bottom

Let's talk about something surprisingly satisfying: weather stripping the bottom of your doors! It might not sound glamorous, but trust me, there's a real joy in sealing up those sneaky drafts. Think of it as a mini-DIY project with big impact. It's easy, affordable, and you'll feel like a superhero battling the elements from the comfort of your own home.
Why bother, you ask? Well, for beginners, it's a fantastic introduction to basic home maintenance. You'll learn a new skill and feel empowered to tackle other small repairs. For families, it's about creating a more comfortable and energy-efficient home. No more battling over the thermostat! A properly sealed door keeps the cold out in winter and the heat out in summer, saving you money on those energy bills. And for the hobbyist, it's just plain fun! It's a chance to tinker, improve your living space, and enjoy the satisfaction of a job well done.
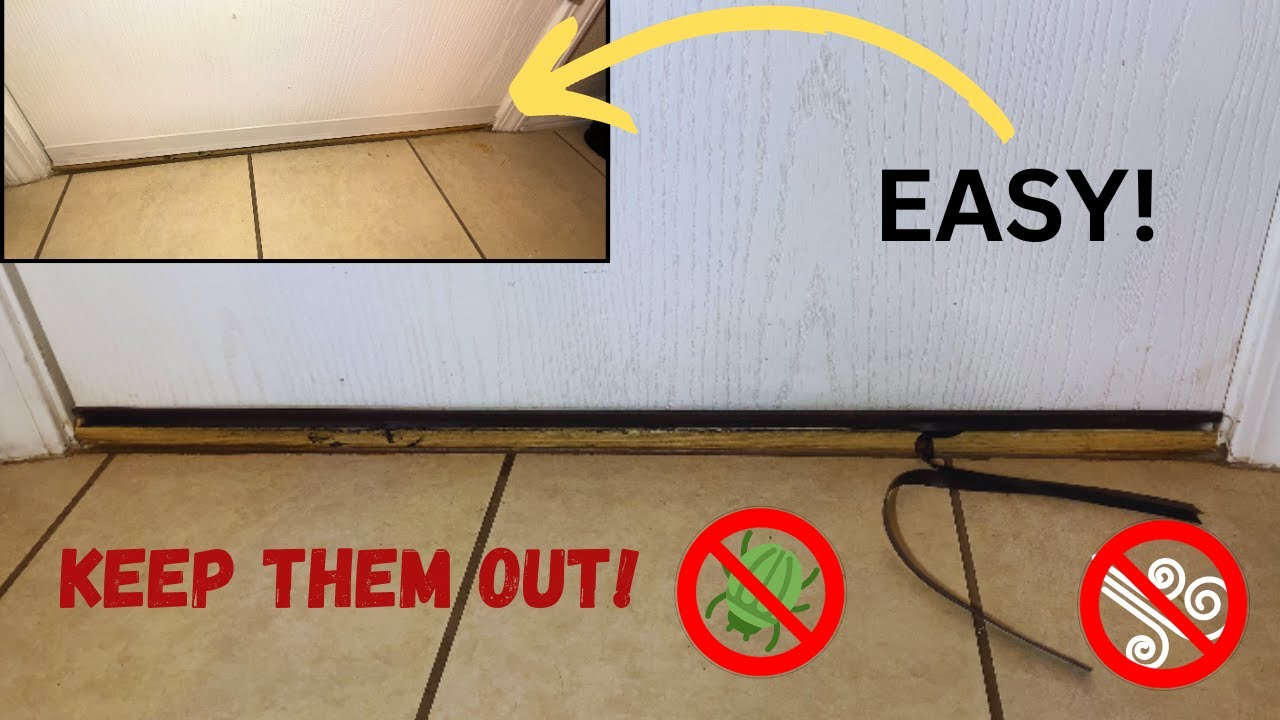
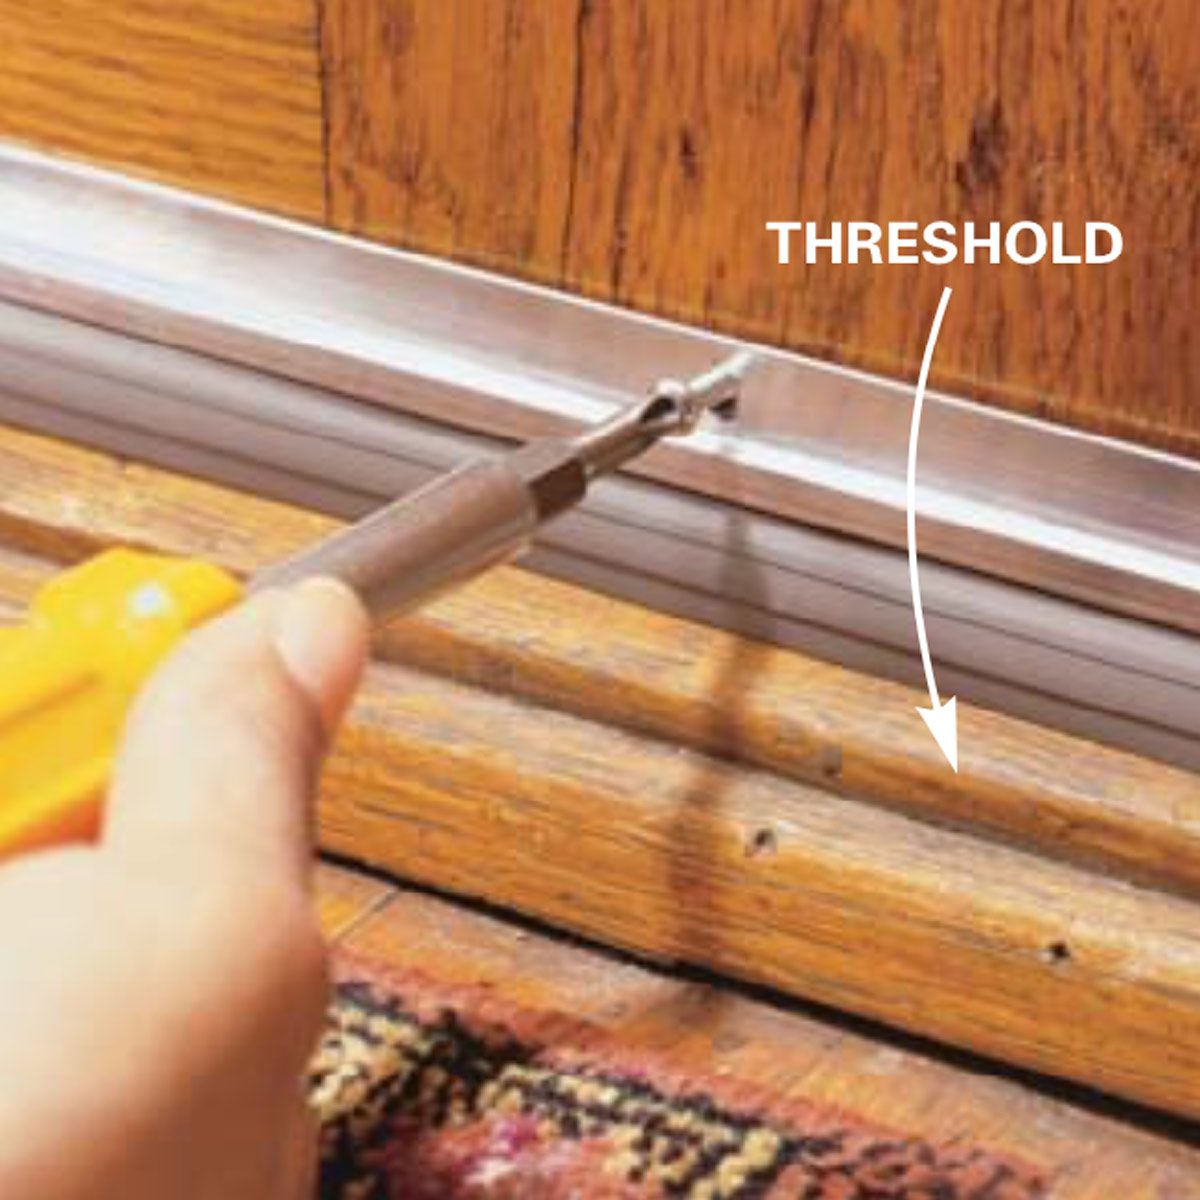
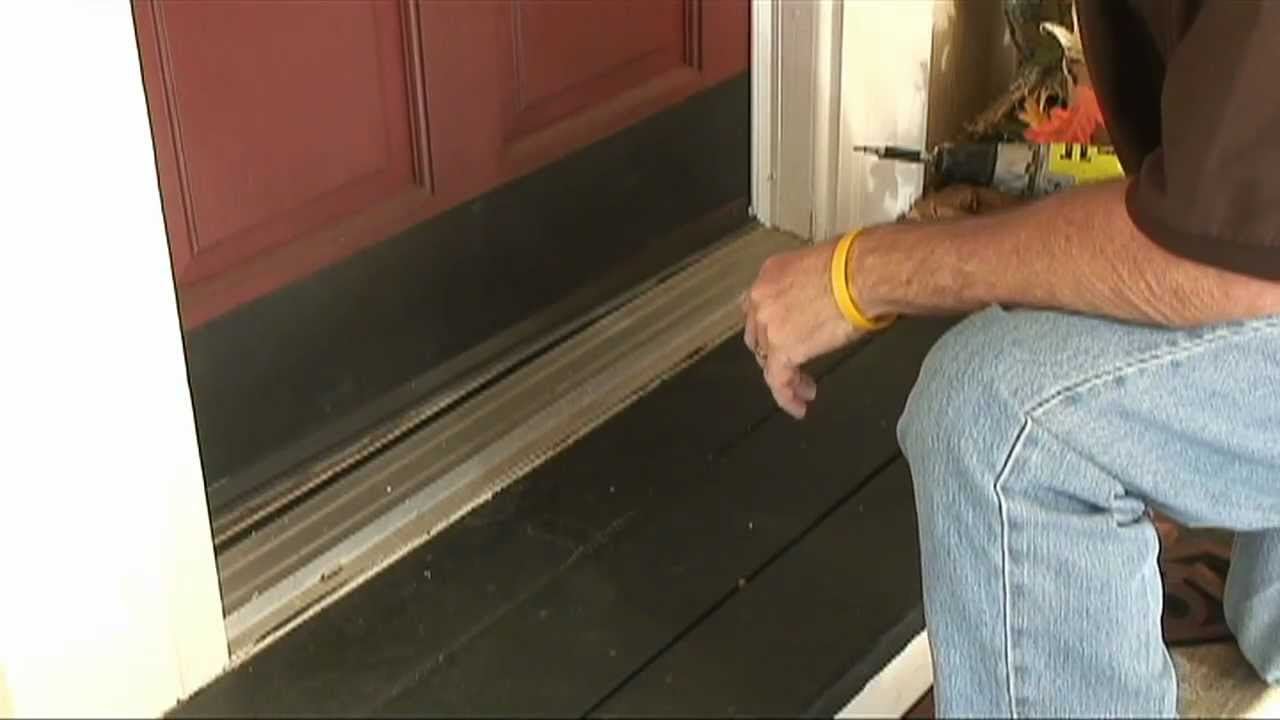
There are a few different types of door bottom weather stripping to choose from. The most common are the adhesive-backed foam or felt strips. These are super easy to install – just peel and stick! Then you have the sweep style, which often involves screwing a strip with a flexible rubber or vinyl blade to the bottom of the door. These are generally more durable. Another option is a door shoe, which is a metal or plastic channel that fits over the bottom edge of the door and has a rubber or vinyl insert to create the seal. Think about the gap you're trying to fill and the level of durability you need when making your choice.
Must Read
Ready to get started? Here are a few simple, practical tips:
- Measure the width of your door! This is crucial for getting the right size weather stripping.
- Clean the door surface thoroughly. Use a damp cloth to remove any dirt, dust, or old adhesive. A clean surface ensures a good seal.
- Cut the weather stripping to the correct length. Use sharp scissors or a utility knife for a clean cut. Remember the adage: measure twice, cut once!
- If using adhesive-backed stripping, peel off a small section of the backing and apply it to the door. Gradually peel off more of the backing as you press the strip firmly into place.
- For screw-on sweeps, pre-drill pilot holes. This will make it much easier to insert the screws and prevent the wood from splitting.
- Test the door after installation. Open and close the door to make sure the weather stripping isn't binding or preventing the door from closing properly.
Don't be afraid to experiment! There's no need to be intimidated. This is a low-stakes project that can have a real impact on your home's comfort and energy efficiency. So grab some weather stripping, gather your tools, and get ready to feel the satisfaction of a draft-free doorway. You'll be amazed at the difference it makes, and you'll enjoy knowing you've taken a small but significant step towards making your home a more comfortable and energy-efficient haven. Plus, you'll have bragging rights for being a savvy DIYer!