How To Install A Nest Camera Outside

Ever caught yourself wondering who keeps knocking over your recycling bin? Or perhaps you're tired of "porch pirates" making off with your latest online treasures? Maybe you just want to keep an eye on your furry friends while they enjoy the backyard. Whatever your reason, bringing a smart camera like the Nest Cam into your outdoor space is not just smart, it's genuinely empowering and, dare we say, a little bit fun!
Installing a Nest Camera outside is one of those DIY projects that feels incredibly rewarding. It's about more than just security; it's about gaining peace of mind and staying connected to your home, no matter where you are. Imagine getting an instant alert when a package arrives, or being able to chat with the delivery person through your camera, even if you’re miles away. Nest Cams offer brilliant HD video, night vision for clear views even in the dark, and intelligent alerts that can tell the difference between a person, an animal, or a vehicle. This means fewer false alarms and more relevant notifications. Plus, with a Nest Cam, you're not just reacting to events; you're often able to prevent them, making your home a smarter and safer sanctuary.
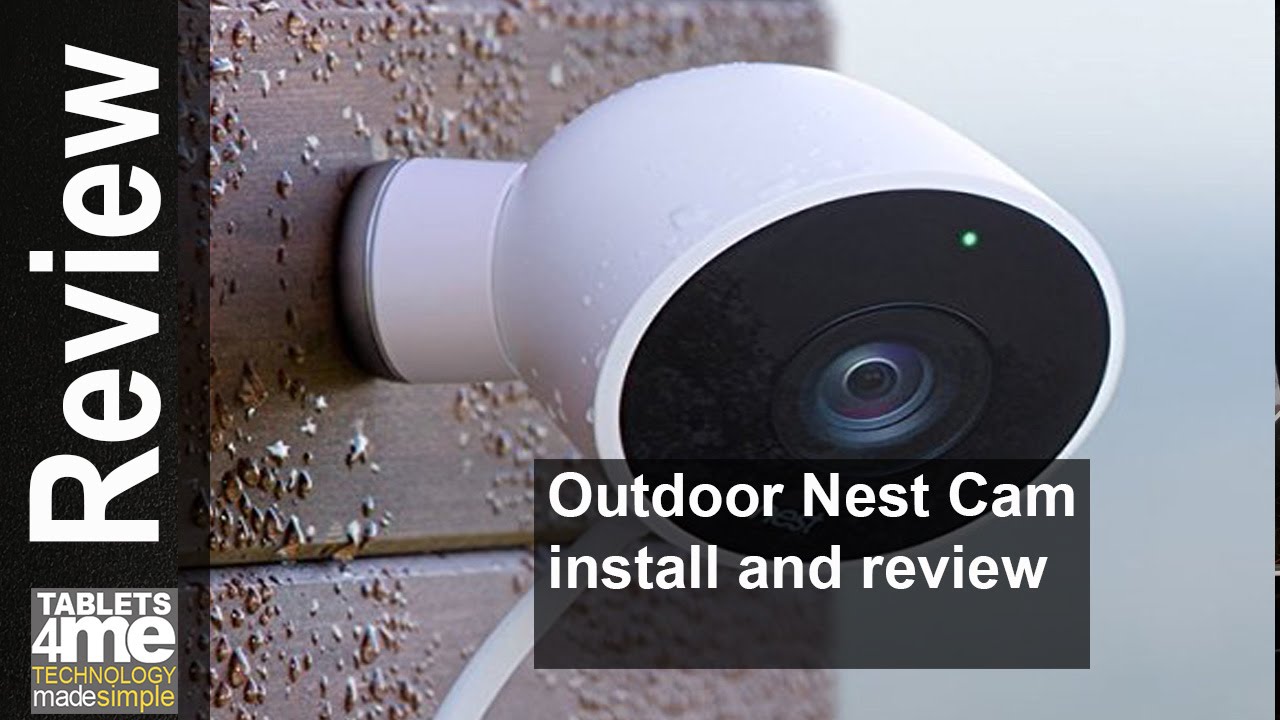
Ready to transform your outdoor surveillance from a daydream into a reality? Don't worry, you don't need to be an electrical engineer or a seasoned contractor. Nest cameras are designed with DIY in mind. The first crucial step is location, location, location! You'll want to pick a spot that gives you a clear view of the area you want to monitor, ideally under an overhang or in a sheltered spot to protect it from the harshest weather. Make sure it's within reach of a power outlet (or an outdoor rated extension cord) and, importantly, that it has a strong Wi-Fi signal. Test your Wi-Fi strength on your phone at your chosen spot before you commit!
Must Read
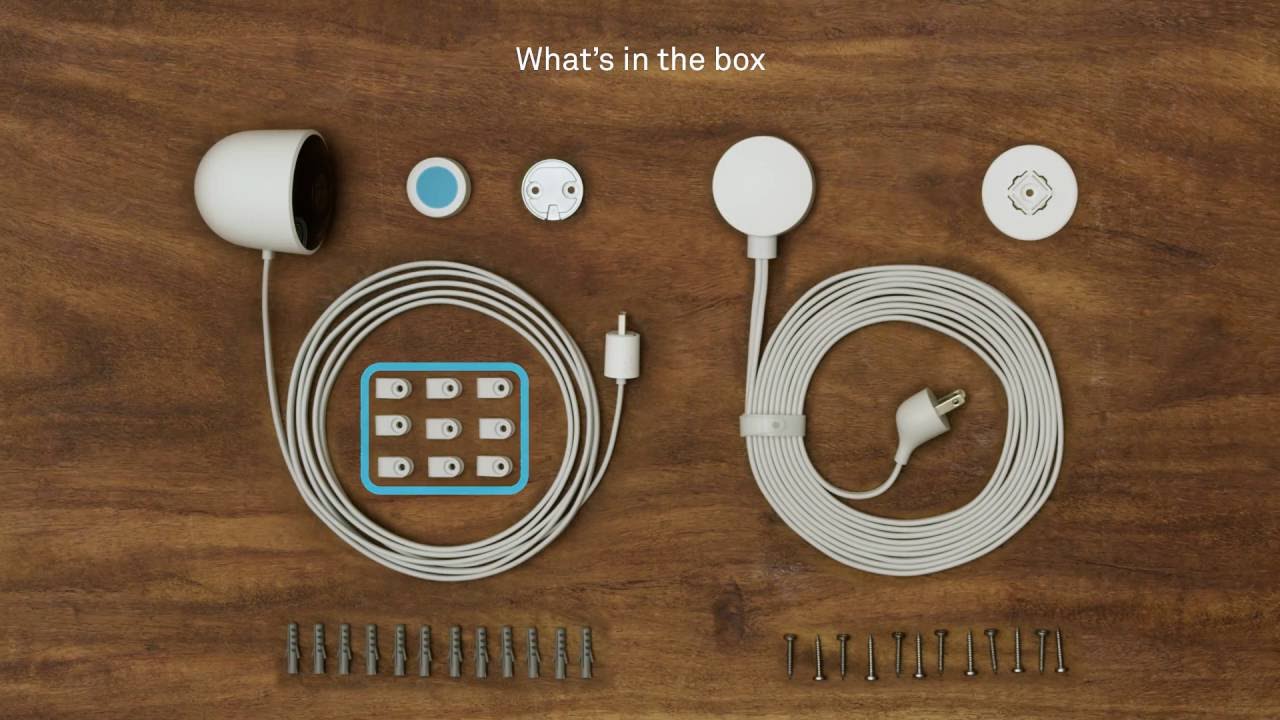
Once your ideal spot is identified, it’s time for a bit of light work. Most Nest Cams come with a mounting plate and screws. You'll typically need a drill to make pilot holes, a screwdriver to secure the mount, and possibly a ladder if you're aiming for a higher vantage point (which is often recommended for better security). Secure the mount firmly, then attach your Nest Cam. Many models simply snap into place or twist securely onto the mount.
Next up is power. Nest Cams require a consistent power source. For outdoor installation, you'll generally use the included weather-resistant power adapter. Route the cable discreetly and securely, perhaps along eaves or through a small drilled hole into a garage or interior outlet. Make sure any outdoor connections are properly sealed and protected from the elements. Once plugged in, the camera will power up, and you’re almost done!
The final, and perhaps easiest, step is the app setup. Download the Google Home app (if you don't already have it) and follow the simple on-screen instructions to add your new camera. The app will guide you through connecting it to your home Wi-Fi network, naming your camera, and setting up motion zones and alerts. You can adjust the camera's angle for the perfect view, right from your phone. And just like that, you've got eyes outside!
Installing a Nest Camera outdoors is a straightforward process that provides immense benefits. It’s an investment in your peace of mind, offering security, convenience, and a clear view of your world. So go on, grab your tools, pick your spot, and get ready to enjoy the smart security and fun connectivity that your new Nest Cam brings!