
How To Flash Samsung Galaxy J5

Alright, so you're thinking about flashing your Samsung Galaxy J5? That's like giving your phone a brain transplant – a potentially awesome one! But before we dive in, let’s be super clear: flashing your phone can be risky. You could brick it (turn it into a fancy paperweight), void your warranty (say goodbye to free repairs!), or accidentally summon ancient phone demons (okay, maybe not that last one).
Consider yourself warned! If you’re still feeling brave (and I admire your adventurous spirit!), let's get started. Think of me as your friendly neighborhood tech guide, here to (hopefully) prevent any phone-bricking disasters.
What You'll Need (The Gear Up!)
First, let’s gather our supplies. This isn't like making toast; you can't just wing it! You'll need:
Must Read
- Your Samsung Galaxy J5 (obviously!). Fully charged, please. We don't want it dying mid-surgery.
- A Windows PC. Sorry, Mac users, this is a Windows party.
- A USB cable. A good, reliable one. Don't use that cable you found under the couch; it's probably plotting against you.
- Odin. This is the tool we'll use to actually flash the firmware. You can find the latest version with a quick Google search (just make sure you download it from a reputable source, alright?).
- Samsung USB Drivers. These are essential so your computer can talk to your phone. Google “Samsung USB Drivers download” and install them. Restart your computer afterward, just to be safe.
- The Firmware File (ROM). This is the new brain (software) we're giving your phone. Crucially, make sure it's the correct firmware for your exact J5 model number (you can find this in your phone's settings). Getting the wrong firmware is a recipe for disaster, trust me. Again, download this from a trustworthy source – you don't want any nasty surprises.
Got all that? Good! Now, double-check. Seriously, double-check. Triple-check if you're feeling paranoid. Paranoia is your friend in this situation!
Getting Your J5 Ready (Pre-Op Prep)
Okay, now we need to put your phone into "Download Mode." Don’t worry, it's not as scary as it sounds. Here's how:
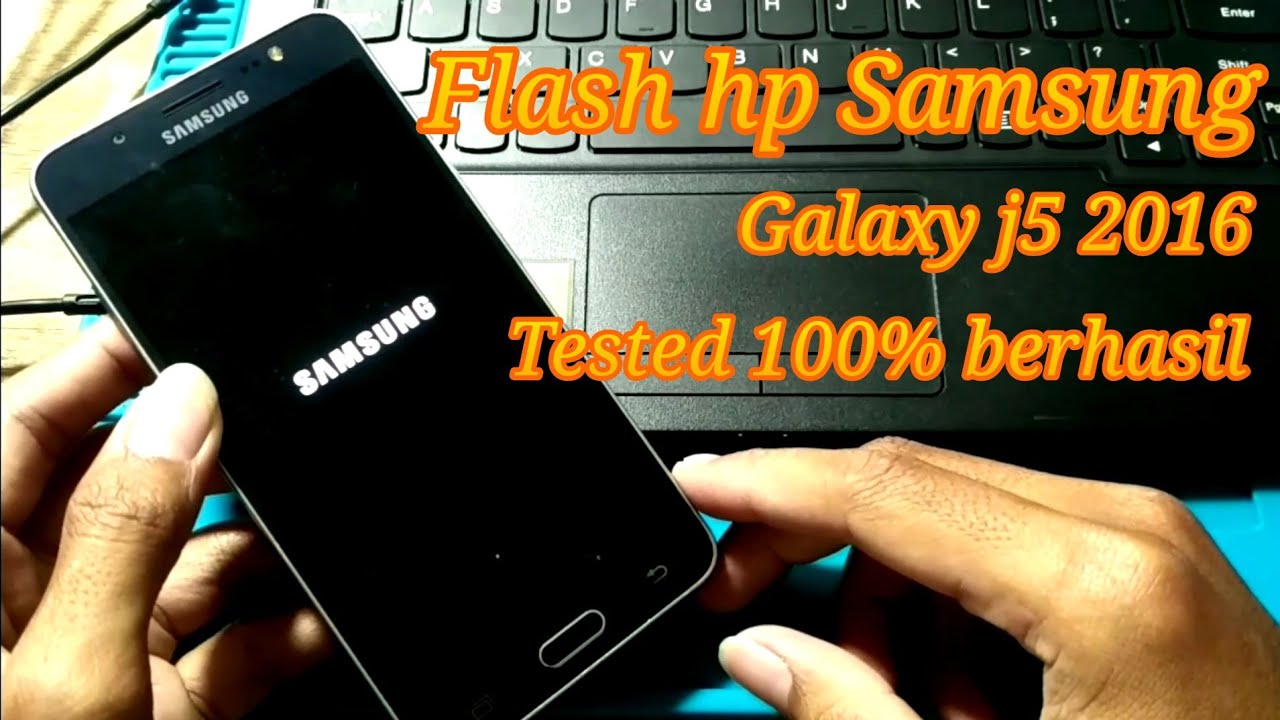
- Power off your phone completely. No, really, completely.
- Press and hold the Volume Down, Home, and Power buttons simultaneously. Keep holding them until you see a warning screen.
- Press the Volume Up button to enter Download Mode. You should now see a screen with a little Android robot and some text.
If you accidentally boot into the regular operating system, don’t panic! Just power off and try again. It happens to the best of us. (I may or may not have done this myself... several times.)
Flashing Time! (The Operation)
Alright, deep breaths! Here comes the main event. Let's do this!

- Open Odin on your PC. Right-click and choose "Run as administrator." This ensures Odin has all the necessary permissions.
- Connect your phone to your PC using the USB cable. Odin should recognize your phone, and you'll see a COM port highlighted in the Odin window. If you don't see this, double-check your USB drivers!
- In Odin, click the "AP" (or "PDA") button. Navigate to the folder where you extracted the firmware file and select the file that ends in ".tar.md5."
- Wait patiently! Odin will take a few minutes to check the file. Don't touch anything during this process. Just grab a coffee and chill.
- Make sure "Auto Reboot" and "F. Reset Time" are checked in Odin's options. Leave everything else as is. Seriously, don't mess with things you don't understand.
- Click the "Start" button! Brace yourself; the flashing process will begin. You'll see a progress bar in Odin and on your phone. Do not disconnect your phone during this process! This is super important!
- Wait, wait, wait… The flashing process can take several minutes. Just be patient.
- When the flashing is complete, you'll see a "PASS!" message in Odin, and your phone will automatically reboot.
Congratulations! You've (hopefully) successfully flashed your Samsung Galaxy J5!
First Boot and Beyond (Recovery)
The first boot after flashing can take a while, so don't freak out if it seems like it's stuck. Just be patient. If it's taking excessively long (like, over 20 minutes), something might have gone wrong, and you might need to try flashing again. (Consult online forums or a tech-savvy friend for help if you're unsure.)

Once your phone boots up, you'll need to go through the initial setup process again. And that’s it! You’ve given your J5 a new lease on life! Go forth and enjoy your newly flashed phone!
Remember, flashing your phone is a bit like performing surgery on a robot. It can be exciting and rewarding, but it also carries some risk. So, take your time, follow the instructions carefully, and always double-check your work. You've got this! And if something does go wrong, don’t beat yourself up – we've all been there. Just remember to back up your data next time, okay? Happy flashing!
