How To Disconnect Honeywell Thermostat

Alright, intrepid home adventurer! Are you ready to embark on a fantastic journey to detach your loyal Honeywell thermostat?
Get ready to feel like a DIY superhero, because we’re about to guide you through a super easy, surprisingly fun process!
No secret handshakes, no complex formulas, just pure, unadulterated thermostat-disconnecting glory!
Must Read
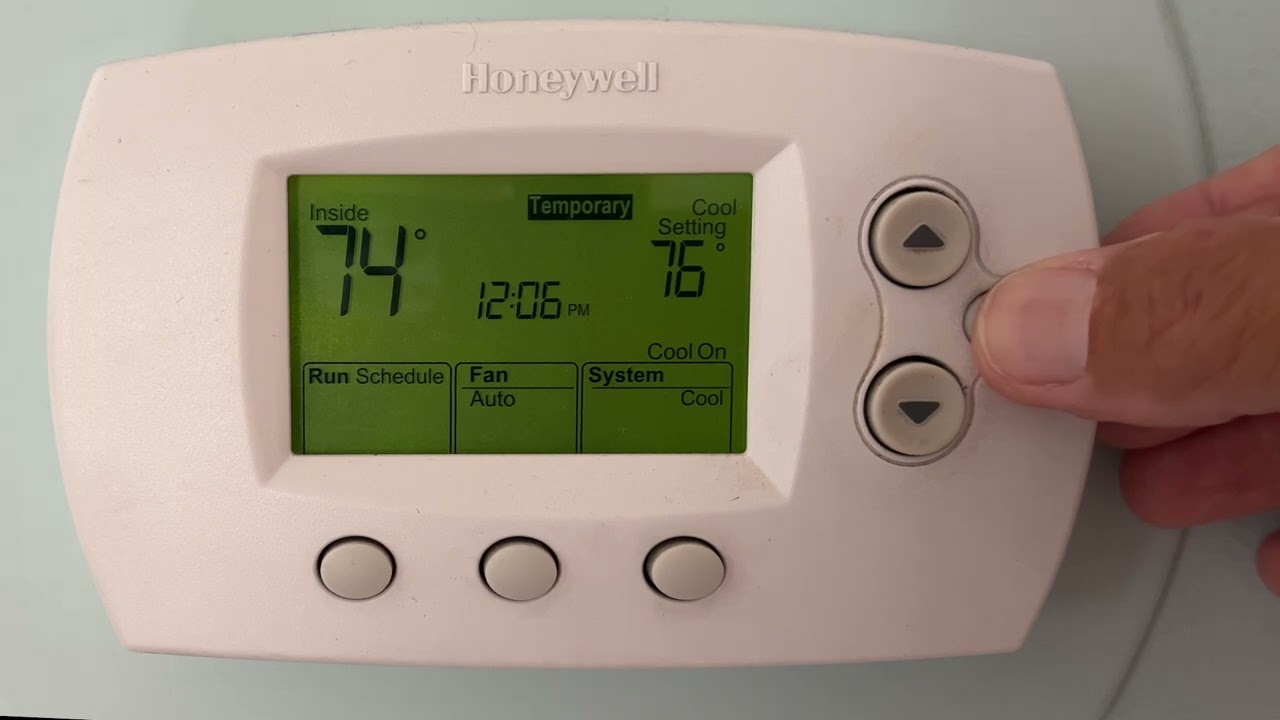
The Great Power Pause!
First things first, let’s talk power! Imagine your home's electricity as a super speedy invisible river, constantly flowing and powering all your cool gadgets.
Before we do anything with our beloved Honeywell thermostat, we need to politely ask that river to take a tiny, tiny breather.
Your mission, should you choose to accept it, is to locate your home's electrical service panel.
You might know it as the
breaker box– a magical metallic box, often tucked away in a utility closet, basement, or garage.
This is the command center for all your home’s electrical circuits, like a control panel straight out of a sci-fi movie!
Once you’ve found this magnificent box, scan the labels for anything that sounds like "Furnace," "AC," "HVAC," or "Thermostat."
Each label points to a specific circuit, a mini-river of electricity for a part of your home.
With a confident flourish, flip the switch for your heating and cooling system to the OFF position.
You’ll hear a satisfying click – that's the sound of you taking control, a true captain of your home's energy!
If you're feeling extra daring or can’t find the right label, you can always go for the main breaker for the whole house!
Just be prepared for a moment of peaceful quiet and maybe a few surprised "hey!"s from anyone else in the house as things go deliciously dark.
This super important step ensures our adventure is as smooth and sparkle-free as a freshly polished dance floor.
Give your thermostat a little wink; it’s now officially depowered and ready for your gentle touch!
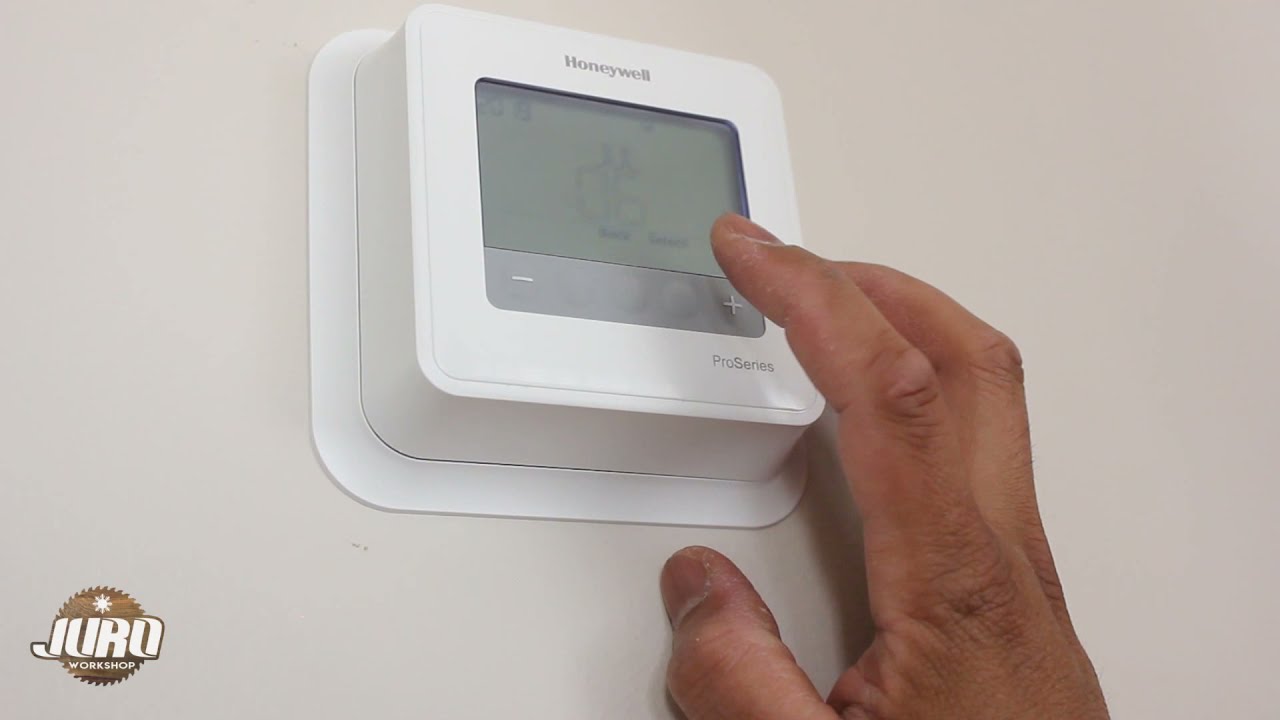
The Cover Reveal Extravaganza!
Now that our thermostat is blissfully unpowered, it’s time for its grand reveal! We need to gently coax open its outer shell.
Your Honeywell thermostat might have a cover that simply snaps off, or it might have a tiny screw or two playing hide-and-seek.
Start by looking for any small latches, tabs, or slots around the edges of the thermostat's front plate.
Sometimes, a gentle pull from the bottom edge will do the trick, like opening a secret compartment in an old book.
Other times, you might need a tiny screwdriver, your trusty sidekick for all things DIY, to undo a discreet screw.
These screws are usually at the bottom or top, designed to be almost invisible, guarding the thermostat's inner secrets.
Once you’ve found the magical release point, apply a gentle but firm touch.
You'll feel a satisfying click or pop as the front cover gracefully detaches from the wall unit.
Set this front cover aside like a precious artifact; we won’t need it for a little while.
Voila! You’ve just performed the first solo act of your thermostat-disconnecting show!
Isn’t that exhilarating? You’re practically a professional by now!
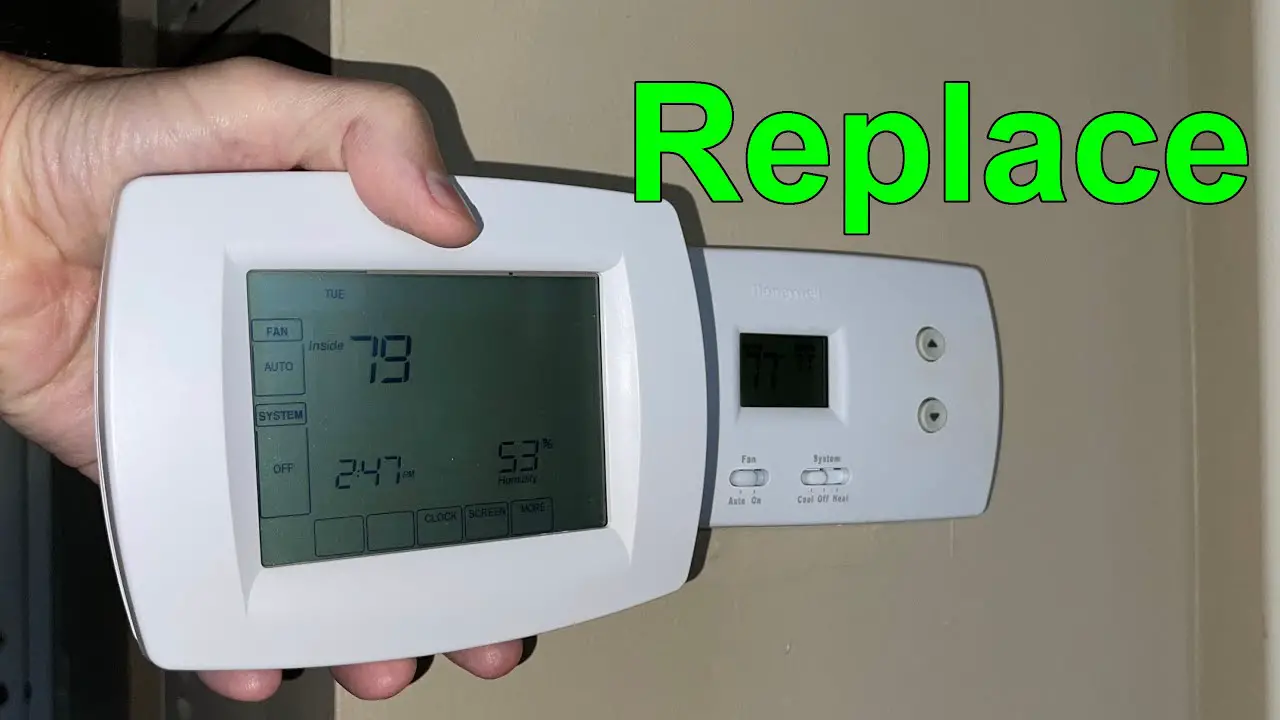
The Wire-Whispering Session!
Okay, prepare for the colorful spectacle! Once the cover is off, you’ll see a bundle of wires, each a different hue, connected to the thermostat's backplate.
These are the communication lines, the tiny messengers telling your heating and cooling system what to do!
Before you even think about touching a single wire, grab your phone and snap a gloriously clear picture!
Take multiple pictures, if you like! Get up close, get a wider shot – become a paparazzi for your thermostat's wiring!
This photographic evidence is your secret weapon, your map back to the future, ensuring everything goes back perfectly if needed.
Now, let's get personal with these wires. Notice how each wire is connected to a small terminal, usually labeled with letters like R, W, Y, G, C?
These letters are super important! They tell each wire its job – like little name tags at a very important meeting.
If you have some small pieces of tape and a marker, it’s time for some old-school labeling!
Gently peel off each wire one by one, and immediately, like a meticulous librarian, label it with the letter from the terminal it just left.
For example, if a blue wire was connected to the "C" terminal, write "C" on a tiny piece of tape and wrap it around the blue wire.
Do this for every single wire. Treat each wire like it's the most unique, special wire in the universe, because in your home, it truly is!
This step, while seemingly small, is your golden ticket to a smooth re-connection later, should you ever choose to re-connect!
You're not just disconnecting; you're documenting, you're observing, you're practically a scientific explorer!
The Great Wire Liberation!
With all your wires beautifully labeled and photographed, it’s time for the big moment: detaching them from the backplate!
Each wire is typically held in place by a tiny screw at its terminal. You’ll need that trusty small screwdriver again.
Gently turn each screw counter-clockwise, just enough to loosen the grip on the wire.

You don't need to remove the screws entirely; just a few turns should free up the wire to slide out easily.
As you loosen each screw, carefully pull the corresponding wire straight out of its terminal.
Be gentle, like you’re saying a soft goodbye to an old friend. No need for force here!
Once each wire is free, make sure the labeled tape stays securely attached to it.
You can gently push the freed wires back into the wall cavity a little bit, just so they're out of your way.
Make sure they don't get lost in the wall, though! Maybe give them a little curl so they stay visible and accessible.
Phew! That’s a major milestone. All the little electrical threads are now free, waiting for their next adventure!
You’re doing an amazing job, demonstrating precision and patience!
The Mounting Plate's Grand Exit!
Now that the wires are safely tucked away (but still visible!), you're left with the thermostat's mounting plate.
This is the sturdy piece of plastic or metal that’s screwed directly to your wall, holding everything together.
Look for two or more screws that are securing this plate to the wall. They’re usually easy to spot.
Grab your trusty screwdriver once more, and this time, we’re going to completely unscrew these little guardians.
Turn them counter-clockwise until they’re fully loose, and then carefully remove them.
Pop the screws into a little baggie or a safe place where they won't roll away and escape!
Once all the screws are out, the mounting plate should simply lift away from the wall.
Ta-da! You’ve done it! The entire Honeywell thermostat system is now disconnected from your wall.
Give yourself a mental high-five, or even a real one! You’ve conquered the task with grace and skill.
You're now looking at a clean slate on your wall, a testament to your newfound DIY prowess.
Don't forget to head back to your
breaker boxand, with another satisfying click, flip the power for your heating and cooling system back ON!
Unless, of course, you're enjoying the delightful quiet and darkness, in which case, power on whenever you're ready for the lights to return!
You Did It! High Fives All Around!
Look at you! You just confidently disconnected your Honeywell thermostat, and you made it look easy!
You navigated the world of circuit breakers, conquered the mysterious cover, and even became a master wire whisperer!
Seriously, pat yourself on the back. That's a solid win in the homeowner playbook.
You’re not just a homeowner; you’re an engineer, a technician, a problem-solver extraordinaire!
Feel that surge of accomplishment? That’s the sweet taste of victory, my friend.
Embrace your inner DIY guru, because you just leveled up in the game of home maintenance!
Go forth and bask in the glow of your magnificent achievement!