How To Create My Own Letterhead In Word

Ready to ditch that boring old Word document look? Let's jazz it up with your very own, super-snazzy letterhead! Trust me, it’s easier than perfecting a soufflé (and way less messy).
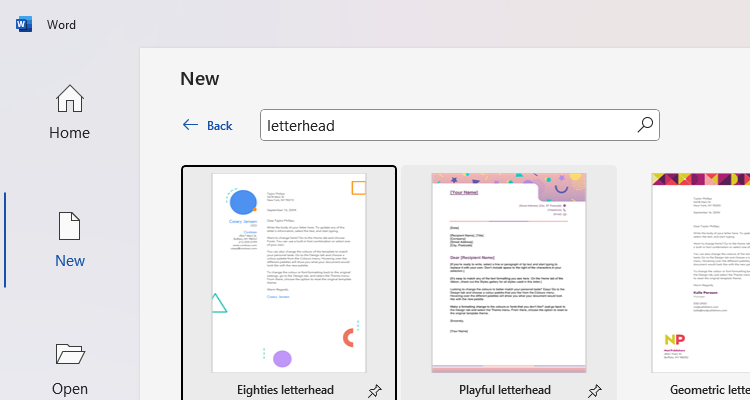
Step 1: Open a New Document (Duh!)
Fire up Microsoft Word and create a brand new, blank document. Think of it as a pristine canvas ready for your masterpiece.
You'll see a big, white, empty space that's practically begging for some personality. Let's give it what it wants!
Must Read
Step 2: Header Hijinks
Double-click at the very top of the page, in the area marked “Header.” This is where the magic begins!
Suddenly, you're in the header zone! It’s like a secret club for text and graphics that sit nicely at the top of every page.
Step 3: Name Dropping (Your Own, Of Course)
Type your name or your company’s name right there in the header. This is your brand, baby!
Feel free to get creative with the font. Comic Sans? Maybe not. But hey, it’s YOUR letterhead!
Select your name and play around with the font size, color, and style until it sings to you.bold it for extra emphasis!
Step 4: Address Antics
Under your name, add your address and contact information. Think of it as your Bat-Signal for important correspondence.
Keep it concise and easy to read. Nobody wants to decipher a hieroglyphic address!
Maybe even use a slightly smaller font size for your address than your name for a touch of professional pizzazz.
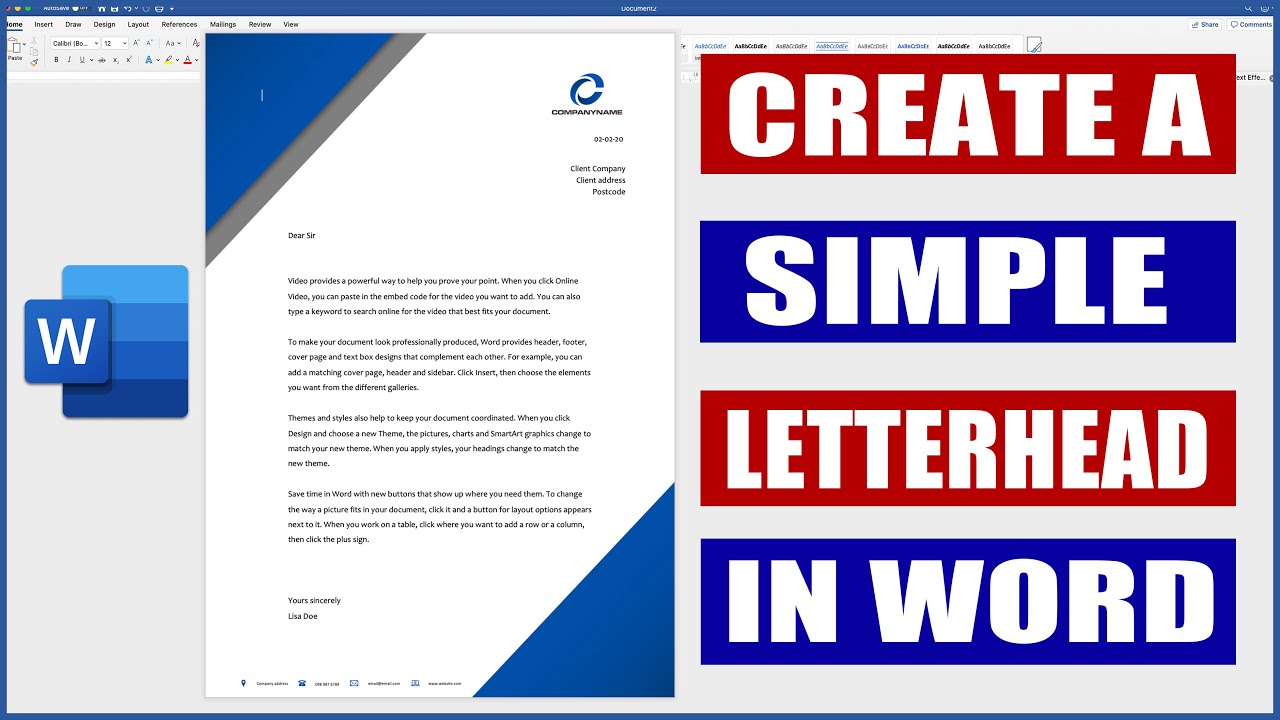
Step 5: Logo Mania (Optional, But Awesome)
Got a logo? Slap it in there! It’s like the cherry on top of a sundae (or the bat on the Bat-Signal).
Go to the “Insert” tab, click on “Pictures,” and choose your logo file. Bam! Instant branding boost.
Resize the logo so it's not overwhelming. Think sophisticated, not billboard.
You can drag and drop it to the perfect spot in the header. Experiment until it looks balanced and beautiful.
Step 6: Line Dancing (The Horizontal Kind)
A horizontal line can add a touch of elegance and separation. It’s like a polite "excuse me" between sections.
Go to the “Insert” tab, click on “Shapes,” and choose a straight line. Draw it across your header.
Adjust the line's thickness and color to match your aesthetic. A subtle grey can look very classy.
Step 7: Footer Fun (Because Why Not?)
Scroll down to the bottom of the page and double-click in the "Footer" area. It's the header's equally important sibling!
The footer is a great place for page numbers, a copyright notice, or a website address. Think of it as the fine print that’s actually kind of cool.
You could even add a fun quote or a tagline. Let your personality shine!
Step 8: Color Coordination (The Art of Not Clashing)
Choose a color scheme that reflects your brand. Are you a bold and vibrant creative, or a sleek and sophisticated professional?
Use colors that complement each other. Avoid neon green and hot pink unless you're going for a very specific (and possibly headache-inducing) look.
Consider using your brand colors consistently throughout the header and footer. This will create a cohesive and professional impression.
Step 9: The "Insert" Tab's Secret Weapons
The "Insert" tab is your best friend when creating a letterhead. It's like a treasure chest of design elements!
Experiment with different shapes, icons, and text boxes. The possibilities are endless!
But remember, less is often more. Don't clutter your letterhead with too many elements. Keep it clean and professional.

Step 10: Save, Save, Save! (Seriously)
Once you're happy with your letterhead, save it as a template. This is crucial!
Go to “File,” then “Save As,” and choose “Word Template (*.dotx)” from the “Save as type” dropdown menu.
Name your template something memorable, like "My Awesome Letterhead." Now you can use it again and again!
Step 11: Using Your Super-Cool Letterhead
To use your letterhead, go to “File,” then “New,” and look for your template. It’ll be like finding a pot of gold at the end of a rainbow.
Open your template and start typing your letter. Your letterhead will automatically appear at the top of every page!
Now you're officially a letterhead pro. Congratulations!
Step 12: Fine-Tuning for Perfection (Because Why Settle?)
Zoom in and out to check for any alignment issues. A pixel out of place can be surprisingly distracting.
Print a test page to see how your letterhead looks in hard copy. Colors can sometimes appear different on paper.
Ask a friend or colleague for feedback. A fresh pair of eyes can spot things you might have missed.
Step 13: Image Considerations
If you're using images, make sure they are high-resolution. A blurry logo is a big no-no!
Consider the file size of your images. Large images can slow down your computer and make your documents difficult to email.
Optimize your images for web use if you plan on sending your letterhead electronically.
Step 14: Fontastic Choices
Choose fonts that are easy to read. Avoid overly decorative or script fonts, especially for your address and contact information.
Consider using a different font for your name or company name than for the rest of your letterhead. This can add visual interest.
Make sure your fonts are consistent throughout your letterhead. Don't mix and match too many different fonts.
Step 15: Margins Matter
Check your margins to make sure your letterhead doesn't get cut off when printed. This is a common mistake!
Adjust your margins in the "Layout" tab. A good rule of thumb is to use 1-inch margins on all sides.
Leave enough space between your letterhead and the body of your letter. You don't want your text to run into your header or footer.
Step 16: The Power of Whitespace
Don't be afraid to use whitespace! It's the secret ingredient to a clean and professional design.
Whitespace helps to balance your letterhead and make it easier to read. It gives the eye a place to rest.
Avoid overcrowding your letterhead with too many elements. Let your design breathe!
Step 17: Copyright Considerations
If you're using a logo or other copyrighted material, make sure you have the right to use it. This is important for legal reasons!
Consider adding a copyright notice to your footer. This can help protect your intellectual property.
Consult with a legal professional if you have any questions about copyright law.
Step 18: The Importance of Proofreading
Proofread your letterhead carefully before saving it as a template. Typos are unprofessional!
Check your spelling, grammar, and punctuation. A small mistake can make a big difference.
Ask a friend or colleague to proofread your letterhead for you. A fresh pair of eyes can catch errors you might have missed.
Step 19: Accessibility Matters
Consider the accessibility of your letterhead. Make sure it's easy for people with disabilities to read.
Use high contrast colors to make your text stand out. Avoid using colors that are too similar.
Use a font that is easy to read for people with visual impairments.
Step 20: Update Regularly
Update your letterhead regularly to keep it fresh and relevant. This is especially important if your contact information changes.
Consider updating your letterhead design every few years to reflect your evolving brand.
Don't be afraid to experiment with new designs and ideas!
Bonus Tip: Get Inspired!
Look at examples of professional letterheads online or in print. Get ideas for your own design!
But don't copy someone else's design exactly. Create something that is unique to you and your brand.
And most importantly, have fun with it! Creating your own letterhead should be a creative and enjoyable process.
Now go forth and conquer the world of letterhead design! You've got this!