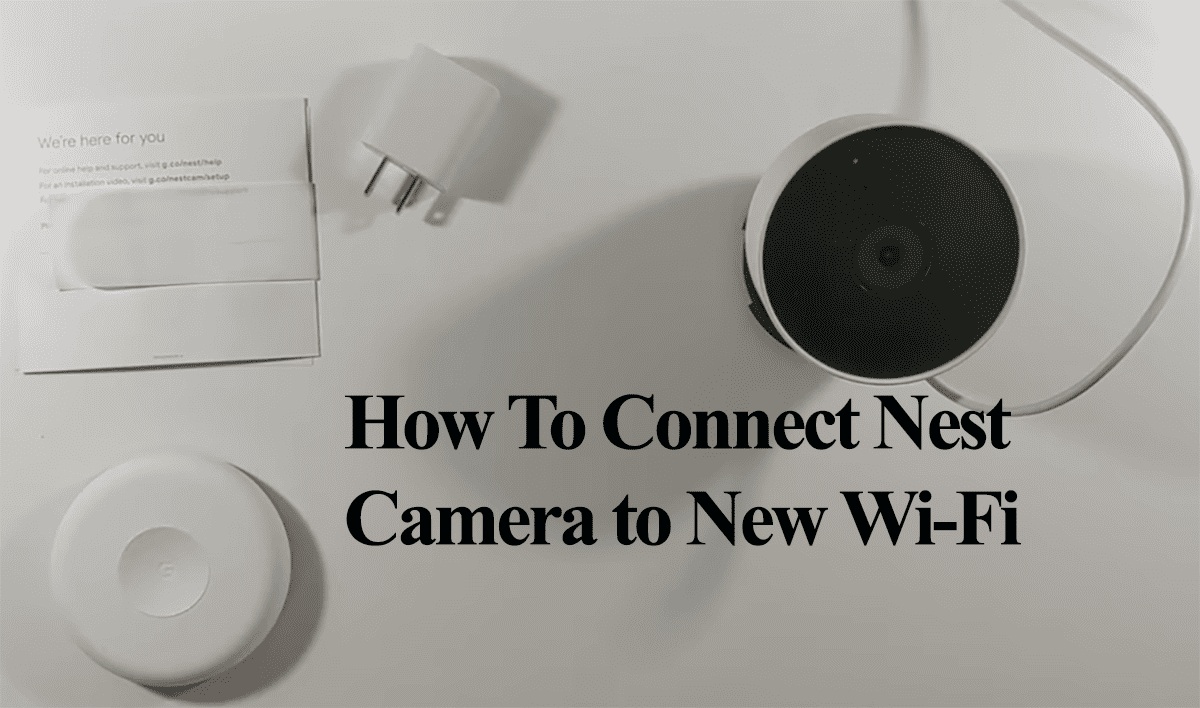
How To Connect Nest Camera To New Wifi

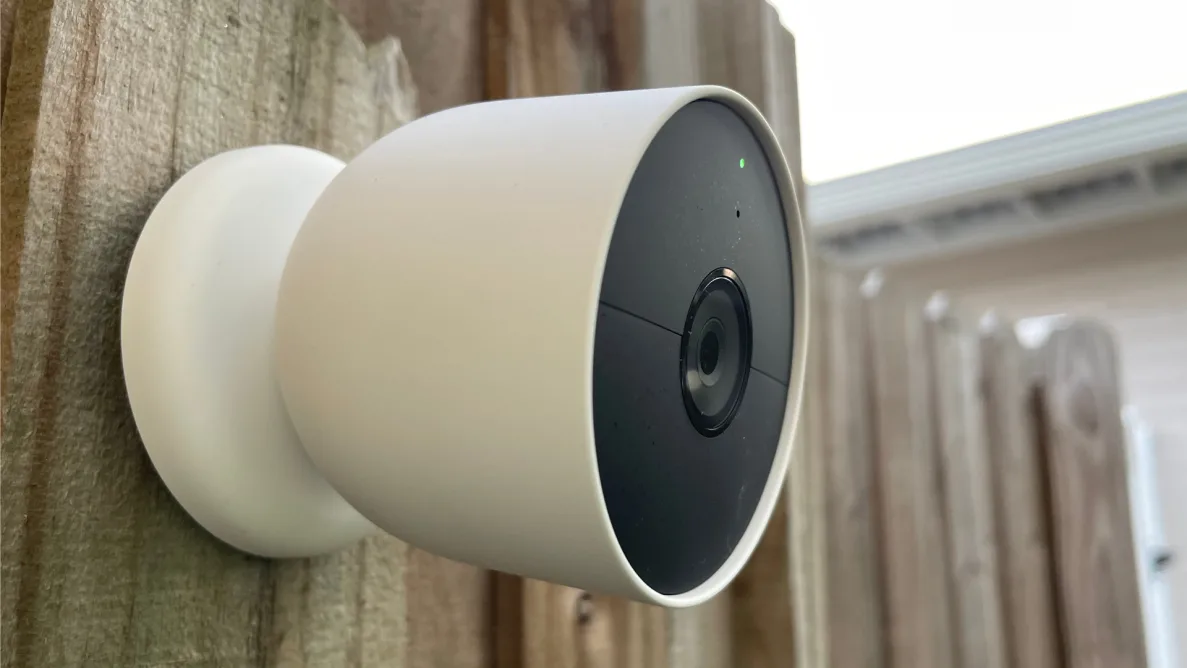
Ah, the modern smart home! It’s a symphony of convenience, a ballet of automation, and often, a little bit of magic. Among the stars of this show is the humble (yet powerful) Nest Camera. What’s not to love? From catching your cat’s secret midnight escapades to ensuring your packages land safely on your porch, these little guardians offer unparalleled peace of mind. They’re your eyes when you can't be there, a constant, silent sentinel providing a window into your world, no matter where you are. They help us feel connected, secure, and genuinely more in control of our personal spaces.
The beauty of a Nest Cam lies in its ability to bring your world closer. It’s not just about security; it’s about connection. Imagine being able to peek in on your elderly parents from afar, check if the kids got home from school okay, or simply enjoy watching your furry friend nap in their favorite sunbeam – all from the palm of your hand. This incredible utility serves a vital purpose in our busy lives, transforming potential worries into simple, verifiable observations. It’s about leveraging technology to create a more relaxed and informed daily experience.
You’ll find Nest Cameras applied in countless scenarios: front door monitoring to see who’s knocking, indoor cams as virtual babysitters or pet companions, and even backyard sentinels keeping an eye on your garden. They capture those funny, heartwarming, and sometimes crucial moments, providing a digital diary of your home life. Whether it’s confirming a delivery or simply knowing everything is as it should be, these devices are about empowerment through observation.
Must Read
But then comes the day you upgrade your router, move to a new place, or simply decide it’s time for a fresh Wi-Fi network. Suddenly, your trusty Nest Cam goes offline, leaving you with that sinking feeling of being disconnected. Don't panic! Reconnecting your Nest Camera to new Wi-Fi isn't a dark art; it's a few simple steps, and once you know them, you'll be back to seamless security in no time.
Here’s how to enjoy that uninterrupted peace of mind more effectively: First, ensure your camera is powered on and within range of your new Wi-Fi signal. Next, open your Google Home app (or Nest app, depending on your camera model and setup). You'll likely see your camera listed as "Offline." Tap on the camera you want to reconnect.
Look for the Settings icon (it usually looks like a gear). Tap that, and then scroll down until you see an option related to "Wi-Fi" or "Network." For many Nest cameras, you'll specifically look for Wi-Fi connection or Device options > Wi-Fi network. Select this, and the app will guide you through connecting to the new network. It might ask you to scan a QR code on the back of the camera, or simply list available Wi-Fi networks for you to choose from and enter the password. Be sure to select your new network and input the correct password.
Patience is a virtue here! The camera needs a moment to find the new network and establish a connection. If it doesn't work immediately, try rebooting your Wi-Fi router and the camera itself. Sometimes, a fresh start is all it needs. Ensure your router isn't too far from the camera, as signal strength is key for a stable connection. With these practical tips, you can transform that initial "offline" scare into a quick, triumphant reconnection, ensuring your vigilant eyes are always watching, bringing you that precious peace of mind once more.