How To Configure Network Printer Hp Laserjet P2055dn

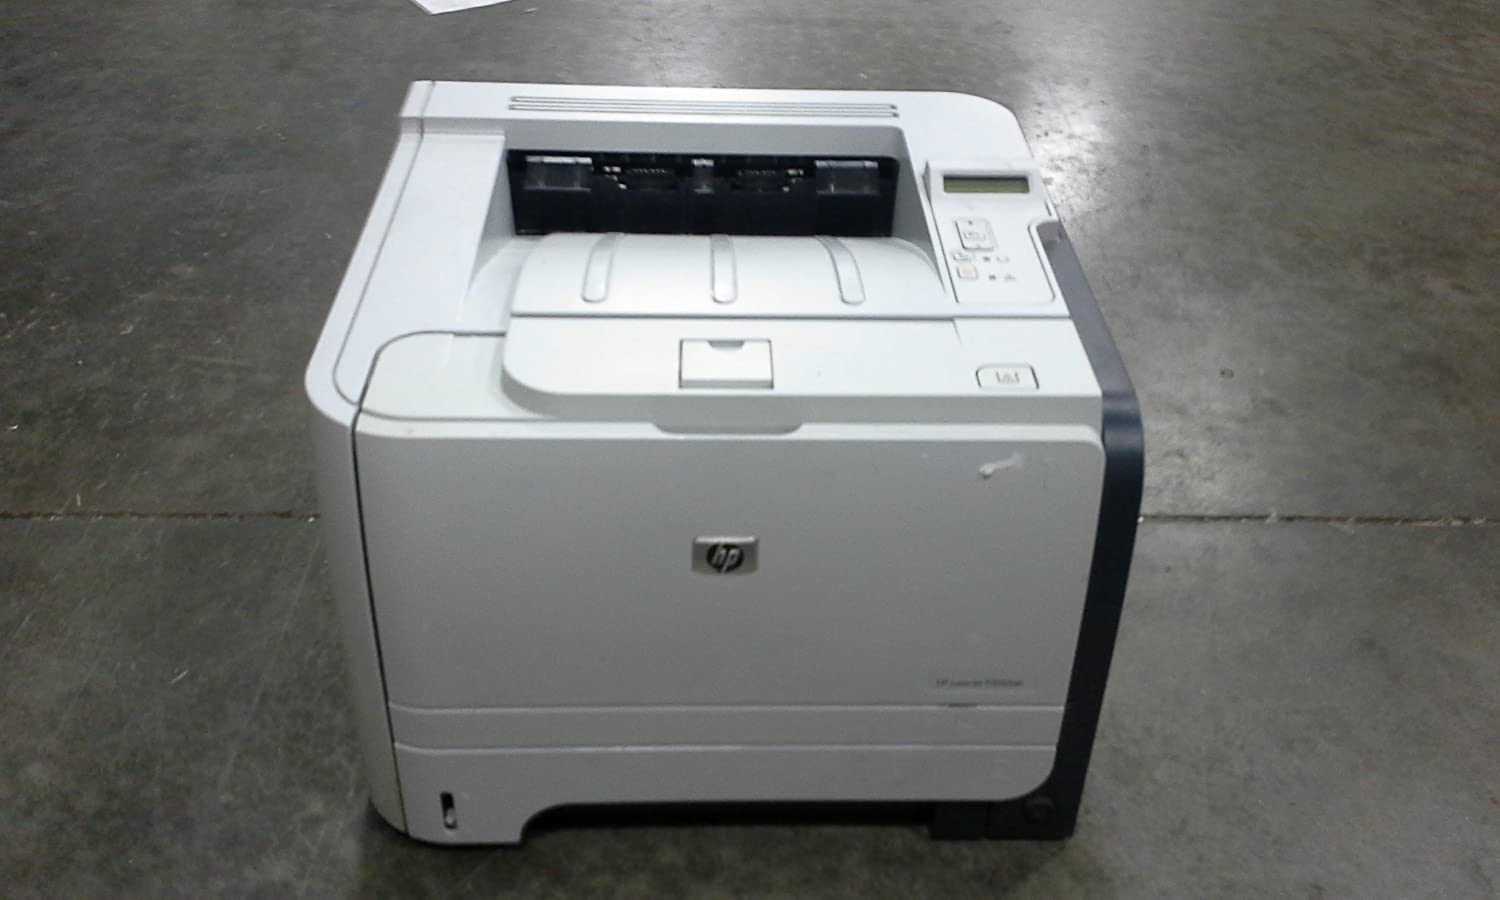
Alright folks, let's talk printers! Specifically, the HP LaserJet P2055dn. Now, I know what you're thinking: "A printer? Isn't that, like, SO 20th century?" Maybe. But hear me out. This workhorse is a reliable beast, and getting it humming on your network doesn't have to be a tech nightmare. Think of it as teaching your old dog a new trick. It might take a minute, but the satisfaction is real.
So, why bother networking your P2055dn in the first place? Well, imagine this: you're sprawled on the couch, laptop in hand, ready to print that crucial document. Instead of getting up, finding a cable, and awkwardly plugging it into the printer, you just… hit print. Poof! The magic happens wirelessly. Sounds appealing, right?
Understanding the Basics: A Printer's Perspective
First things first, let's understand what we're dealing with. The "dn" in P2055dn stands for "duplex" (it prints on both sides automatically – fancy!) and "network." That means it already has the capability to connect to your network. It's just a matter of showing it how. Think of it like introducing two shy people at a party. You need to facilitate the connection!
Must Read
This printer uses good old Ethernet. No WiFi here, folks. You'll need an Ethernet cable (that looks like a slightly chunkier phone cord) to connect the printer to your router or network switch. It's like plugging a musical instrument into an amplifier. Necessary for the sound to travel!
The Nitty-Gritty: Getting Connected
Okay, let's get down to business. Here's a step-by-step breakdown. Don't worry, it's not rocket science. It's more like… assembling IKEA furniture. Frustrating at times, but ultimately rewarding when you see the finished product.
- Physical Connection: Plug that Ethernet cable into the back of your P2055dn and into an available port on your router or switch. You should see some lights blinking, indicating a connection. It's like the printer is saying, "Hey, I see you!"
- Finding the Printer's IP Address: This is where things get slightly more technical, but bear with me. The printer needs an IP address to communicate on your network. There are a few ways to find it:
- Print a Configuration Page: Navigate through the printer's menu (usually using the buttons on the control panel) to find an option like "Reports" or "Information." Look for "Configuration Report" or "Network Summary." Print it out. Somewhere on that page will be the printer's IP address. It looks something like 192.168.1.XXX or 10.0.0.XXX.
- Check Your Router: Most routers have a web interface where you can see all the devices connected to your network. Log into your router's settings (usually by typing 192.168.1.1 or 192.168.0.1 into your web browser) and look for a list of connected devices. The P2055dn should be listed, along with its IP address.
- Adding the Printer to Your Computer: Now that you have the IP address, you can add the printer to your computer.
- Windows: Go to "Settings" -> "Devices" -> "Printers & scanners" -> "Add a printer or scanner." If Windows doesn't automatically find the printer, click "The printer that I want isn't listed." Choose "Add a printer using a TCP/IP address or hostname" and enter the IP address you found earlier. Follow the on-screen instructions. You might need to select the HP LaserJet P2055 Series driver from a list.
- Mac: Go to "System Preferences" -> "Printers & Scanners" -> Click the "+" button to add a printer. Select "IP" at the top, enter the IP address, and choose "HP LaserJet P2055 Series" as the driver.
Troubleshooting: When Things Go Wrong (and They Sometimes Do)
What if it's not working? Don't panic! It happens. Here are a few common troubleshooting tips:
- Double-check the IP address: Make sure you typed it correctly. A single typo can throw everything off.
- Ping the Printer: Open a command prompt (Windows) or Terminal (Mac) and type `ping [printer's IP address]`. If you get replies, it means your computer can communicate with the printer. If you don't, there's a network issue.
- Firewall Issues: Sometimes, firewalls can block communication. Temporarily disable your firewall to see if that's the problem. If it is, you'll need to configure your firewall to allow communication with the printer.
- Restart Everything: Seriously, sometimes the simplest solution is the best. Restart your computer, your printer, and your router. It's like giving everything a fresh start.
Why It's Cool: The Power of Network Printing
So, you've successfully networked your HP LaserJet P2055dn. Congratulations! You've unlocked the power of shared printing. No more USB cables, no more printer hopping. Just seamless, convenient printing from any device on your network. It's like having your own personal printing press, accessible from anywhere in your home or office.

And that, my friends, is pretty darn cool. You’ve brought a capable, reliable printer into the modern age. Now go forth and print!
Remember, practice makes perfect! Don't be afraid to experiment and tinker. And if all else fails, there's always Google. Happy printing!