How To Clean The Inside Of Your Headlights
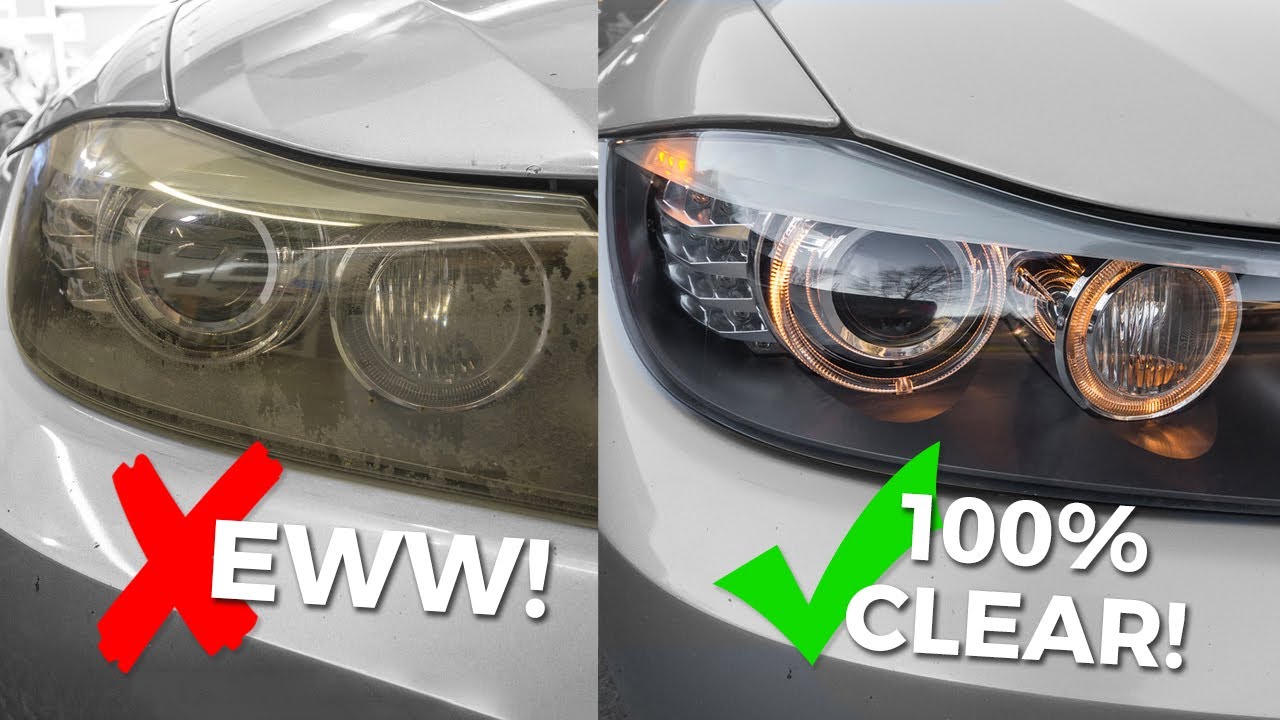
Let's face it, cloudy headlights are a real drag. They make your car look older than it is, and more importantly, they significantly reduce your nighttime visibility. But did you know that sometimes the problem isn't just on the outside? Dirt and grime can build up inside your headlight housings too! Cleaning the inside of your headlights might sound intimidating, but it's actually a surprisingly straightforward process, and the results are incredibly satisfying. It’s like giving your car a much-needed eye exam, and suddenly, everything is brighter!
So, why bother cleaning the inside of your headlights? For beginners, it's a fantastic way to learn a little about basic car maintenance and boost your confidence. You’ll be surprised at how much of a difference it makes, and it’s a relatively inexpensive fix compared to replacing the entire headlight assembly. For families, clear headlights are crucial for safety. Improved visibility means safer nighttime driving for you and your loved ones. Plus, it’s a great way to involve the kids (with supervision, of course!) in taking care of the family car. And for the hobbyist, cleaning the inside of your headlights is just another opportunity to perfect your detailing skills and ensure your ride is in tip-top shape. It’s about more than just function; it's about pride in ownership.
The most common method involves using a simple solution and some gentle shaking. One popular mixture is a combination of warm water and dish soap. Some people prefer using a solution of vinegar and water. A less common, but effective method, uses rice. You put a handful of dry rice into the headlight housing along with the cleaning solution. The rice acts as a mild abrasive, gently scrubbing the inside as you shake. Be sure to remove all the rice afterwards! Another variation involves using small magnets and a microfiber cloth. You attach a magnet to the cloth and then use another magnet on the outside of the housing to guide the cloth around the inside. No matter which method you choose, the key is to be patient and gentle.
Must Read
Getting started is easier than you think! First, you'll need to remove the headlight assembly from your car. Consult your car's owner's manual or search online for specific instructions. This is usually a matter of unscrewing a few bolts or clips. Once the headlight is removed, disconnect the bulb sockets. Then, carefully pour your chosen cleaning solution into the housing. Seal the opening with tape or a towel, and gently shake the headlight for several minutes. After shaking, drain the solution and rinse thoroughly with clean water. Let the headlight dry completely before reassembling everything. A hairdryer on a cool setting can help speed up the drying process.

Important tips:
- Always disconnect the battery before working on any electrical components.
- Be careful not to scratch the inside of the headlight lens.
- Make sure the headlight is completely dry before reinstalling the bulbs.
- If you’re uncomfortable removing the headlight yourself, take it to a professional.
Cleaning the inside of your headlights is a simple and rewarding project that can significantly improve your car's appearance and safety. It's a great way to save money, learn a new skill, and take pride in your vehicle. So, grab your tools, choose your cleaning solution, and get ready to see the light – literally! The satisfaction of seeing those headlights shine brightly again is definitely worth the effort. Enjoy!


