How To Charge Lawnmower Battery With Battery Charger
Alright, folks! Let's talk lawnmowers. Not the back-breaking, sweat-inducing kind, but the ones that purr to life with the turn of a key. But what happens when that purr becomes a whimper? Yep, you guessed it: dead battery. But don't despair! Charging your lawnmower battery is easier than you think! Think of it as giving your green-cutting buddy a much-needed power nap.
Why bother, you ask? Because a healthy lawn is a happy lawn, and a happy lawn makes for a happy homeowner! Imagine the envious glances from your neighbors! And the joy of a perfectly manicured yard? Priceless. So, let's ditch the dread and dive into the wonderful world of battery charging.
What You'll Need
First, gather your supplies. Think of it like prepping for a delicious recipe. You'll need:
Must Read
- Your lawnmower battery: Obvious, right?
- A battery charger: Make sure it's compatible with your battery's voltage (usually 12V). A trickle charger is a great option for slow, gentle charging and maintenance.
- Safety glasses: Safety first! Protect those peepers.
- Gloves: Because nobody likes battery acid on their hands.
- A wrench or socket set: For disconnecting the battery terminals (maybe).
- A clean, well-ventilated workspace: Preferably not inside your living room.
Safety First! (Seriously!)
Okay, before we get our hands dirty, let's talk safety. Batteries contain acid, and electricity can be shocking (literally!). Always wear safety glasses and gloves. Disconnect the spark plug wire to prevent accidental starting. And, please, no smoking or open flames near the battery. We're aiming for a perfectly manicured lawn, not a bonfire.
Step-by-Step Charging Guide
Ready to roll? Let's get that battery juiced up!
- Locate the Battery: Usually under the seat or in the engine compartment. Consult your owner's manual if you're unsure.
- Disconnect the Battery: Using your wrench or socket, disconnect the negative (-) terminal first, followed by the positive (+) terminal. This prevents short circuits. Remember: Negative first, positive last when disconnecting. Positive first, negative last when reconnecting! Keep those in mind!
- Clean the Terminals (Optional but Recommended): If the terminals are corroded (you'll see a white or greenish buildup), clean them with a wire brush or a baking soda and water solution. Clean terminals ensure a good connection.
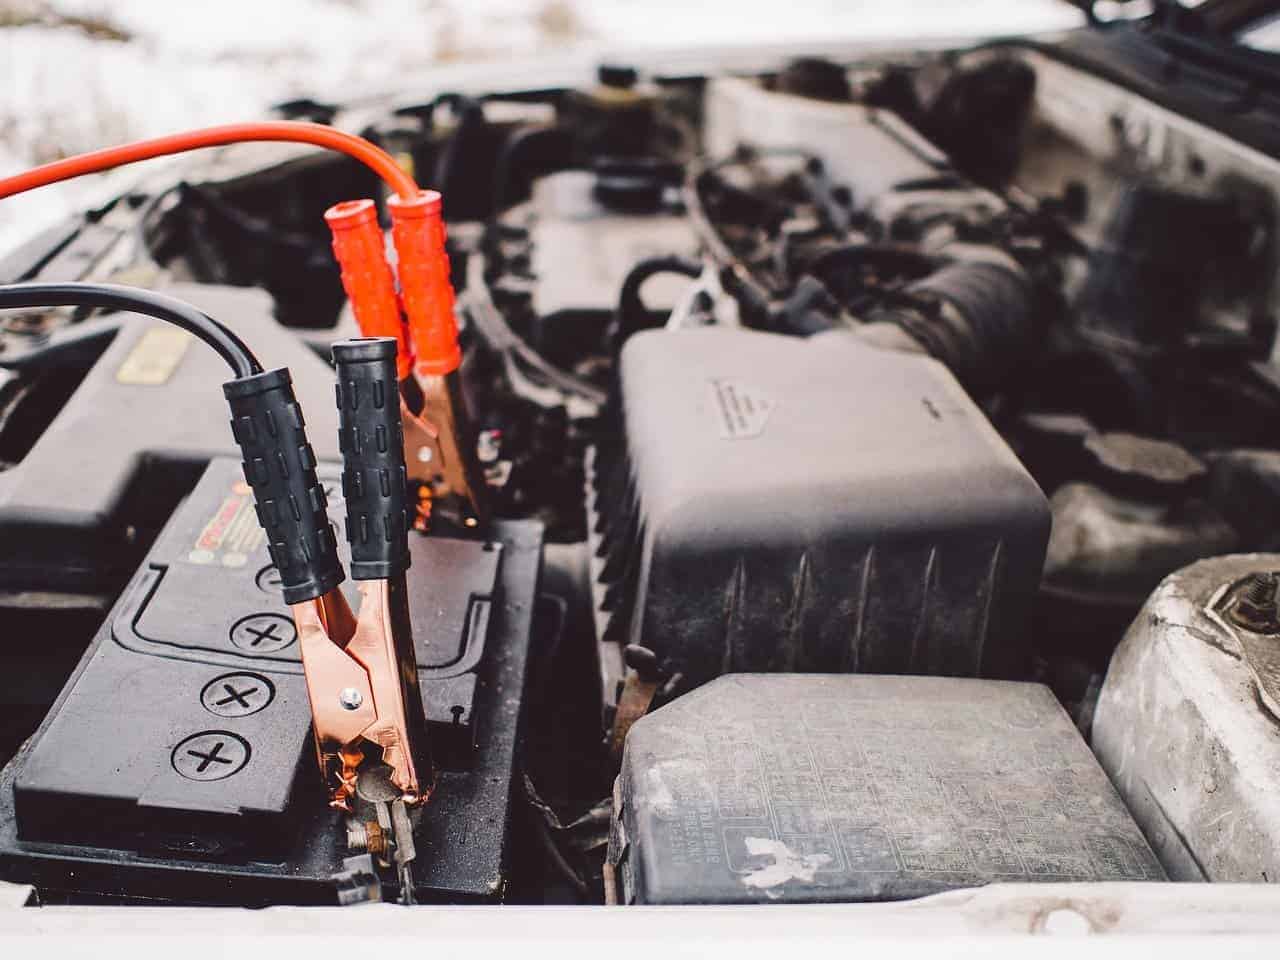
- Connect the Charger: Connect the charger's positive (+) clip to the battery's positive (+) terminal, and the negative (-) clip to the battery's negative (-) terminal. Double-check your connections! Getting this wrong can damage the battery or charger.
- Set the Charger: Select the appropriate voltage and amperage settings on your charger. If you're using a trickle charger, it will usually have automatic settings.
- Charge the Battery: Plug in the charger and let it do its thing. Charging time will vary depending on the battery's condition and the charger's output. A trickle charger might take overnight, while a faster charger could take just a few hours.
- Monitor the Charging Process: Keep an eye on the charger's indicator lights. Most chargers will automatically shut off when the battery is fully charged.
- Disconnect the Charger: Once the battery is fully charged, unplug the charger and disconnect the clips from the battery terminals.
- Reconnect the Battery: Reconnect the positive (+) terminal first, followed by the negative (-) terminal. Tighten the connections securely.
- Test the Lawnmower: Cross your fingers, turn the key, and listen for that sweet, sweet purr!
See? That wasn't so bad, was it? You've just resurrected your lawnmower battery and saved yourself a trip to the repair shop. High five!
Tips and Tricks for a Longer Battery Life
Want to keep your battery happy and healthy for years to come? Here are a few tips:

- Don't let the battery sit discharged for long periods. Charge it regularly, especially during the off-season.
- Use a trickle charger for maintenance during the winter. This will prevent the battery from self-discharging.
- Store the battery in a cool, dry place. Extreme temperatures can damage the battery.
- Check the water level (if applicable) regularly. Some batteries require you to add distilled water to keep the cells properly hydrated.
- Clean the terminals regularly to prevent corrosion.
Proper lawnmower battery care isn't just about saving money; it's about enjoying a hassle-free lawn care experience. After all, who wants to spend their weekend wrestling with a dead battery when they could be relaxing on their perfectly manicured lawn with a refreshing drink?
So, there you have it! You're now a lawnmower battery charging pro. Go forth and conquer those blades of grass! And remember, a little knowledge goes a long way. The more you learn about your lawnmower and its components, the more enjoyable your lawn care routine will become. Now, get out there and make your neighbors green with envy (pun intended!). Who knows what other DIY projects you'll be inspired to tackle next!

![Charging a Lawnmower Battery Overnight [Warning & Guidance] – Thriving Yard](https://thrivingyard.com/wp-content/uploads/2022/10/overnight-charging-of-lawnmower-battery-issues.jpg)