
How To Charge A Portable Charger
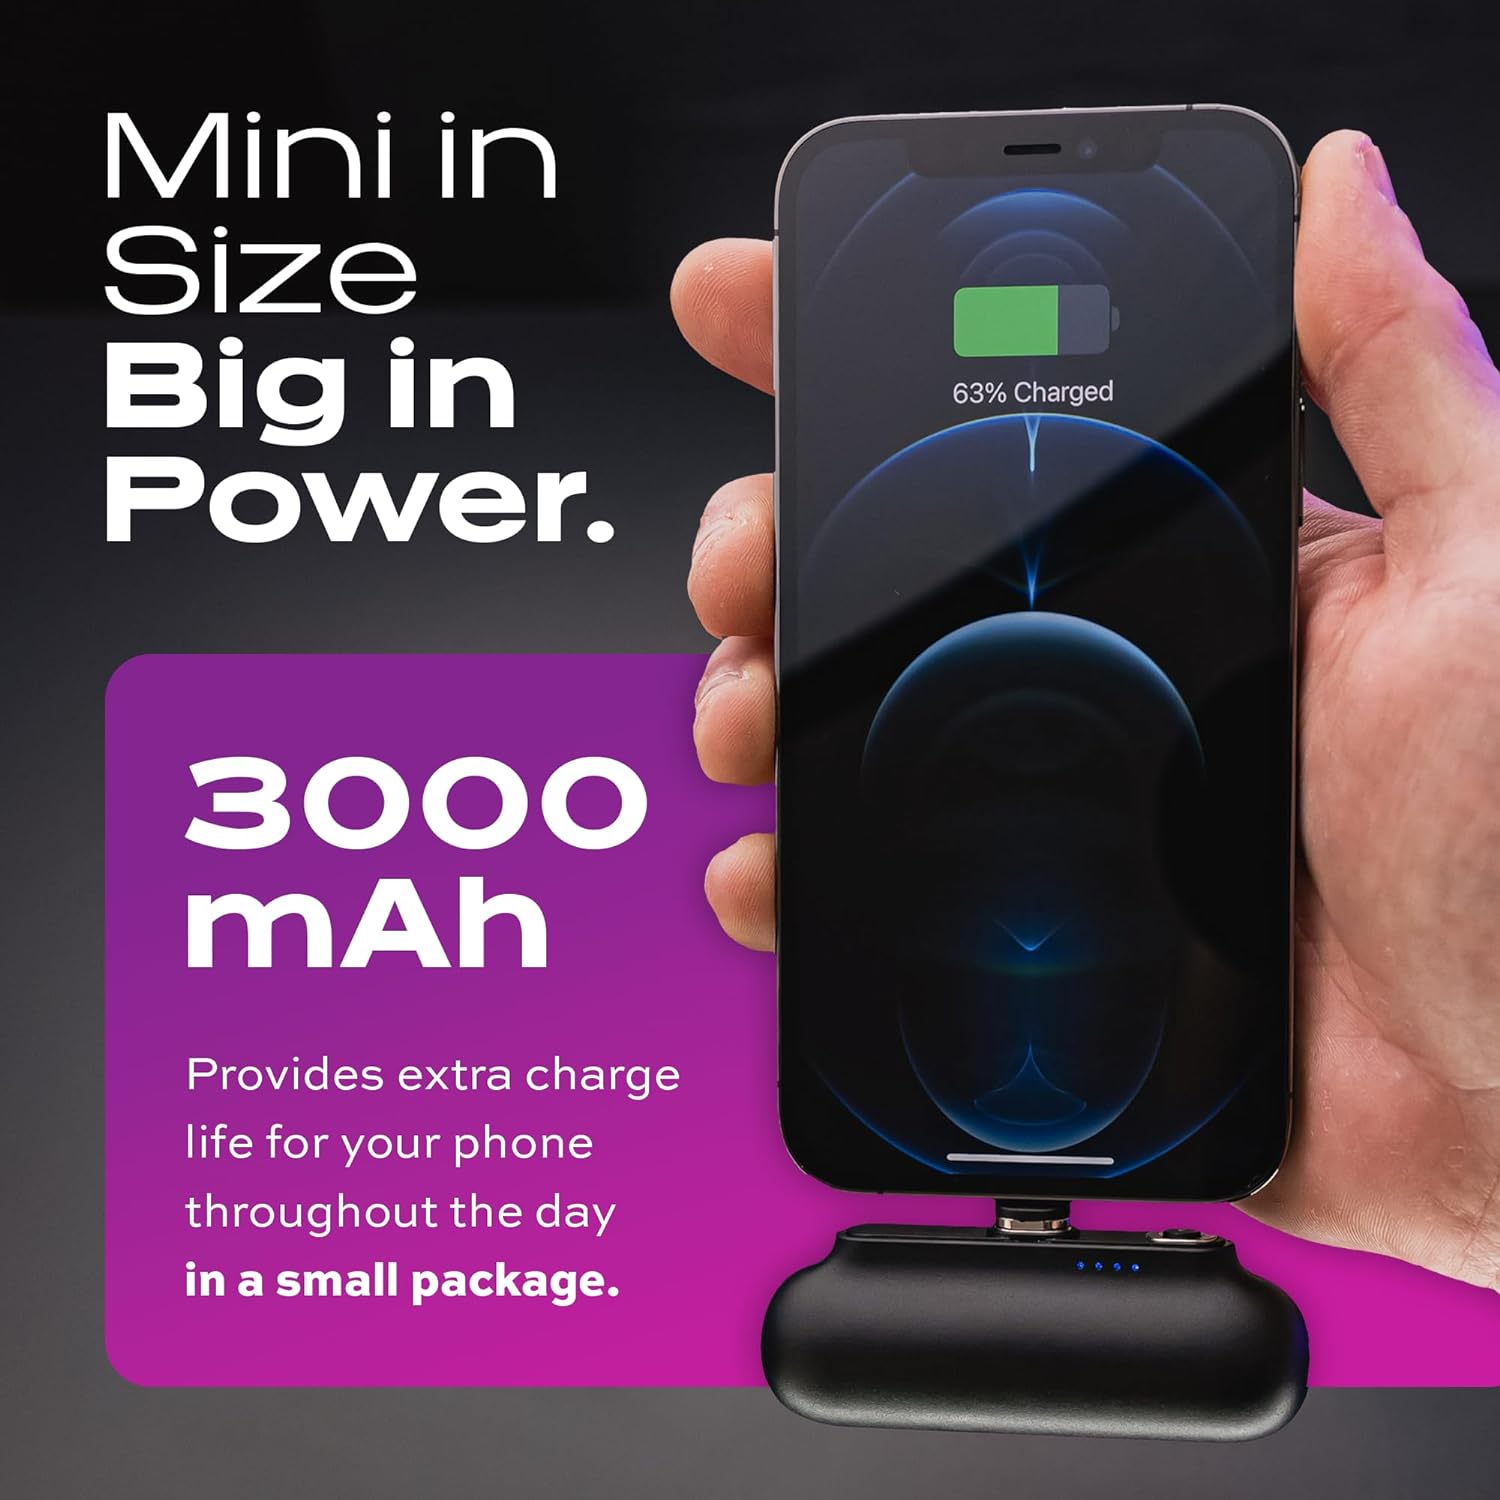
Okay, let's talk portable chargers. Those little lifesavers that prevent the dreaded "dying phone" panic attack. We've all been there, right? Staring at that blinking red bar, knowing doom is imminent. Whether you're trying to navigate a new city, capture that perfect sunset photo, or just need to text your mom back, a dead phone is a major buzzkill. That's where these handy gadgets come in. But here's the thing: they're only useful if they have juice themselves! So, let's dive into the super-simple secret of keeping your portable charger ready for action.
First Things First: Know Your Charger
Think of your portable charger like a little pet. It comes in all shapes and sizes. Some are sleek and powerful, others are cute and compact, like a pocket-sized pug. The most important thing is to know what kind of input it needs. This info is usually printed right on the charger itself, often near the charging port. Look for words like "Input" or "DC In." It'll tell you the voltage (V) and amperage (A) it requires. Don't worry, you don't need a PhD in electronics! Just a keen eye.
For example, it might say "Input: 5V/2A." That means it needs a 5-volt charger with 2 amps. Matching these numbers is key to efficient and safe charging. Using the wrong charger can either take forever to charge your portable charger, or, in rare cases, even damage it. So, a little reading goes a long way!
Must Read
The Essential Gear: Cable & Wall Adapter
Now that you know what your charger needs, let's talk about the tools of the trade: the cable and the wall adapter. Most portable chargers come with a USB cable. This is the wire that connects your charger to a power source. The type of USB cable (like USB-C, Micro-USB, or Lightning) will depend on your specific charger. Again, check the ports on your charger to be sure you're using the right one.
The wall adapter (the little block that plugs into the wall) is what converts the AC power from your wall outlet into the DC power your portable charger needs. Many phone chargers work great as wall adapters for your portable charger. Just double-check that the output voltage and amperage on the adapter match what your portable charger requires. Remember that 5V/2A example from before? Look for a wall adapter that provides that.

Imagine you're baking cookies. You wouldn't use salt instead of sugar, right? Same principle here. Using the right gear ensures your portable charger gets the power it needs safely and efficiently.
Plugging It In: The Easy Part
Okay, deep breaths! This is the part where you actually plug things in. It's as easy as making toast (though hopefully less prone to burning). Connect the USB cable to your portable charger's input port and then plug the other end of the cable into the wall adapter. Then, plug the wall adapter into a working wall outlet.
Pro tip: Make sure the outlet is actually working! We've all been there, frantically plugging things in only to realize the outlet is dead. Avoid that frustration by testing it first with a lamp or something else you know works.
Keeping an Eye on Things: Charging Indicators
Most portable chargers have some sort of indicator light to show you they're charging. This could be a blinking LED, a series of lights that light up progressively, or even a small display showing the percentage charged. Consult your charger's manual to understand what the indicator lights mean. It's like decoding a secret message from your tech!
Usually, a blinking light or a series of lights lighting up indicates that the charger is charging. When all the lights are solid or the display shows 100%, it means your charger is fully charged and ready to go. Don't leave it plugged in for days on end after it's fully charged. It's like overfeeding your little tech pet; it's not good for its long-term health.

How Long Does It Take? The Patience Game
Charging time varies depending on the capacity of your portable charger (measured in mAh – milliampere-hours) and the output of your wall adapter. A larger capacity charger will take longer to charge. Generally, it can take anywhere from a few hours to overnight. A good rule of thumb is to charge it overnight so it is always ready to go. It's like prepping your coffee maker the night before so you can have that glorious caffeine kick in the morning.
Don't be impatient! Resist the urge to constantly unplug and replug your charger. Let it charge undisturbed for the recommended time to ensure it gets a full charge. Think of it like watering a plant; consistent watering is better than sporadic drenching.

Storage and Maintenance: Happy Charger, Happy You
When your portable charger isn't in use, store it in a cool, dry place. Avoid extreme temperatures. Don't leave it baking in your car on a hot summer day, or freezing in your garage during the winter. Think of it like your favorite sweater; you wouldn't leave it crumpled on the floor in the sun, would you?
Also, it's a good idea to charge your portable charger every few months, even if you're not using it. This helps keep the battery healthy and prevents it from completely discharging. Imagine if you didn't drive your car for a year; the battery would likely be dead. Same principle applies here.
So there you have it! Charging your portable charger is easy. With a little know-how and a bit of attention, you can keep your little lifesaver ready to rescue you from the dreaded dead phone zone. Now go forth and conquer, powered by the mighty portable charger!