How To Change Battery On Smoke Detector First Alert
Alright, picture this: It’s 3 AM. You’re deep in dreamland, perhaps winning that imaginary lottery or flawlessly parallel parking a monster truck. Suddenly, from the abyss of your ceiling, a high-pitched, utterly relentless chirp pierces the blissful silence. Chirp. A pregnant pause. Chirp. Your eyes snap open. What in the actual ding-dong was that? You wait. Nothing. You tentatively drift back to the land of slumber. CHIRP. Louder this time, or maybe your ears are just more finely attuned to the impending nocturnal annoyance.
Yes, my friend, it’s the smoke detector. And it wants something. Probably a new battery. Ugh.
Sound familiar? You’re definitely not alone in this particular brand of middle-of-the-night torture. That infernal chirp is the universal distress signal of a dying smoke detector battery, a little mechanical cry for help that always seems to arrive at the absolute worst possible moment. But here’s the good news: while it feels like a cosmic joke played just for you, changing that battery is usually surprisingly simple. Especially if you’re dealing with a First Alert model, which, let’s be honest, a lot of us are.
Must Read
So, grab a coffee (or just squint at your screen for now), because we’re about to demystify this nocturnal nuisance and get you back to peaceful, unchirped living. You got this!
Step 1: Find the Chirper (and Get Your Gear)
First things first: if you have multiple smoke detectors, you need to play detective. The one chirping is usually the problem, but sometimes the sound bounces in weird ways. Go on, give it a listen. Walk around until you’re pretty sure which one is making the racket.
Once you’ve pinpointed the noisy offender, it’s time to gather your tools. You’ll typically need:
- A sturdy step ladder or chair (safety first, people! No balancing acts on wobbly stacks of books).
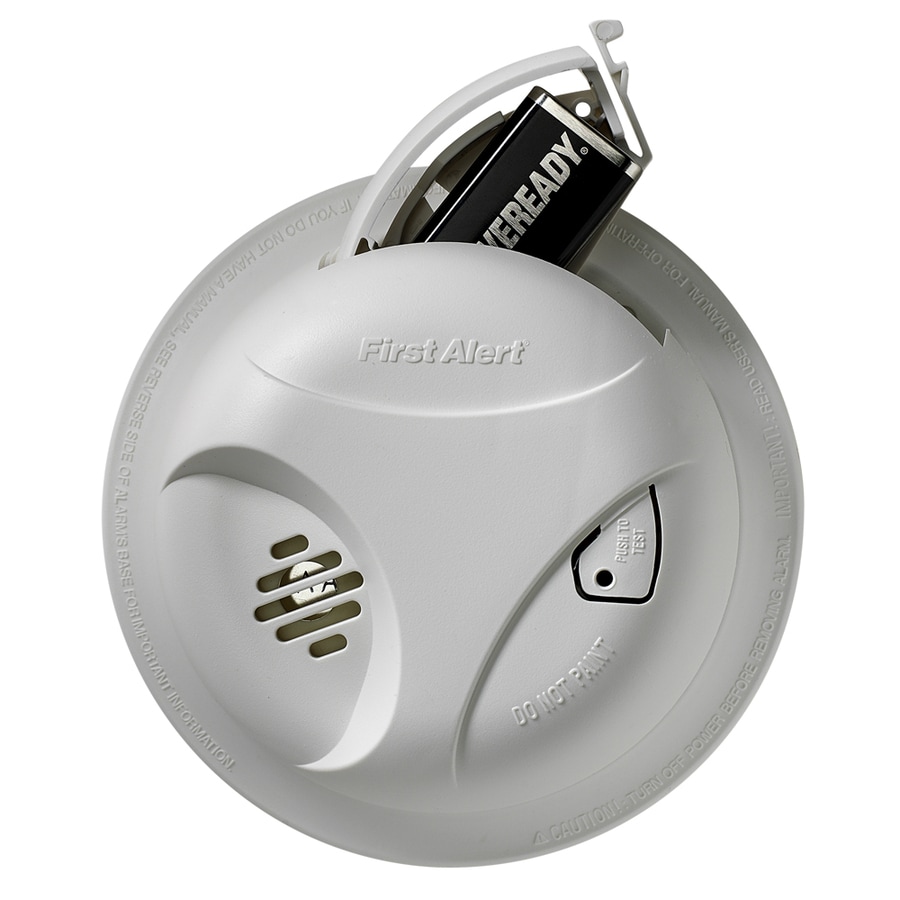
- A new battery. For most First Alert detectors, this will be a 9-volt battery. However, some might use AA or AAA, so it’s always a good idea to quickly check your manual or even just the old battery type once you get it open.
- (Optional) A small flathead screwdriver. Some battery compartments can be a bit stubborn.
Step 2: Gently Detach It
Most First Alert smoke detectors are designed to be easily twisted off their mounting bracket. Gently grab the detector and try turning it counter-clockwise. Think of it like unscrewing a jar lid, but flatter. It should only need about a quarter turn or so before it detaches.
Quick note: If your smoke detector is hardwired (meaning it has wires running directly into the wall/ceiling), you’ll see those wires. For a simple battery change, you generally don't need to disconnect these. But if you're ever doing more extensive work, always remember to turn off the power to that circuit at your breaker box first! Safety is paramount.
Step 3: The Battery Swap
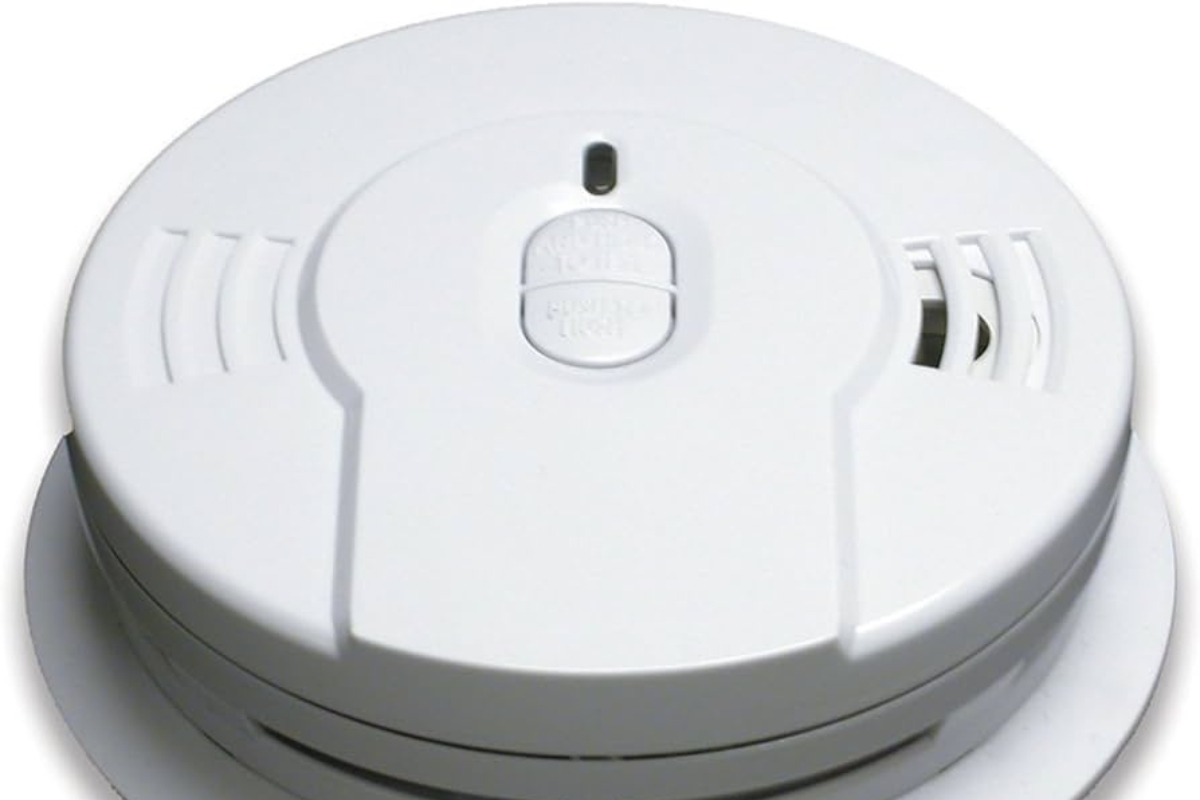
Once the detector is in your hand, flip it over. You’ll see a battery compartment, often with a small tab or latch. Depending on your model, you might need to:
- Slide open a door: Look for an arrow or a "push" indicator.
- Pop open a small hatch: This is where that tiny flathead screwdriver might come in handy if it's a bit stiff.
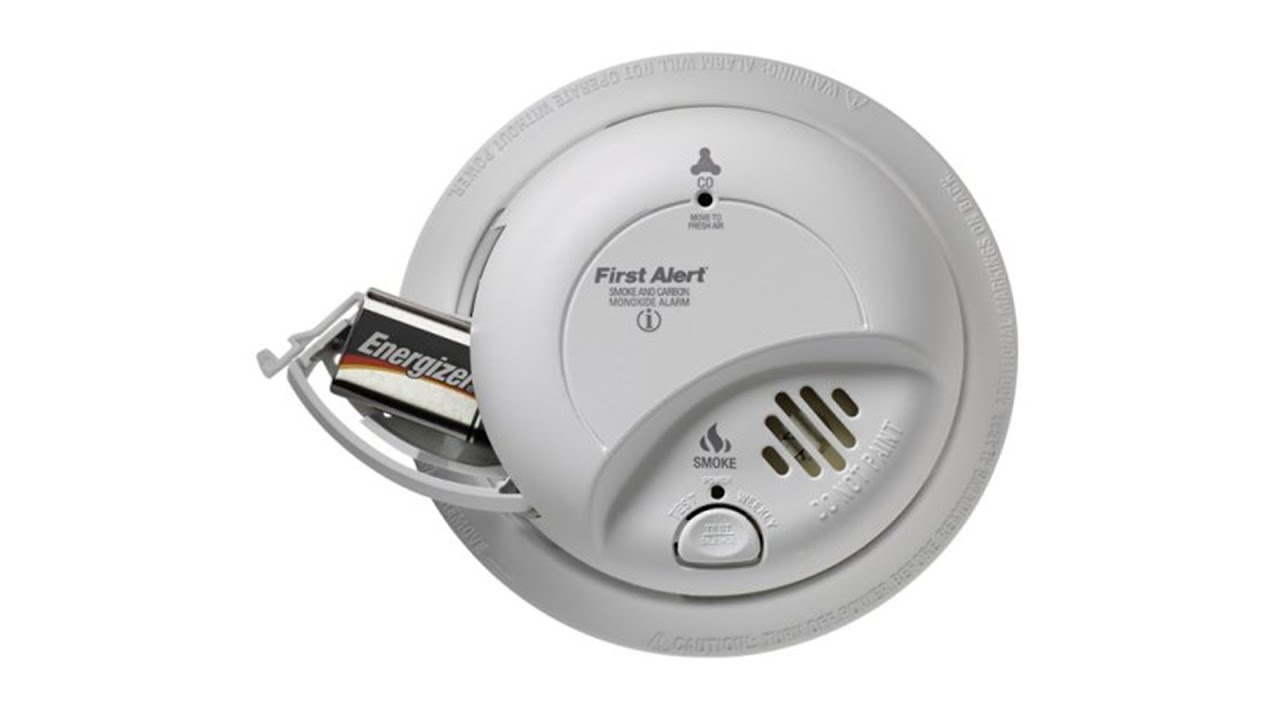
Carefully remove the old, depleted battery. Notice how it was connected – usually a positive (+) and negative (-) terminal. Insert your fresh new battery, making sure to match the positive to positive and negative to negative terminals. A little click often tells you it’s seated correctly.
Step 4: The Moment of Truth – Test It!
Before you re-mount that bad boy, let's make sure it's happy. Every smoke detector has a "Test" button. Press and hold it for a few seconds. You should hear a loud, piercing alarm. This is a good thing! It means the battery is working, and the alarm mechanism is functional.
Heads up: It’s going to be loud. Prepare your ears, or just hold it away from your face. Seriously, it's designed to wake you up from a dead sleep, so don't be surprised by the volume.
Step 5: Reinstall and Relax
With the new battery in and tested, it’s time to put your smoke detector back where it belongs. Align it with the mounting bracket on the ceiling or wall, and twist it clockwise until it locks securely into place. You might hear a soft click.
And there you have it! No more phantom chirps at 3 AM. Just sweet, blissful silence and the quiet satisfaction of a job well done.
A Few Parting Thoughts (Because We Care!)
* Regular Battery Changes: Don't wait for the chirp! A good rule of thumb is to change your smoke detector batteries at least twice a year. A popular trick is to do it when you change your clocks for Daylight Saving Time (spring forward, fall back). Easy to remember! * Check the Expiration Date: Smoke detectors themselves have a lifespan, usually around 10 years. Look for a "replace by" date on the back. Even with new batteries, an old detector might not function optimally. * Cleanliness is Next to Godliness: Occasionally, give your detector a gentle vacuum or wipe down to remove dust and cobwebs. Dust can interfere with its sensors.
See? That wasn't so bad, was it? You’ve conquered the chirp, asserted your dominance over household appliances, and ensured your home remains a safe haven. Now, go forth and enjoy your uninterrupted sleep! You've earned it.