How To Change Battery In Nest Thermostat
Alright, let's talk about that little circle of genius on your wall – your Nest Thermostat. It's smart, it's sleek, it keeps your home perfectly cozy without you lifting a finger... most of the time. But even the smartest companions need a little TLC now and then. Specifically, sometimes they need a fresh set of batteries. Think of it as giving your Nest a much-needed espresso shot to keep its brilliance glowing. And guess what? It’s surprisingly simple, a delightful little DIY win that takes less time than brewing that espresso.
Why Your Nest Needs a Refresh (And How to Know It's Time)
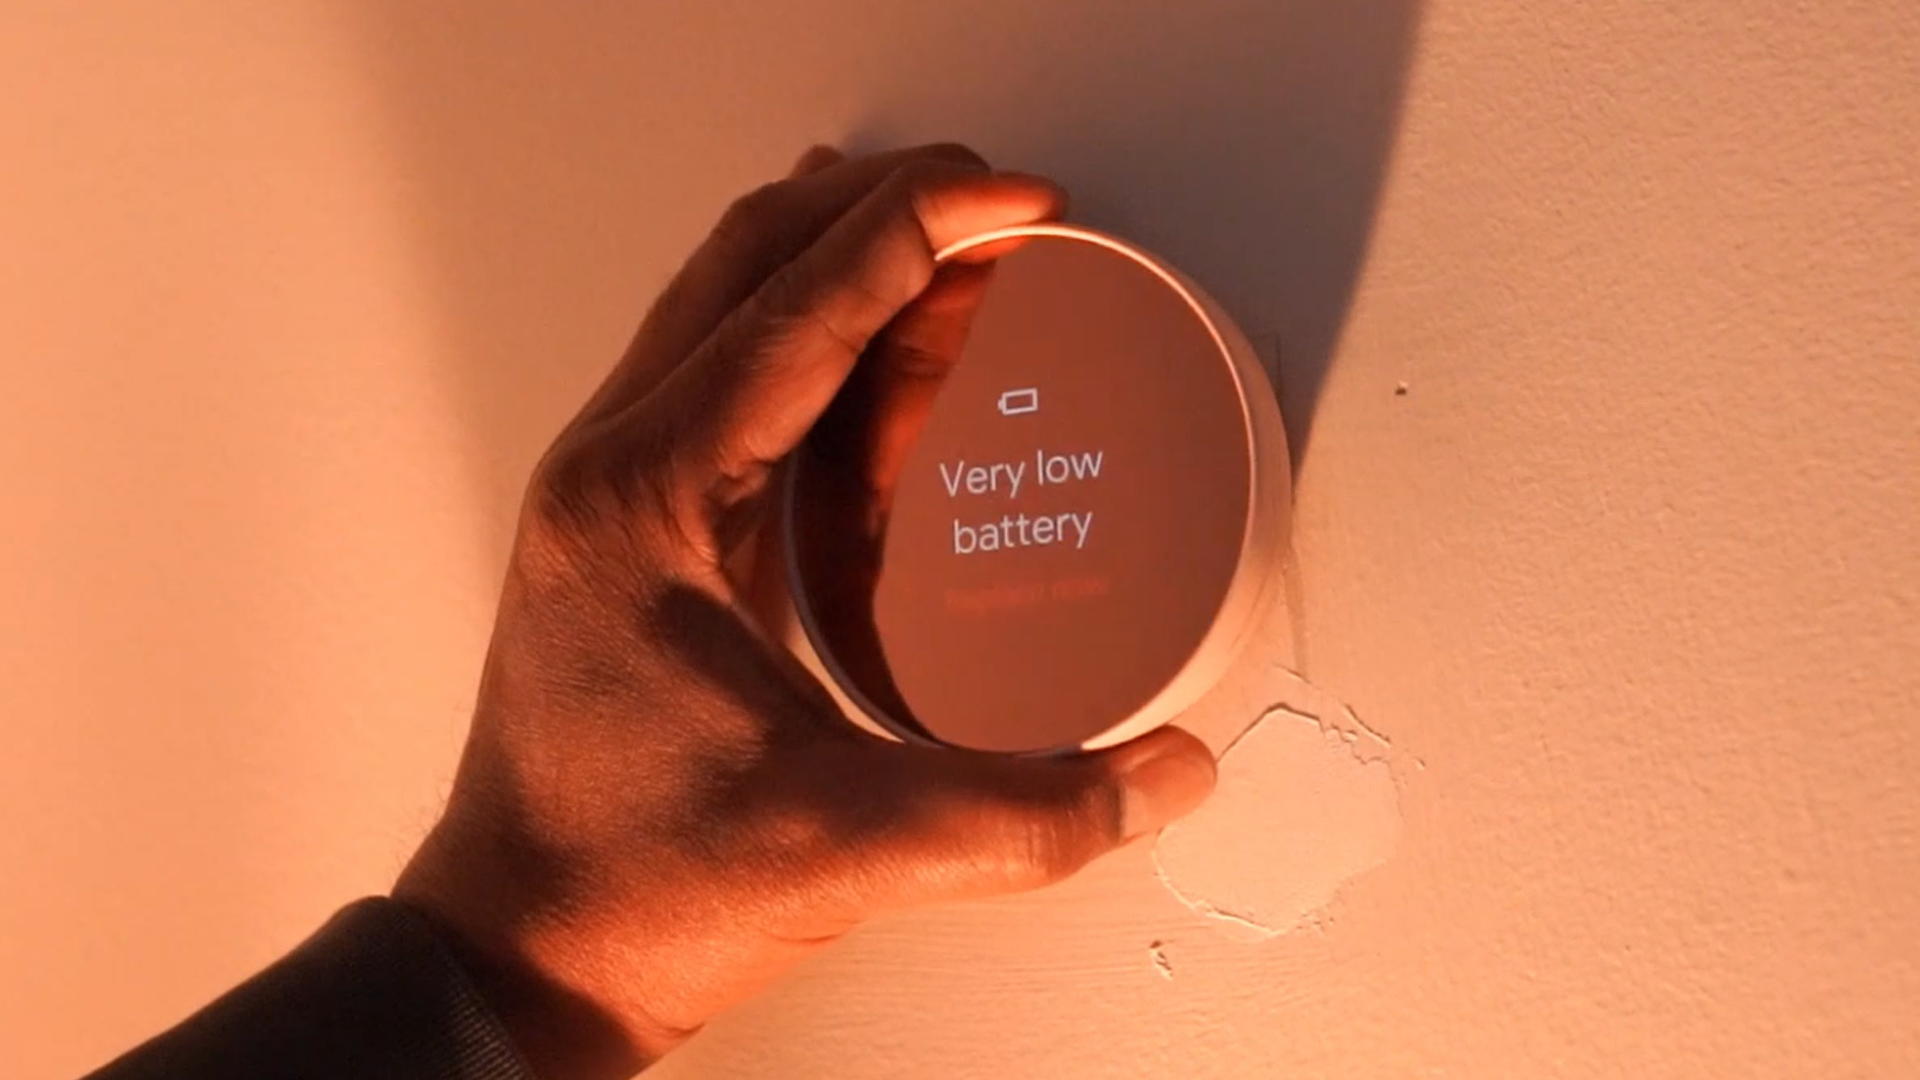
Your Nest Thermostat, particularly the older models like the Nest Learning Thermostat and Nest Thermostat E, uses internal rechargeable batteries that often get a little boost from your home's HVAC system wiring. But those internal batteries do eventually need to be swapped out in some cases, or they act as a crucial backup. When they're running low, your Nest isn't shy about it.
You might see a low battery warning right on its gorgeous display, or even get an alert on your phone. Sometimes, it might just start acting a little sluggish, losing its Wi-Fi connection more often, or not quite responding with its usual pep. Consider it its subtle way of saying, "Hey, I could use a little pick-me-up!" Just like how we feel after a long day – a quick power-up makes all the difference.
Must Read
Gather Your Tools (It's Not a Huge Project, Promise!)
Before we dive into the grand operation, let's gather your arsenal. Don't worry, we're not talking about a trip to a specialized hardware store. You likely have everything you need lying around. You'll need:
- A small Phillips head screwdriver (the kind with a cross-shaped tip).
- Two fresh AAA alkaline batteries. Yes, just two! Make sure they're new and good quality. Think of them as premium fuel for your tech.
That’s it! No ancient incantations, no secret codes. Just common household items for a common household task. You're practically a tech wizard already.

The Grand Reveal: Swapping Batteries
This is where the magic happens. Take a deep breath, channel your inner MacGyver, and let's get this done. You'll be amazed at how quickly you become a Nest battery-changing pro.
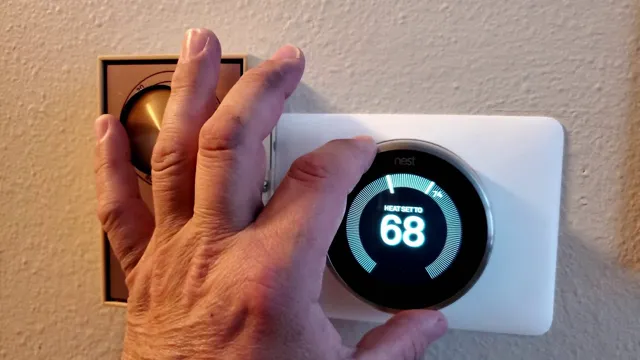
Step 1: Release the Display
Your Nest Thermostat isn't one solid piece. The part you interact with – the beautiful circular display – actually detaches from its base. To remove it, simply grasp the front display firmly and gently pull it straight out from the wall. It's held in place by magnets or a simple friction fit, so a little firm but gentle tug should do the trick. No twisting, no wrestling; just a straight pull. It should pop off relatively easily, like a friendly handshake.
Step 2: Locate the Battery Compartment
Once the display is off, flip it over. On the back, you’ll typically find a small compartment, often secured with a tiny screw. This is where your new batteries will live! Use your small Phillips head screwdriver to carefully undo the screw. Don't lose it – it's a tiny but mighty keeper.
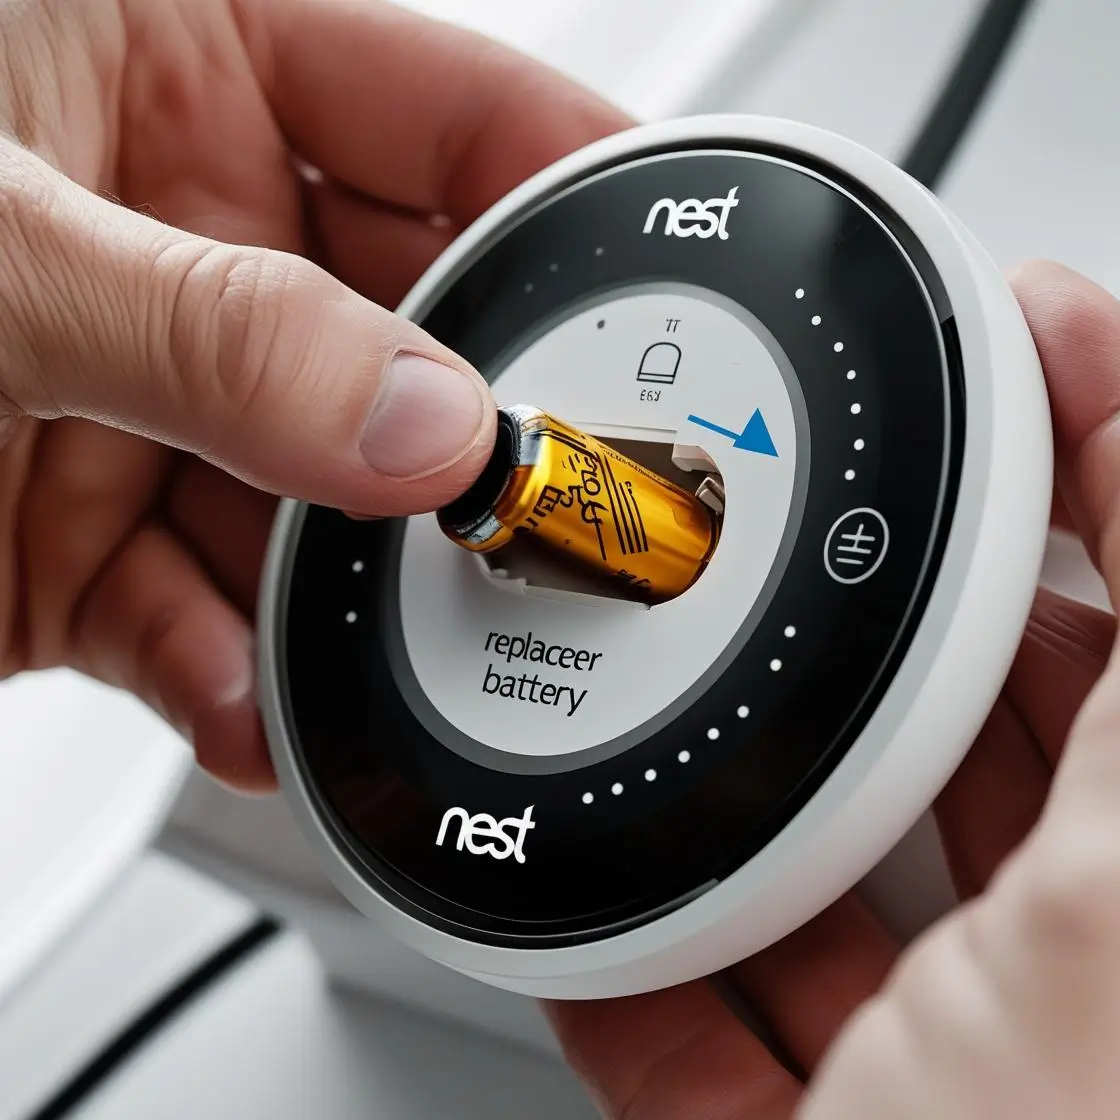
Step 3: The Swap Out!
With the cover off, you'll see the two old AAA batteries nestled inside. Remove the old batteries and then insert your fresh AAA batteries. Pay close attention to the polarity – there will be little (+) and (-) symbols inside the compartment guiding you. Match them up correctly! It's like a tiny puzzle, ensuring everything is aligned for maximum power flow.

Step 4: Button Up and Reattach
Once the new batteries are in, replace the compartment cover and secure it with that tiny screw you wisely didn't lose. Then, it's time to put your Nest back together. Line up the front display with the base on the wall and gently push it back into place. You should feel a satisfying click or a magnetic pull as it reattaches.
Pro Tips for a Smooth Swap
- Quality Counts: Always opt for good quality, brand-name alkaline batteries. They last longer and perform more reliably, meaning fewer swaps for you!
- No Panic Power-Up: After reattaching, it might take a few moments for your Nest to fully power up and reconnect to Wi-Fi. Give it a beat. It’s just recalibrating its smarts.
- Check the App: Once it's back online, peek at the Nest app on your phone. It should confirm the battery status is now "full" or "good to go." Sweet satisfaction!
See? That was a breeze! You've just performed a vital bit of home maintenance, keeping your digital butler happy and your living space comfortable. It's these little acts of care that keep our modern lives running smoothly. Just like remembering to water your plants or giving your favorite sneakers a good clean, taking a moment for your tech ensures it continues to serve you brilliantly. And now, you can go back to enjoying that perfectly regulated temperature, all thanks to your own two hands.