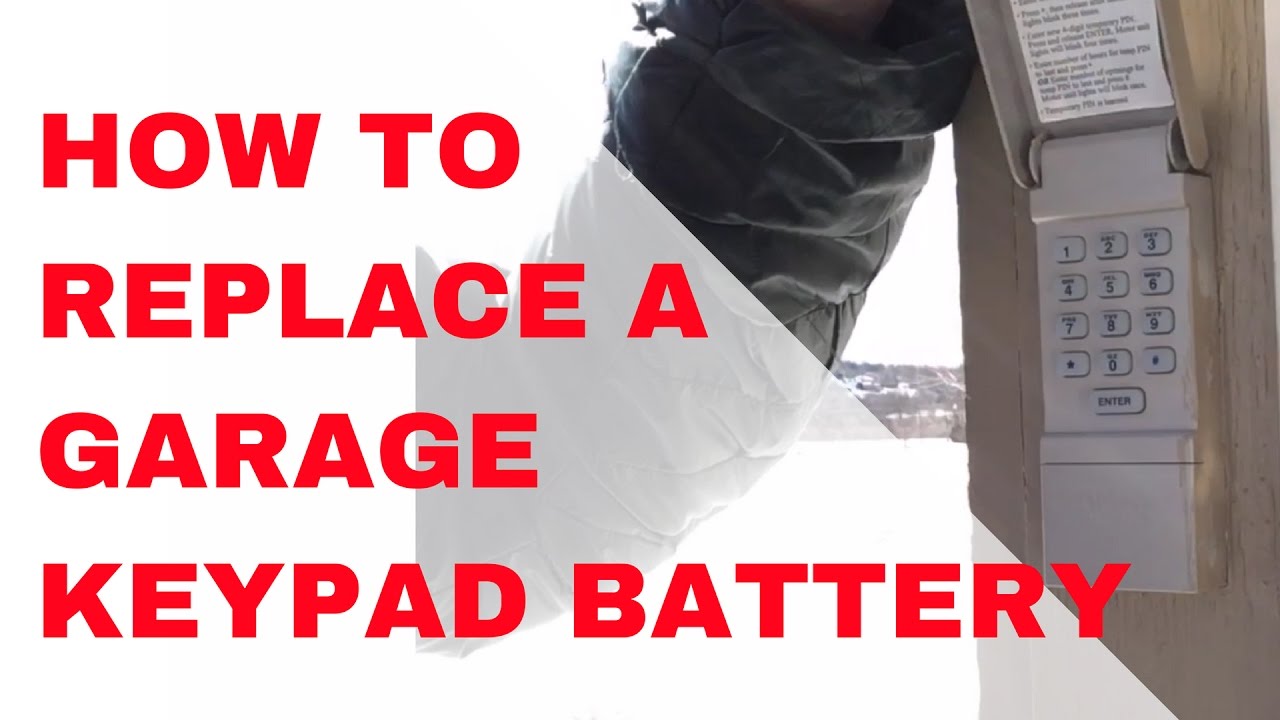
How To Change Battery In Garage Door Keypad

Ever been there? You pull up to your house, ready to roll into the garage after a long day, you punch in your trusted code on the outdoor keypad, and... nothing. Absolute silence. No lights, no click, no glorious upward sweep of your garage door. It’s that little moment of "uh oh," right?
Before you panic, before you assume your high-tech gadget has suddenly declared itself obsolete, what if I told you the fix is often so incredibly simple, it's almost laughably easy? We’re talking about a mini-mission, a tiny act of heroism that will make you feel like a secret agent for your own home. And it all revolves around one small, often overlooked hero: the battery.
Why Bother? Embrace Your Inner Tech Sleuth!
Now, you might think, "It's just a battery, why is this cool?" Ah, but it's more than that! It's about reclaiming a little bit of independence. It’s about not needing to call someone, wait for them, and then feel slightly sheepish when they perform a five-second fix. You're becoming a keypad whisperer, understanding the simple heartbeat of your home tech. Plus, isn't there something inherently satisfying about solving a problem yourself?
Must Read
Think of it like this: your garage door keypad isn't broken; it's just feeling a little peckish, running on fumes. It just needs a snack, a little energy boost to get back in the game. And you, my friend, are about to be its personal chef!
The Tools of the Trade (Spoiler: Not Many!)
For this high-stakes operation, you might imagine needing a full toolbox, maybe a soldering iron, and a strong cup of coffee. But usually, you’ll only need one trusty sidekick: a screwdriver. It could be a Phillips head (the one with the plus sign tip) or a flathead (the one that looks like a tiny chisel). Sometimes, you might not even need that, just your clever fingers!
It's like preparing for a gourmet meal and realizing all you need is a truly fantastic, simple sandwich. Less fuss, more delicious (or in this case, more functional) results!
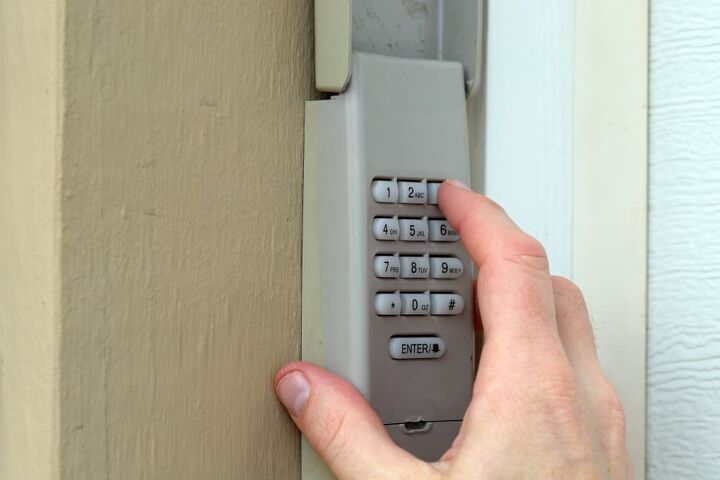
Your Mini-Mission: Finding the Power Source
This is where your detective skills come into play. Your keypad isn't going to have a giant sign pointing to its battery compartment. Instead, you'll need to look for a seam, a small door, or a set of tiny screws on the unit itself. It could be on the back, the bottom, or even slide out from the front.
Gently examine your keypad. Does a section look like it could unclip? Are there small, recessed screws that hint at an opening? It’s often designed to be subtle, so take a moment to really look. Think of it as a tiny treasure hunt, and the treasure is... a fresh power source!

Unveiling the Energy Core: What Lies Within?
Once you’ve found the compartment (victory!), a gentle twist of your screwdriver or a satisfying click of a latch will reveal the heart of your keypad. And what marvel do you usually find within?
More often than not, it's a couple of familiar faces: AA or AAA batteries. Sometimes, you'll encounter a trusty 9-volt battery, looking like a miniature, chunky brick. And occasionally, you might find a flat, round coin cell battery, like a tiny silver disc. Each one is a little powerhouse, just waiting to bring your keypad back to life and make your garage door sing!
It's like discovering the secret fuel cells for a miniature robot. Who knew such everyday items held so much power?
The Grand Exchange: Out with the Old, In with the New!
This is perhaps the easiest and most satisfying part. Before you yank out the old battery, take a quick peek at which way it’s facing. Notice the polarity – usually marked with a little '+' and '-' sign. This helps ensure your new battery goes in correctly.
Gently pop out the old battery. It might be snug, but a little wiggle usually does the trick. Then, grab your fresh new battery (because you're prepared, right?) and slide it into place, making absolutely sure those '+' and '-' ends match up perfectly. It’s like a tiny, perfectly executed heart transplant for your keypad, giving it a new lease on life.
Testing, Testing... 1, 2, 3!
The moment of truth! Close up the battery compartment, re-tighten any screws, and give your keypad a little pat of encouragement. Now, punch in your code. Hear that satisfying click? See those lights flash? And then, the glorious, rumbling sound of your garage door obeying your command!
Isn't that just super satisfying? That feeling of accomplishment, knowing you've tamed a silent gadget with just a few simple steps. It's a small victory, but hey, every successful DIY project makes you feel like a bit of a wizard!
Beyond the Basics: A Little Extra Curiosity
While you were inside, did you notice anything else interesting? Sometimes there are little reset buttons or tiny diagrams with programming instructions. It's like finding a secret bonus level in a video game you thought you’d already mastered. This little peek inside your keypad helps you realize how many simple machines we interact with daily have easy-to-fix issues, just waiting for a curious mind.
So, the next time your garage door keypad gives you the silent treatment, don't sweat it. Embrace your inner tech sleuth! A few simple steps, a bit of curiosity, and you'll have it humming along again. You're not just changing a battery; you're mastering your domain, one little keypad at a time!