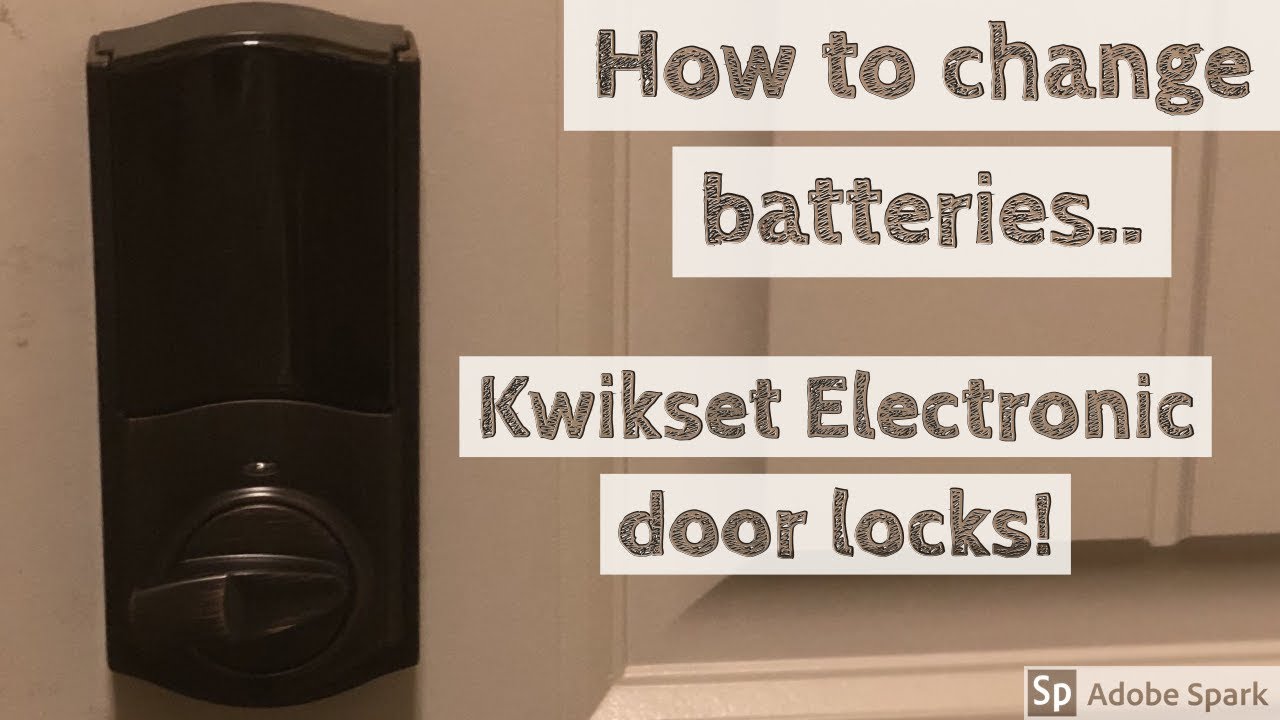
How To Change Batteries In Kwikset Lock

Picture this: You’ve just wrestled a week’s worth of groceries into the house, juggling a wriggly toddler, your phone is ringing, and all you want to do is collapse on the sofa. You reach for your trusty Kwikset smart lock, ready to tap in your code, and… nothing. Silence. Or worse, a sad, slow, unenthusiastic beep that clearly says, "I'm tired, leave me alone."
Suddenly, your smart lock isn't so smart. It's just a regular, stubborn piece of metal blocking your way in. Sound familiar? We've all been there, or at least imagined the horror. That's why knowing how to change the batteries in your Kwikset lock isn't just a useful skill; it's a superpower against everyday domestic dramas!
Why You Should Care (Beyond Just Getting In)
Okay, so avoiding the "walk of shame" to find the hidden spare key under a suspiciously damp rock is a pretty compelling reason. But seriously, why else should you care about this seemingly mundane task?
Must Read
Think of it like this: your Kwikset lock is like that really reliable friend who always has your back. They let you in when you've forgotten your keys (again!), give temporary access to the dog walker, and generally make life smoother. But even the best friends need a little TLC to keep going. Ignoring those low battery warnings is like ignoring your car’s "check engine" light – it might work for a bit, but you’re just setting yourself up for a roadside breakdown… or in this case, a front-door lockout!
Plus, there's the sheer satisfaction of it. When that lock springs back to life with a satisfying whir and a confident beep, you’ll feel a little surge of accomplishment. You’ve tamed the technology! You're not just a homeowner; you're a home-tech wizard. Impress your friends! Delight your significant other! Revel in the quiet victory of a fully functioning smart home.
What You'll Need: Your Mini-Hero Toolkit
Good news! You don't need a degree in advanced mechanics or a toolbox bigger than your kitchen sink. For most Kwikset locks, your arsenal will be delightfully simple:
- New Batteries: This is the star of the show! Most Kwikset smart locks use either AA or AAA batteries. It’s always a good idea to check your specific model or even just pop open the current battery compartment to be sure.
- Phillips-head Screwdriver: That’s the one with the cross-shaped tip, often lurking at the bottom of a junk drawer.
- A Small Dish or Bowl: Optional, but highly recommended! This is for those tiny screws you'll be removing. Think of it as a fancy little "screw spa" – keeps them from rolling off into the abyss, never to be seen again.
That’s it! No specialized equipment, no complex gadgets. Just a few everyday items.
The Great Battery Swap: A Step-by-Step Adventure!
Alright, let’s get those digital doors swinging open again! This is easier than assembling IKEA furniture (and definitely less likely to cause a marital dispute).
Step 1: Find the Battery Cover (It's a Bit Shy)
Your Kwikset lock hides its battery compartment on the interior side of your door. You won't find it on the outside where you punch in your code. Look for a panel or a small cover, usually at the top or bottom of the inside unit. Sometimes it slides up, sometimes it’s held in place by a couple of small screws.
It’s like finding the secret candy stash – once you know where it is, it's obvious!
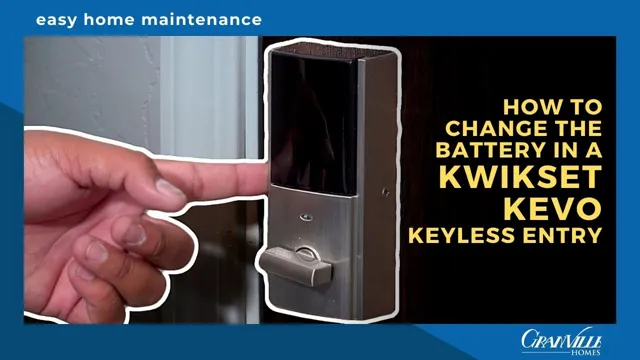
Step 2: Gently Uncover the Power Source
If there are screws, use your Phillips-head screwdriver to carefully loosen and remove them. Remember that "screw spa" bowl? This is its moment to shine! Pop those tiny screws in there so they don't play hide-and-seek under the couch.
If it’s a sliding cover, apply a little gentle pressure and slide it up or off, following any arrows or indentations. No brute force needed here, just a firm but friendly touch.
Step 3: Wave Goodbye to the Old Batteries
You’ll now see the old batteries, looking a bit tired. Gently pull them out. Sometimes they’re nestled in a carrier that lifts out. Take a quick mental note of which way they were facing (+ and - terminals) – though most battery compartments are pretty intuitive, it helps!

Once removed, you can give them a little nod of appreciation for their service. Don't forget to dispose of them properly – recycling them is a nice environmental high-five!
Step 4: Hello, Fresh Power!
Now, grab your glorious new batteries. Insert them, making sure to match the positive (+) and negative (-) ends with the markings in the compartment. This is crucial! It's like putting socks on – they only work right if they're facing the correct way.
You might hear a little whir or beep from the lock as it springs back to life. That’s the sound of success!
Step 5: Button Up Your Masterpiece
Carefully put the battery cover back on. If you removed screws, gently put them back in and tighten them. Don't overtighten; just snug enough so the cover is secure. If it's a sliding cover, slide it back into place until it clicks or sits flush.

Give it a little pat. You've done good.
Step 6: The Moment of Truth – Test It Out!
Now for the fun part! Go to the keypad on the outside of your door and punch in your code. Listen for that confident, happy whir and click. If it works, congratulations! You’ve successfully performed a battery transplant!
If it doesn't immediately respond, don't panic! Double-check the battery orientation, ensure the cover is fully seated, and give it another try. Sometimes, the lock just needs a moment to 'wake up' after new batteries are installed.
Pro Tips for the Savvy Battery Changer
- Don't Wait Until It's Completely Dead: Most Kwikset locks will give you a low battery warning (a specific light pattern, a unique beep, or even a notification on your smartphone app) long before they conk out entirely. Heed these warnings like a wise oracle!
- Keep Spares Handy: A pack of the correct battery type in your utility drawer is like having an emergency snack – always a good idea.
- Consider Quality Batteries: While cheap batteries might save you a buck or two upfront, good quality alkaline batteries tend to last longer and perform more reliably, giving you extended peace of mind.
- Check Your Manual: If you're ever unsure about your specific model, your Kwikset lock's user manual (or Kwikset's website) is your best friend. It’s like your lock's personal diary, full of helpful secrets.
So there you have it! Changing the batteries in your Kwikset lock isn't a chore; it's a small act of empowerment, ensuring your smart home stays smart and you never face the dreaded "locked out" scenario again. Go forth and change those batteries with confidence!