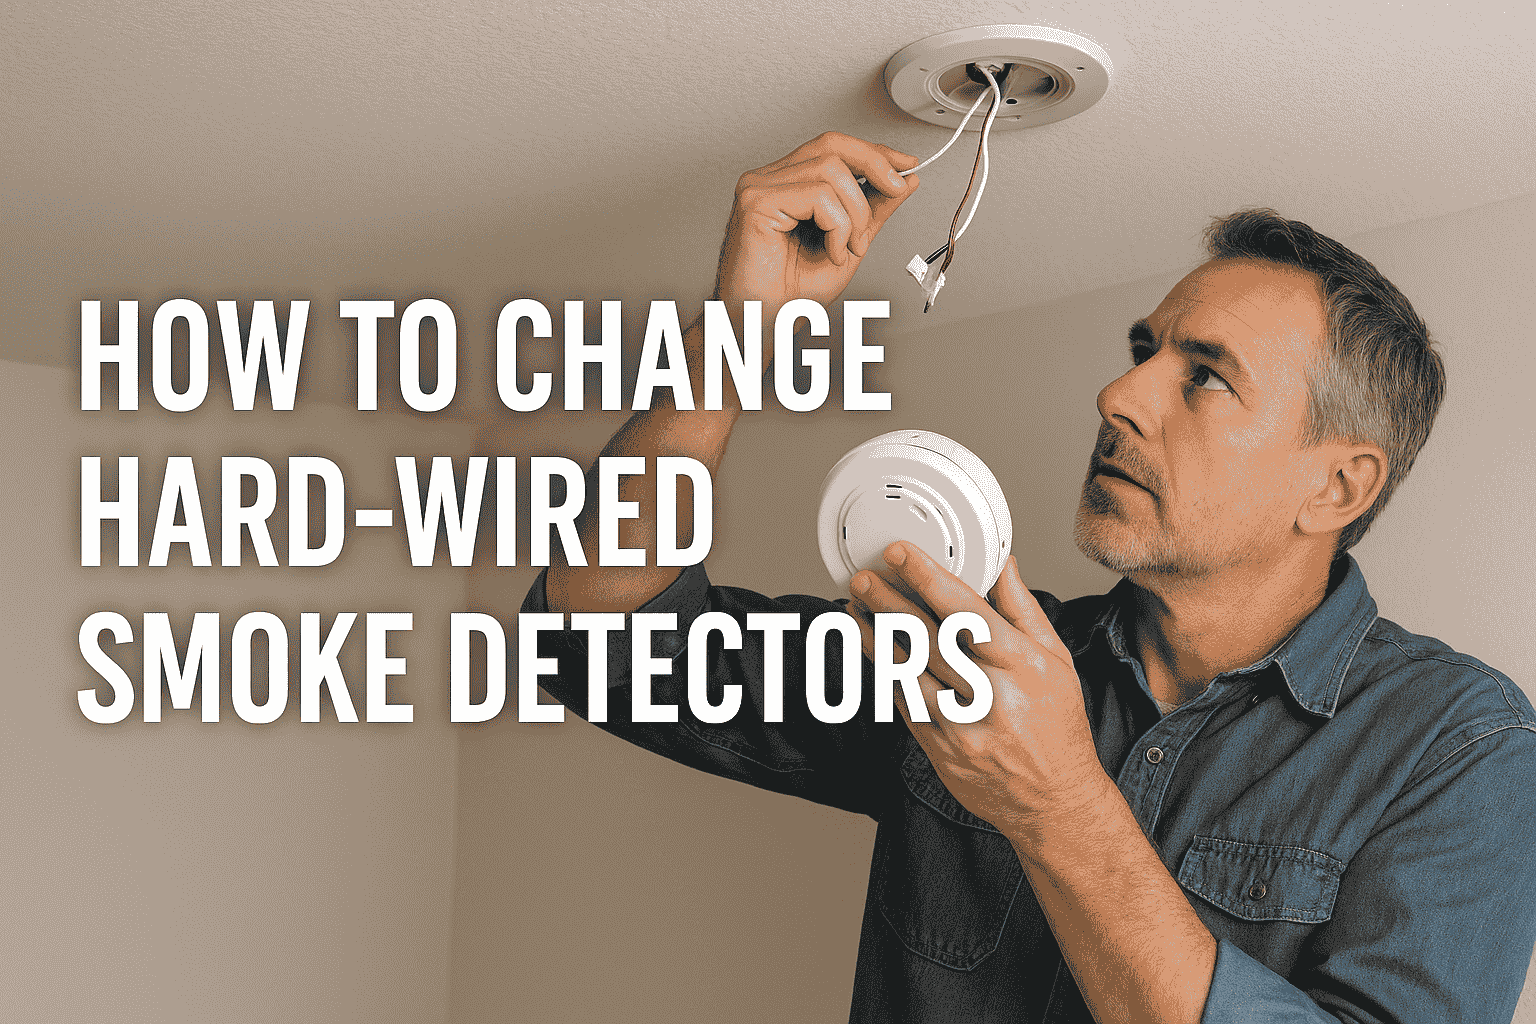
How To Change A Hardwired Smoke Detector

Ever been rudely awakened by that infamous, incessant chirp? You know the one – the low-battery warning from your smoke detector that sounds like a tiny, distressed bird trapped in your ceiling. While replacing batteries in standard units is a familiar chore, what about those mysterious, ceiling-mounted devices that seem to be permanently wired into your home? We're talking about hardwired smoke detectors, and believe it or not, tackling their replacement can be a surprisingly fun, empowering, and incredibly useful DIY project!
So, why bother changing a hardwired smoke detector yourself? Well, these vigilant guardians of your home typically draw power directly from your electrical system, meaning they don't rely solely on battery power (though most have a battery backup). This constant power supply ensures they're always on alert, and often, they're interconnected. If one detects smoke, they all sound the alarm, giving you and your family precious extra seconds to escape. Over time, however, even these stalwarts wear out. Their internal sensors degrade, and technology advances. Upgrading to a newer model means superior detection capabilities (hello, dual-sensor units that spot both flaming and smoldering fires!), fewer false alarms, and often, more user-friendly features like quiet test buttons or even smart home integration. It’s about giving your family the best possible protection and enjoying modern conveniences.
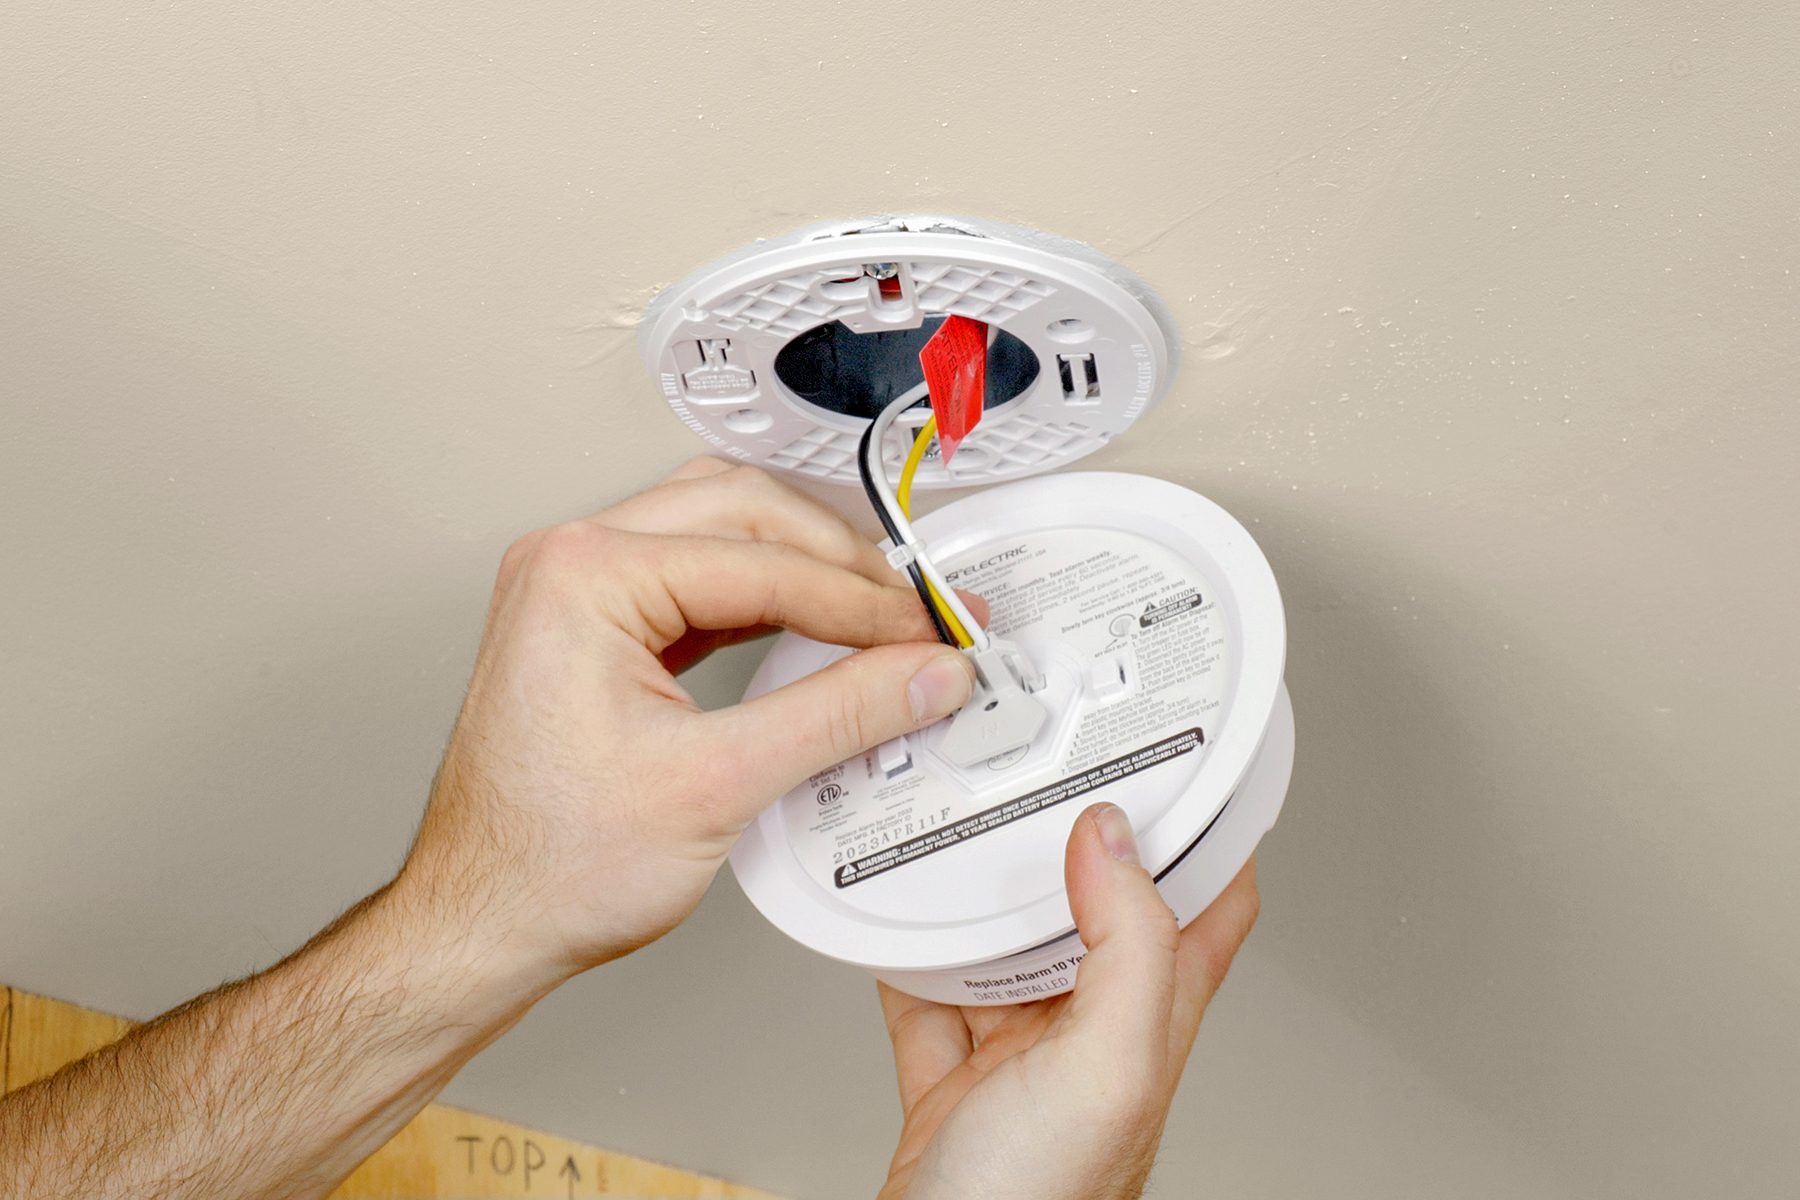
Think of it as leveling up your home safety game while saving on electrician fees! The process, while involving electricity, is remarkably straightforward once you understand the core principles. The cardinal rule, of course, is safety first. Before you even think about touching that old, dusty alarm, you absolutely must turn off the power to the circuit at your main electrical panel. Don't just flip a light switch; find the corresponding breaker and kill the juice completely. A non-contact voltage tester can be your best friend here, giving you peace of mind that the wires are truly dead.
Must Read
Once the power is off, the rest is often a simple dance of disconnection and reconnection. You'll typically twist the old unit off its mounting plate, then carefully disconnect the wire harness – often a plug-and-play affair. The new detector usually comes with its own mounting plate and a compatible wire harness. It’s a matter of matching colors (black to black, white to white, and the all-important ground wire) and securing the connections, often with handy wire nuts or push-in terminals. After mounting the new unit, installing its battery backup, and giving it a good twist into place, you can confidently restore power at the breaker. The final step? A satisfying press of the test button! Hearing that clear, loud alarm from your brand-new, self-installed detector is a little victory dance waiting to happen. You’ve not only updated a crucial safety device but also added a new skill to your DIY repertoire. Go you!