How To Build An Outboard Motor Stand

Okay, so picture this: I'm wrestling with my 9.9 HP outboard, trying to get it onto the back of my dinghy. Back pops a little. Arms feel like they're about to fall off. And then, THUNK, it slips and lands (thankfully, gently) on the driveway. That's when I knew – I needed a proper outboard motor stand. Not just for my back, but for the poor engine’s sake too!
Ever felt that way? Yeah, I thought so. Let’s face it, outboard motors are not designed to be casually leaned against a shed wall. So, let’s build ourselves a stand, shall we?
Why Bother with an Outboard Motor Stand?
First, let’s address the elephant in the room: is it really worth the effort? Absolutely. Here's why:
Must Read
- Back Saver: Lifting an outboard is awkward and heavy. A stand brings it to a comfortable working height. (Your chiropractor will thank you!).
- Storage: Keeps your motor upright and secure, preventing damage and taking up less space. No more garage floor clutter!
- Maintenance: Makes it way easier to work on your engine – changing oil, spark plugs, whatever needs doing. Think of it as a mini-workbench just for your outboard.
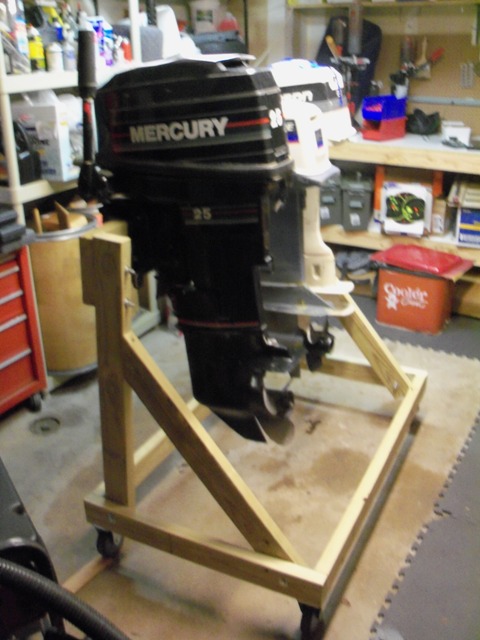
- Portability (Sometimes): If you add wheels (and we probably will!), you can easily move your motor around.
Convinced yet? Good. Let's get building.
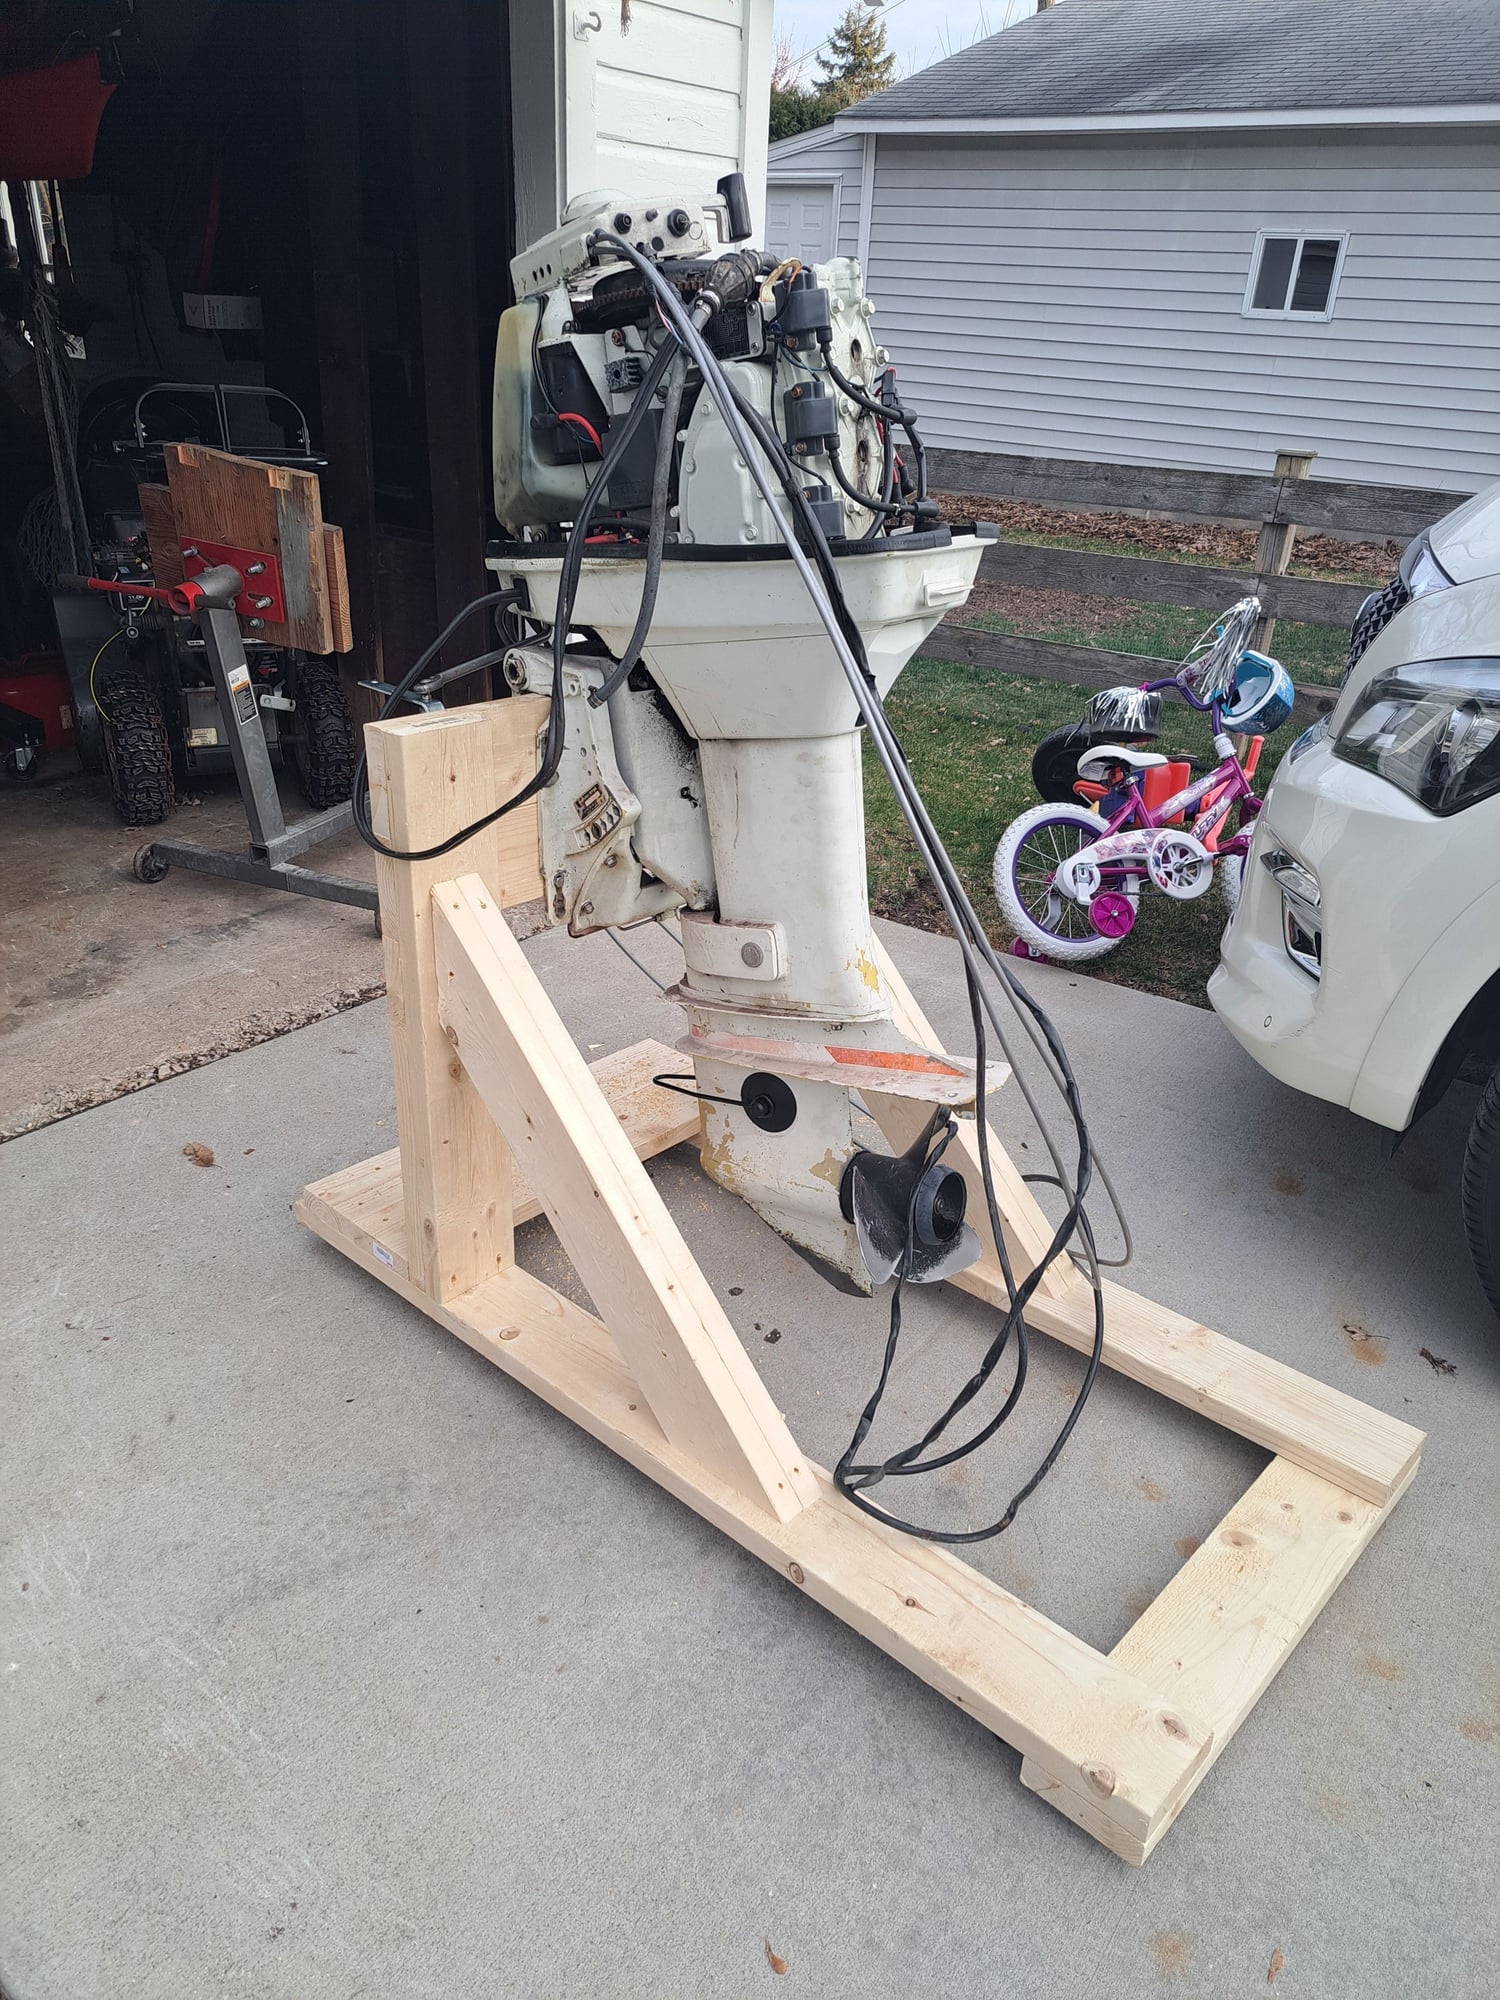
The Basic Design
We're going for a simple, sturdy design. Think of a small, strong table, but with a specific cradle for the outboard to sit on. We'll primarily be using wood, because it's relatively cheap, easy to work with, and looks pretty good, honestly. (Plus, I have a bunch of scrap wood lying around. Don't judge!).
Materials You’ll Need:
- Wood: 2x4s for the frame, and some plywood or thicker planks for the top and the engine cradle. How much? Depends on the size of your motor, but err on the side of "too much" rather than "not enough."
- Screws or Bolts: Choose screws or bolts that are appropriate for the thickness of your wood. Galvanized are best if you'll be using it outdoors.
- Wood Glue: For extra strength. Because why not?
- Sandpaper: To smooth out any rough edges. (Safety first!).
- (Optional) Wheels: If you want a mobile stand, grab some casters. Locking ones are ideal!
- (Optional) Carpet or Rubber Padding: To protect your outboard's finish.
Tools You’ll Need:
- Saw: Circular saw, hand saw, whatever you're comfortable with.
- Drill: For pilot holes and driving screws.
- Measuring Tape: Accuracy is key!
- Square: To ensure everything is square and true. (Nobody wants a wobbly stand!).
- Pencil: For marking your cuts.
- Safety Glasses: Seriously, wear them.
Step-by-Step Instructions
Okay, this isn’t rocket science, but let's break it down:

- Measure Your Motor: Crucial step! Measure the height and width of the area where the motor will rest on the stand. This will determine the dimensions of your cradle.
- Build the Frame: Cut the 2x4s to create a rectangular frame. This will be the base of your stand. Make sure it's square! Screw and glue the pieces together.
- Add Legs: Cut four legs from the 2x4s and attach them to the frame. Think about the height you want – a comfortable working height is usually around waist level. Again, screw and glue. (Notice a pattern here?).
- Create the Top: Cut a piece of plywood or plank to fit on top of the frame. Screw and glue it down. This will provide a solid surface for the engine cradle.
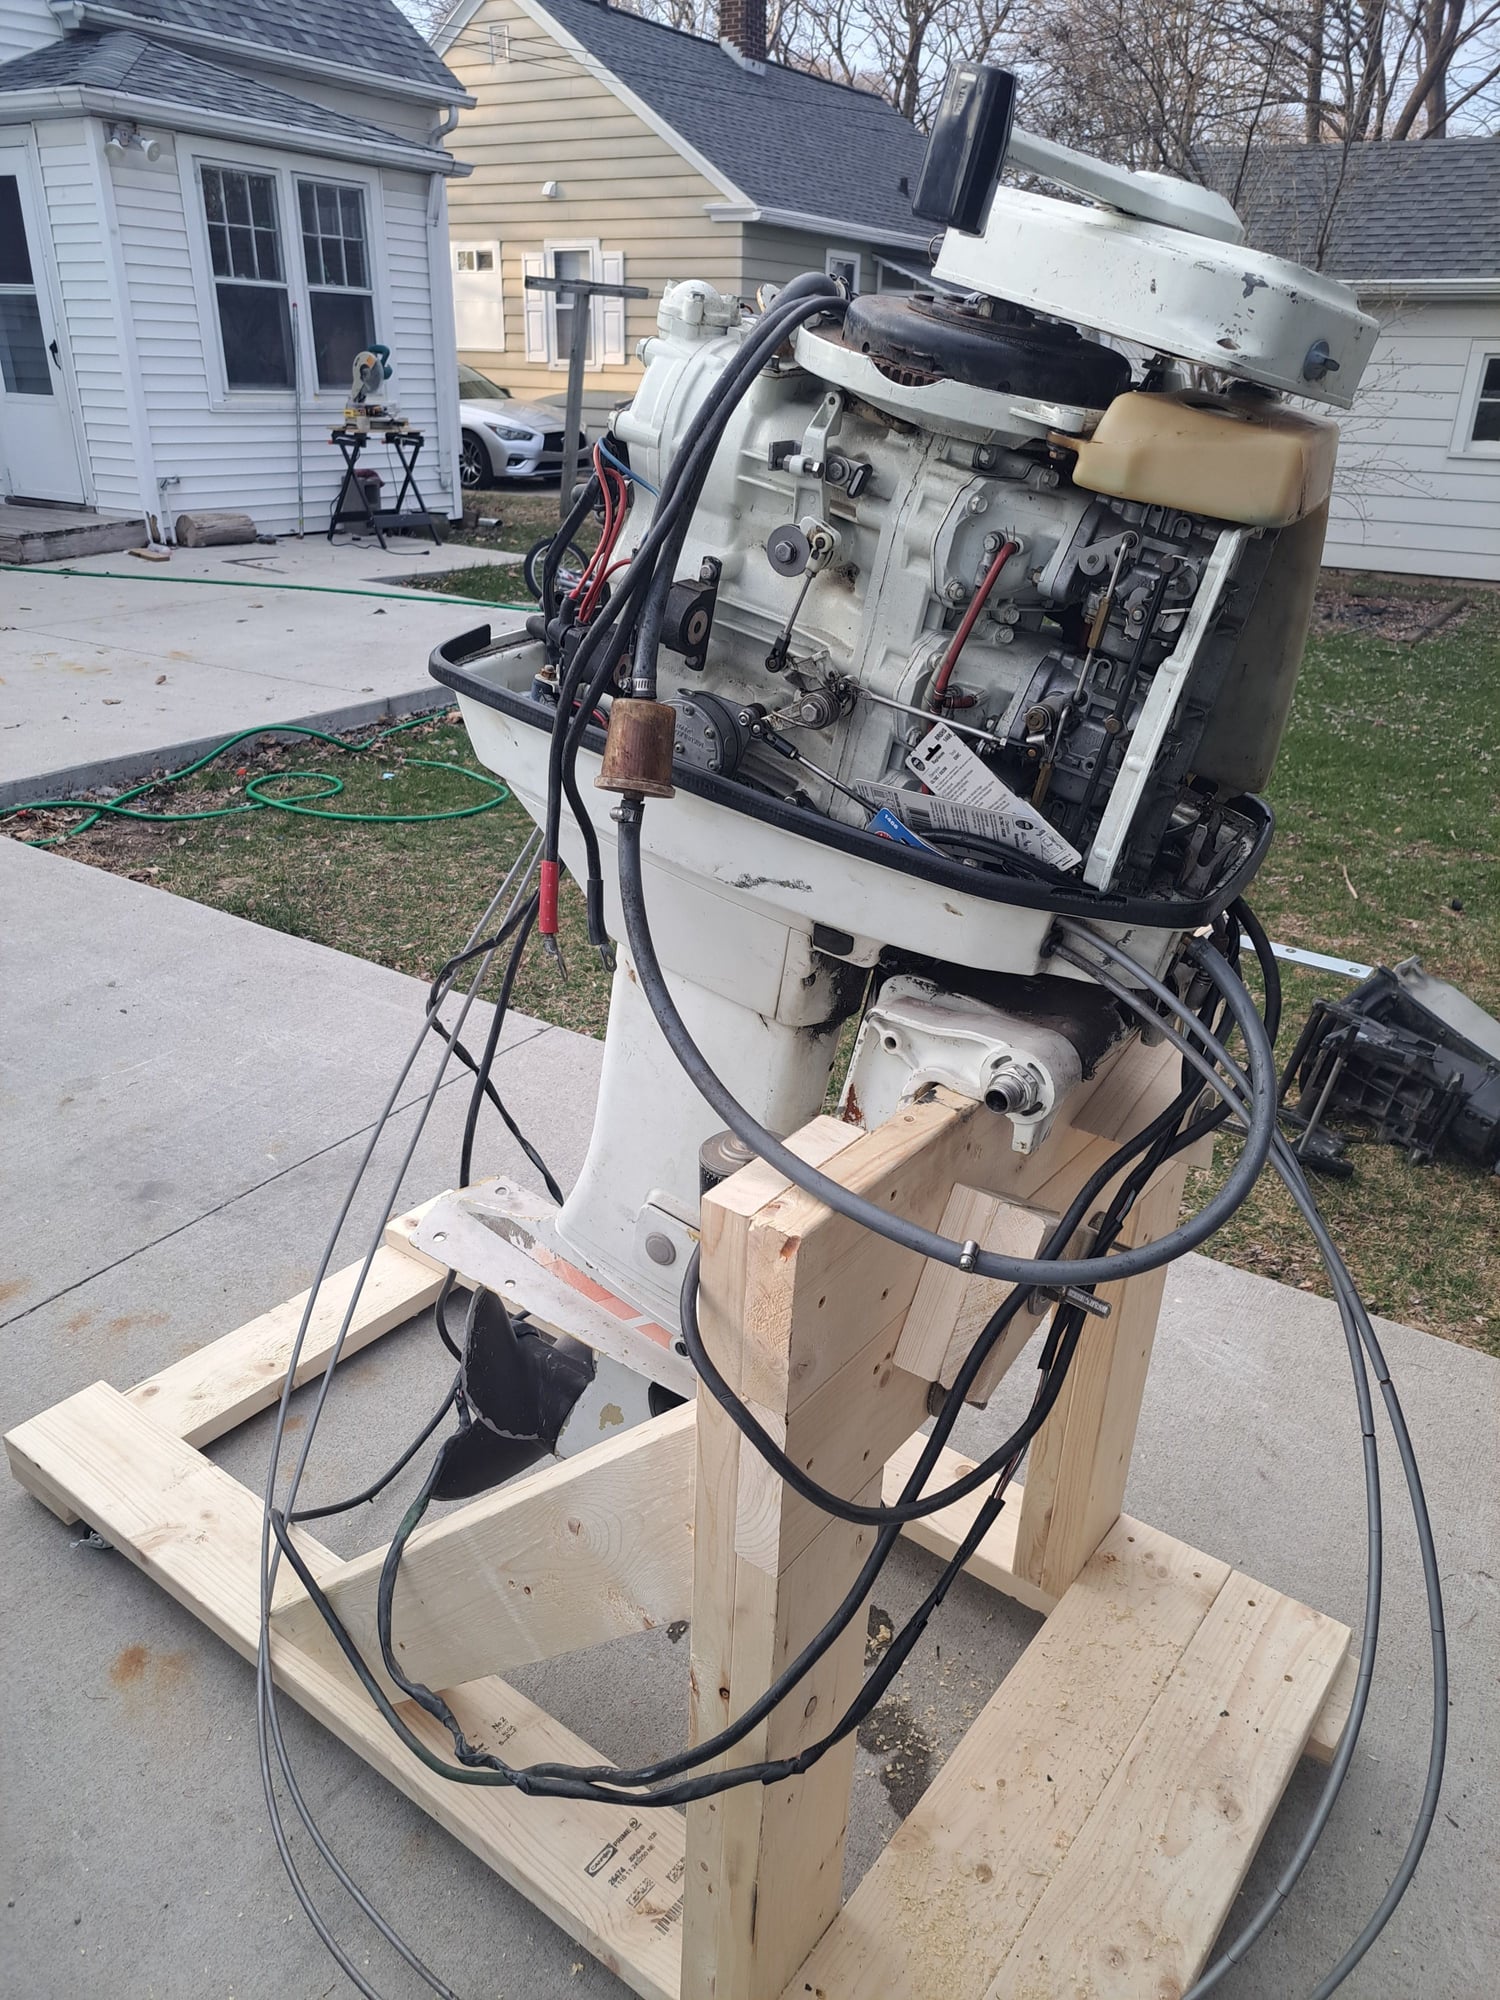
- Build the Engine Cradle: This is where your measurements come in. Cut pieces of wood to create a cradle that will securely hold the motor. You might need to get creative here, depending on the shape of your motor. Use multiple layers of wood for added strength.
- Attach the Cradle to the Top: Center the cradle on the top and securely screw it in place. Make sure it's rock solid!
- (Optional) Add Wheels: If you're adding wheels, attach them to the bottom of the legs. Make sure they're sturdy enough to support the weight of the motor.
- (Optional) Add Padding: Line the cradle with carpet or rubber padding to protect your motor's finish.
- Sand and Finish: Sand down any rough edges and apply a coat of paint or varnish to protect the wood.
And that’s it! You now have a beautiful, functional, and back-saving outboard motor stand. Now you can actually enjoy working on your motor (well, maybe not enjoy, but at least tolerate it more). And no more driveway disasters!
Remember to always prioritize safety. Measure twice, cut once. And most importantly, have fun! Because if you’re not enjoying the process, what’s the point?