How To 3d Print Large Objects

Ever gazed at your trusty 3D printer, happily whirring away on a tiny trinket, and thought, "But what if I want to print a life-sized garden gnome? Or maybe a whole cosplay suit that actually fits?"
Your printer might seem like a little dynamo, designed for cute desktop companions, but trust me, its potential is as big as your wildest imagination!
Today, we're going to dive into the ridiculously fun world of making truly colossal creations, even if your printer's build volume is, well, rather humble. Get ready to unleash your inner mad scientist!
Must Read
The Not-So-Secret Secret: Think Like a Lego Master!
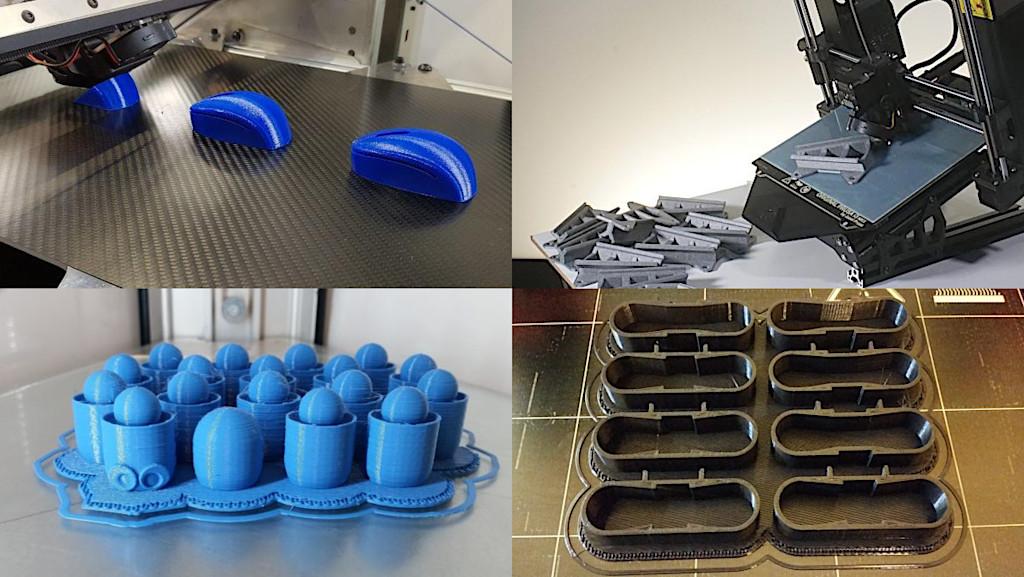
Okay, here’s the big reveal, the magic trick behind every gigantic 3D print you’ve ever seen: you don't print one giant piece. You print lots of smaller pieces and then put them together, just like building with LEGOs!
It's like baking a massive cake in multiple pans and then assembling it into a magnificent tiered masterpiece. Your printer might not be able to print a whole car, but it can certainly print a car in parts!
This method transforms your small printer into an unstoppable army of manufacturing marvels, churning out segments of your grand design one by one. Imagine the sheer volume of awesomeness you can create!
Don't be intimidated by the idea of printing something huge. It's just a series of small, fun projects that eventually click together into something spectacular!
"Small printer, HUGE dreams? Absolutely doable!"
Chopping Up Your Masterpiece: Designing for Assembly
The first step is looking at your awesome digital model and thinking, "How can I chop this up into manageable, printer-sized chunks?" This is where your inner puzzle solver comes out to play with gusto.
Imagine you're trying to print a giant, glorious replica of Thor's Hammer. Instead of trying to force the whole thing onto your print bed, you'd slice it into several pieces: the handle, the head, and maybe some intricate details.
Most 3D modeling software, or even your slicer program like PrusaSlicer or Cura, has incredibly handy tools to help you cut your model. Look for features like "cut," "plane cut," or "split body" – they're your best friends here!
When you're slicing, always think ahead about how these pieces will connect later on. You want strong, easy, almost invisible connections that will make your final object rock-solid.
This is where clever design really shines! You can add built-in features to your model before slicing it into segments. Think about adding sneaky little pegs and holes, interlocking slots, or even sophisticated dovetail joints.
These connectors are your secret handshake between parts, ensuring they fit together snugly and strongly. No wobbles allowed on your giant creation – it should feel like it was born as one solid piece!
If you're new to designing joints, start simple. A few well-placed cylindrical pegs on one piece fitting into corresponding holes on another can work wonders.
For added strength, you can even design channels for metal rods or dowels to slide through multiple pieces, creating a super-duper strong internal skeleton.
Don't be afraid to do a test print of just your joint pieces. Print two tiny halves of a joint to make sure they fit perfectly before committing to printing giant sections of your masterpiece.
Planning your cuts along existing design lines or natural contours of your model can also help hide the seams. Your goal is to make those connection lines vanish into the design!
"Design smart, print easy, assemble like a pro. Your giant robot won't know the difference!"
The Art of Adhesion: Sticking It All Together with Panache!
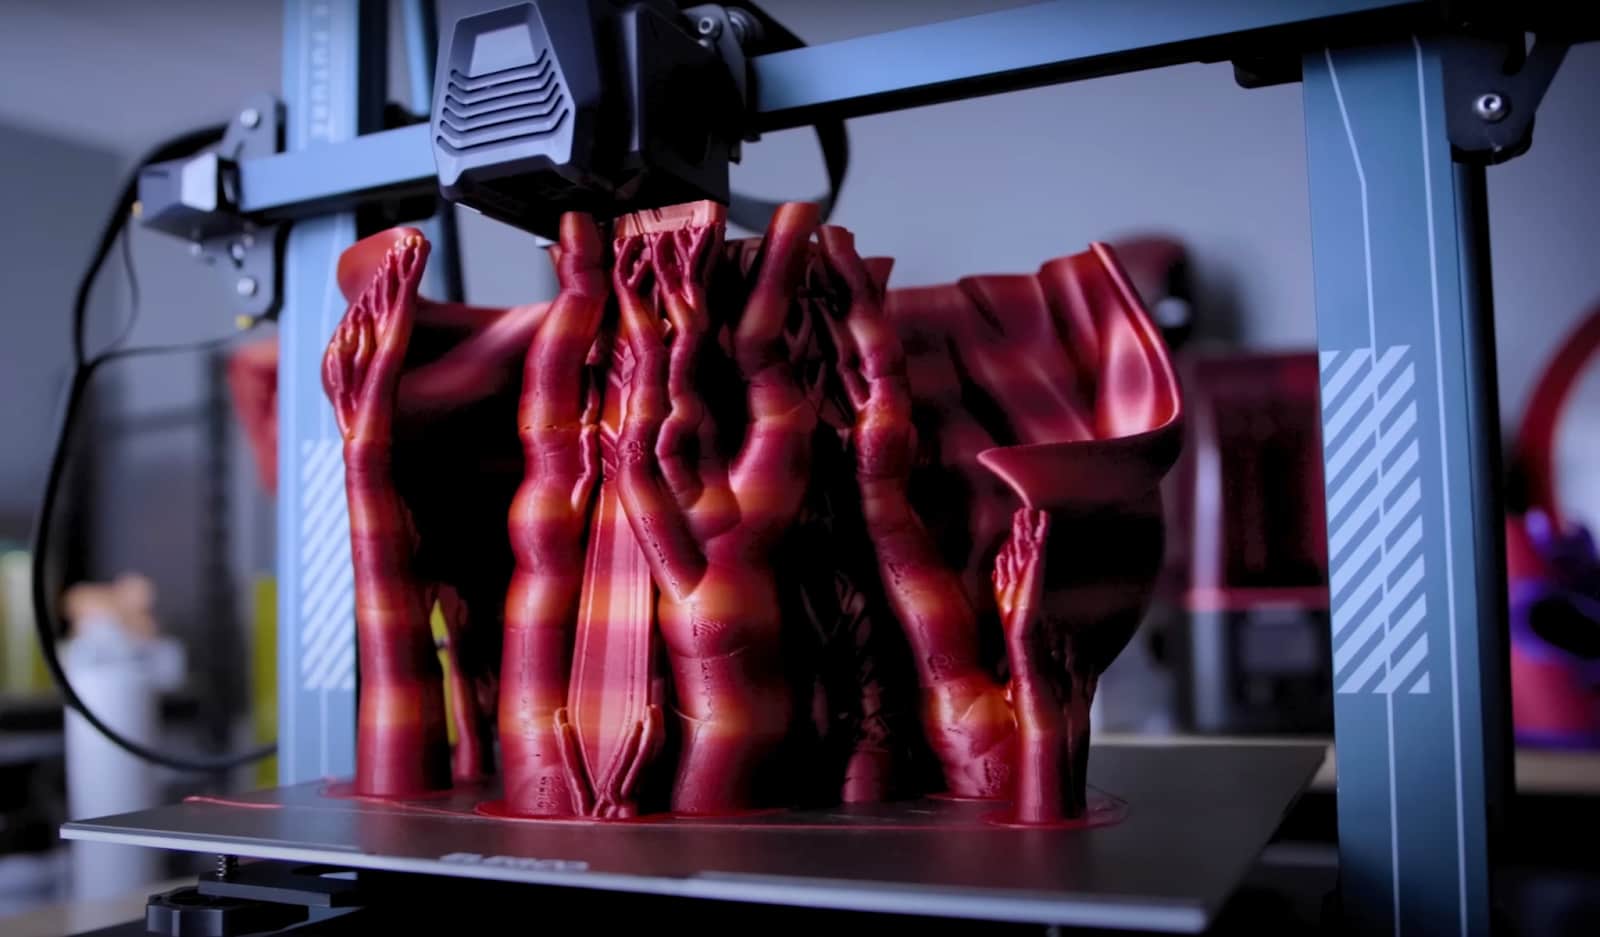
Once your printer has bravely churned out all your segments, piece by magnificent piece, it's time for the most satisfying part: assembly! This is where your creation truly starts to take shape and feel like a real, tangible thing.
Choosing the right adhesive is super important, like picking the perfect magic potion for your grand quest. It’s what holds everything together and prevents your giant project from falling apart into a pile of plastic sadness.

For most common filaments like PLA or PETG, a good super glue (cyanoacrylate) works wonders. Make sure it's fresh, has a thin nozzle for precise application, and maybe even grab a gel version for filling slight gaps.
For ABS, you can actually use a special ABS "slurry" – which is basically ABS dissolved in acetone. This magical concoction chemically welds the parts together, making them literally become one entity!
Always, always test your chosen adhesive on a small scrap piece of your printed filament first, just to be absolutely sure. You don't want to accidentally melt your masterpiece or find out your glue isn't strong enough to hold a feather.
When gluing, use clamps, painter's tape, or even rubber bands to hold parts firmly together while the glue dries. Patience is your best friend here; rushing it might lead to a wobbly monster instead of a majestic one.
For extra strength, particularly on high-stress joints, consider using a two-part epoxy resin. This stuff forms an incredibly strong bond and can fill small imperfections like a champ.
A little trick for instant seam filling and extra reinforcement: apply super glue, then sprinkle some baking soda over it. It creates an instant, hard filler that can then be sanded smooth!
Ensure surfaces are clean and free of dust or oils before gluing. A quick wipe with rubbing alcohol can make a huge difference in bond strength.
Don't be shy about using more glue than you think necessary on internal joints, but be neat on external surfaces to minimize cleanup. A little squeeze-out is easier to manage than not enough!
"Glue it good, or your giant robot might lose an arm in an epic battle!"
Making It Look Seamless: The Magic of Finishing Touches
Congratulations, your gigantic creation is assembled! You've pieced together your plastic puzzle, and it stands tall and proud. But wait, can we make those seams vanish like a magician's assistant disappearing in a puff of smoke?
Absolutely! This is where the finishing touches come in, transforming your multi-part print into one magnificent, unbroken sculpture that will have everyone scratching their heads in wonder.
One of the most popular and satisfying methods is sanding. Start with a coarser grit (like 120 or 200) to aggressively remove layer lines and seam imperfections, then move to finer grits (400, 800, 1000+) for a silky-smooth finish.
Sanding takes elbow grease and a bit of time, but the results are utterly astounding. It's like giving your print a spa day, revealing its true, smooth beauty underneath.
For bigger gaps or stubborn seams that just won't sand away, you can use body filler (like Bondo, often used for car repairs!) or even a specialized 3D printing filler. Apply it, sand it down, and poof – seam gone!
A good primer coat is your next step. It helps subsequent paint layers stick evenly, reveals any remaining imperfections you might have missed, and gives your project a uniform base color.
Then comes the painting! Whether you choose spray paint for a smooth finish or brush painting for intricate details, layering on your chosen colors is pure joy. Suddenly, your segmented parts become a unified, vibrant reality.
Imagine painting a giant replica of Captain America's Shield – sanding, filling, priming, and then that glorious metallic paint job makes it utterly indistinguishable from a single, mighty piece!
For an extra layer of protection and that professional sheen, consider applying a clear coat. This protects your paint job from scratches and can add a gorgeous matte or glossy finish.
With a little bit of care, creativity, and a dash of artistic flair, you can achieve a finish so smooth, onlookers will gasp, "How did your printer possibly print that whole thing? It's impossible!"
"Transform seams into seamless dreams with a bit of elbow grease and paint. Your secret is safe with us!"
Dreaming Even Bigger: The Sky's the Limit (Almost)!
So, now you know the secret! Your humble desktop 3D printer isn't just for small trinkets anymore; it's a gateway to printing truly massive, awe-inspiring objects that will make jaws drop.
Think about the incredible possibilities: a giant, custom-designed lamp for your living room that screams "you," a full-scale replica of your favorite sci-fi helmet, or even functional parts for an actual, rideable go-kart!
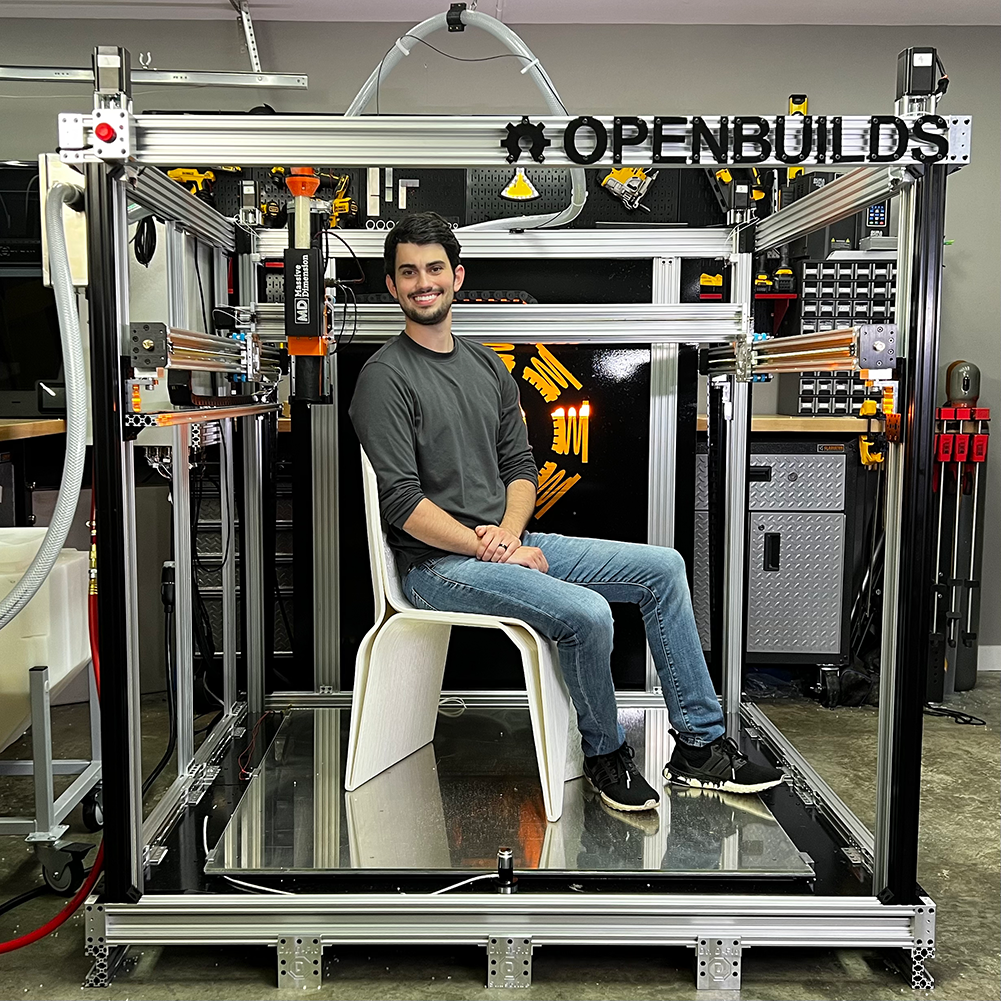
While some lucky ducks might have access to those industrial-sized printers that can print a whole garden shed in one go, you've got the power to achieve similar, equally impressive results right from your home workshop.
It's all about breaking big challenges into small, manageable, and wonderfully fun steps. Just like eating a giant pizza, one delicious slice at a time!
You're not just printing; you're engineering, designing, and bringing truly gigantic dreams to life with your own two hands and a clever approach. That's something to be incredibly proud of!
So go forth, brave maker! Dust off those colossal project ideas you thought were impossible. Your 3D printer, with a little help from your brilliant mind and some trusty glue, is absolutely ready to tackle them.
Get ready to impress everyone with your massive, magnificent, and entirely custom creations. The only limit is your imagination (and maybe your filament supply, but that's easily replenished!).
Happy giant printing – may your builds be colossal and your seams invisible!