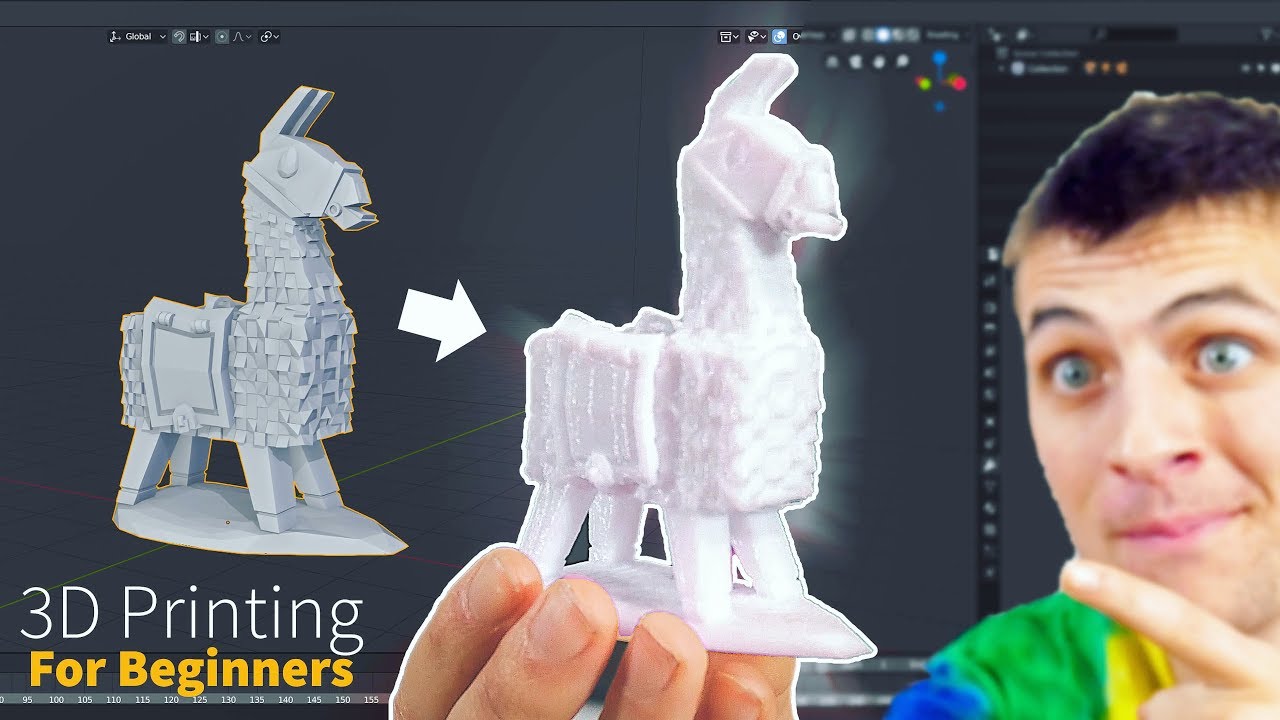
How To 3d Model For Printing
Unleash Your Inner Creator: 3D Modeling for Printing!
Ever gazed at a cool gadget or a quirky figurine and thought, "I wish I could just make that?" Well, buckle up, buttercup, because learning to 3D model for printing is like gaining a superpower! You’re about to transform your wildest ideas from a doodle in your mind into something you can hold in your very own hands.
Forget everything you think you know about complex engineering software. We're not building rocket ships here, unless that's what you want to make! Our journey is all about fun, creativity, and a dash of digital magic.
Finding Your Digital Clay: Picking the Right Software
First things first, you need a digital playground. Think of this as choosing your art supplies. Luckily, there are some absolutely fantastic, beginner-friendly options that won't make your brain melt.
Must Read
For the absolute newbie, the king of easy-peasy is definitely Tinkercad. It’s like playing with virtual building blocks! You drag shapes, combine them, subtract them, and before you know it, you've got a masterpiece.
Tinkercad is so intuitive, it’s practically a digital sandbox for grown-ups (and kids too!). Seriously, if you can click and drag, you can model in Tinkercad.
If you're feeling a bit more artistic and want to sculpt like a digital Michelangelo, check out Sculptris. It’s like having a lump of virtual clay you can push, pull, smooth, and pinch. This is perfect for making organic shapes, characters, or even a tiny, adorable monster.
Then there's Fusion 360 for the slightly more ambitious, but still totally approachable, creator. It’s a powerful tool that offers a free personal use license, and it’s brilliant for designing functional parts. Imagine making a custom bracket for your shelf or a new knob for your oven!
Dream It Up: What Will You Create?
This is where the magic truly begins: your idea! Don't overthink it. Start small, start fun.
Could you use a little stand for your phone? Maybe a cookie cutter shaped like your pet? Or how about a miniature character to guard your desk? The possibilities are as endless as your imagination!

Grab a pen and paper, or just close your eyes and picture it. What shape is it? How big should it be? Will it have holes or funny bits sticking out? This mental blueprint is your first step to digital glory.
Building Blocks of Brilliance: Basic Shapes and Tools
No matter which software you choose, you’ll start with basic geometric shapes. Think cubes, spheres, cylinders, and cones. These are your foundational ingredients, your digital LEGO bricks.
In Tinkercad, you drag these shapes onto your workplane and then magically stretch, shrink, and rotate them. Want a hole? Drag a "hole" shape onto your solid object and group them together – poof, instant cavity!
If you're using something like Fusion 360, you'll often start by drawing a 2D sketch, like a blueprint on a piece of paper. Then, you use a super cool tool called Extrude. This literally pulls your 2D sketch into the third dimension, turning your flat drawing into a solid object!
Imagine drawing a circle, then using Extrude to pull it up into a cylinder. Or drawing a star, and then pulling that into a star-shaped pillar! It feels incredibly powerful.
You'll also learn to combine shapes (like gluing things together) and subtract them (like carving away bits). It's all very intuitive once you play around for a few minutes. Don’t be afraid to click buttons and see what happens – that’s how you learn!

The Printability Playbook: Making it Printer-Ready
Now, this is super important if you actually want your digital creation to come to life! You need to think about how your model will behave in the real world, under the watchful eye of a 3D printer.
Picture this: a printer builds things layer by tiny layer from the bottom up. Gravity is a real thing, even for plastics! So, if you have parts of your model floating in mid-air with nothing underneath, they’ll just droop like a sad noodle.
These gravity-defying sections are called overhangs, and while printers can handle small ones, big ones usually need something called support material. This is like temporary scaffolding that your printer builds and then you snap away later.
Also, think about wall thickness. You wouldn't build a house with paper-thin walls, right? The same goes for 3D prints. Make sure your model isn't too flimsy; give it some digital meat on its bones so it prints robustly.
A good rule of thumb: If you can imagine it standing on its own without toppling over, and it doesn't have any parts that look like they're trying to defy gravity without help, you're probably in good shape!
Consider the base of your object too. A wide, flat base is usually happy, stable, and less likely to peel off the print bed. A tiny pointy base might need some extra love and care during printing.

The Grand Export: Your Masterpiece's Passport
Once your model is perfect in its digital glory, you need to save it in a language your 3D printer (or rather, the slicing software) can understand. This magical file format is almost always .STL.
Think of an .STL file as a super-detailed map of your object's surface, describing every tiny triangle that makes up its shape. It’s universally understood in the 3D printing world, so it's your ticket to getting physical!
Every modeling software will have an "Export" or "Save As" option where you can select the .STL format. Click it, save it, and give yourself a pat on the back!
Slicing It Up: The Printer's Translator
You've got your .STL file, now what? You need to tell your printer exactly how to build it. This is where slicer software comes in, like Ultimaker Cura or PrusaSlicer.
You load your .STL into the slicer, and it takes your 3D model and literally "slices" it into hundreds (or thousands!) of thin layers. Each layer is a tiny instruction for your printer: "draw here, move there, melt plastic here."
This is also where you tell the slicer about those support structures we talked about earlier. The software can automatically detect overhangs and generate the temporary scaffolding for you!

You'll also set things like print speed, temperature, and how dense you want the infill (the internal structure that makes your print strong but saves material). Don't worry, default settings are usually fantastic to start with!
The Grand Finale: Printing Your Dream!
Once your model is sliced, you save the new file (usually a .GCODE file) to an SD card or send it directly to your printer. Then, with a hopeful heart and perhaps a little drumroll, you hit "Print"!
Watching your creation slowly materialize, layer by painstaking layer, is nothing short of mesmerizing. It's like watching a magic trick unfold right before your eyes, except you're the magician!
When it’s done, you'll carefully remove it from the print bed, maybe snap off some supports, and hold your very own, custom-designed, 3D-printed object. The feeling of accomplishment is absolutely unbeatable.
Your Creative Journey Awaits!
So, there you have it! The magical, surprisingly easy, and incredibly rewarding world of 3D modeling for printing. Don't be shy, dive in, pick a free software, and start playing.
The only limit is your imagination, and probably the size of your printer's build plate. Go forth and create amazing things!