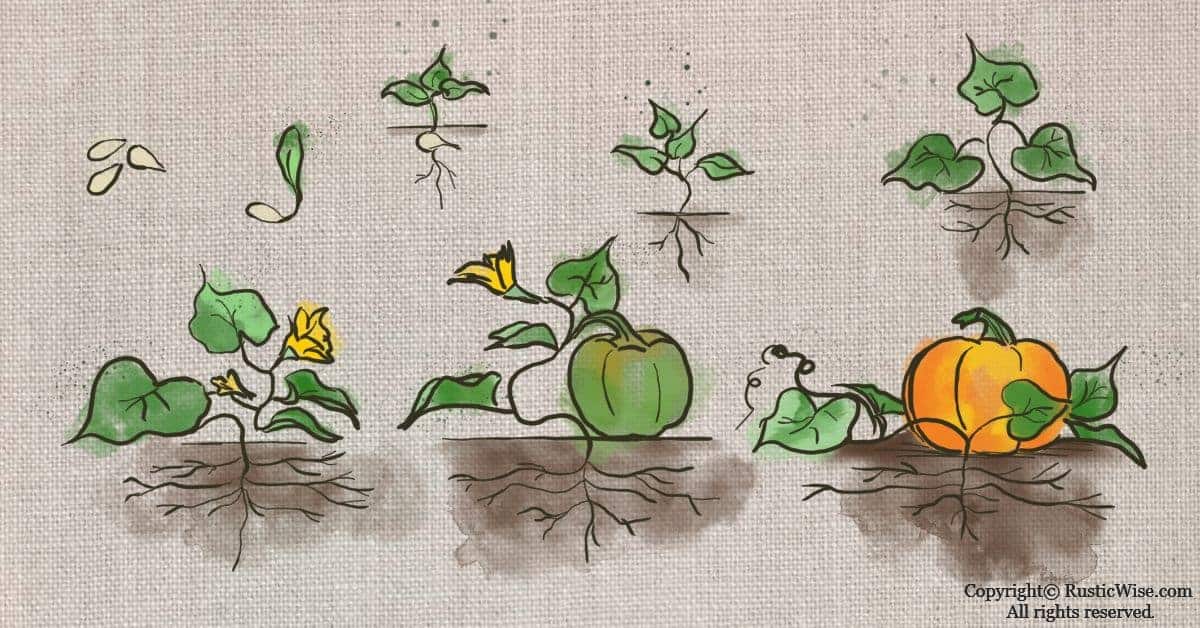
How Do You Sprout Pumpkin Seeds

Okay, picture this: you've just carved the most magnificent pumpkin the world has ever seen. Seriously, Michelangelo would be jealous. And now you're staring at a pile of gloriously gooey pumpkin seeds, probably thinking, "Ugh, what a mess!"
But hold on! Don't toss those little guys in the trash just yet. Because I'm about to let you in on a super-secret (not really) technique that turns those overlooked seeds into tiny, edible powerhouses! Yes, we're talking about sprouting!
The Seed-Sprouting Adventure Begins!
First things first: Get those seeds clean! Imagine you’re giving them a luxurious spa treatment. Rinse them under cool water, removing all that stringy pumpkin gunk. Really get in there and scrub-a-dub-dub!
Must Read
You want them feeling fresh, clean, and ready for their close-up. Nobody likes a dirty seed. Think of it like this: would you want to sprout if you were covered in pumpkin goo? Probably not.
Now, let's talk soaking. Find yourself a nice bowl – doesn't have to be fancy, your cereal bowl will do – and fill it with filtered water. Pop those little seeds in there and let them soak for about 8-12 hours.
It’s like giving them a long, relaxing bath. This helps to kickstart the sprouting process. They're waking up from their dormant slumber and getting ready to PARTY!
After their spa day, it's time to drain and rinse them again. Because, you know, cleanliness is next to seedliness! Ensure they're nice and clean. Don't let them sit in that soaking water any longer.
Now comes the fun part: the sprouting container! You can use a fancy sprouting jar if you're feeling extra. Or, you can use a simple mason jar with some cheesecloth and a rubber band. Seriously, no need to break the bank here.
Just make sure whatever you're using has good drainage and airflow. Those little sprouts need to breathe! Now, place your soaked seeds in your sprouting container.
Here's where gravity comes into play. Find a good spot to invert your container. The goal here is to allow any excess water to drain out. Angling it in the dish rack usually works like a charm.
Make sure they aren’t sitting in water, this will encourage spoilage instead of sprouting. Imagine the seeds are doing a headstand, only instead of blood rushing to their heads, water is trickling away.
Now the waiting game begins. Rinse and drain your seeds at least two times a day. Think of it as giving them a refreshing shower. Keep them moist, but not soggy.
We don’t want them drowning. It's a delicate balance! After a day or two, you should start to see tiny little sprouts emerging from the seeds. Ta-da! Magic!
It might take a bit longer, so don’t get discouraged if nothing happens on day one. Some seeds are shy and need a little extra encouragement. Think of yourself cheering at a baby seed marathon.
Signs of Sprouting Success!
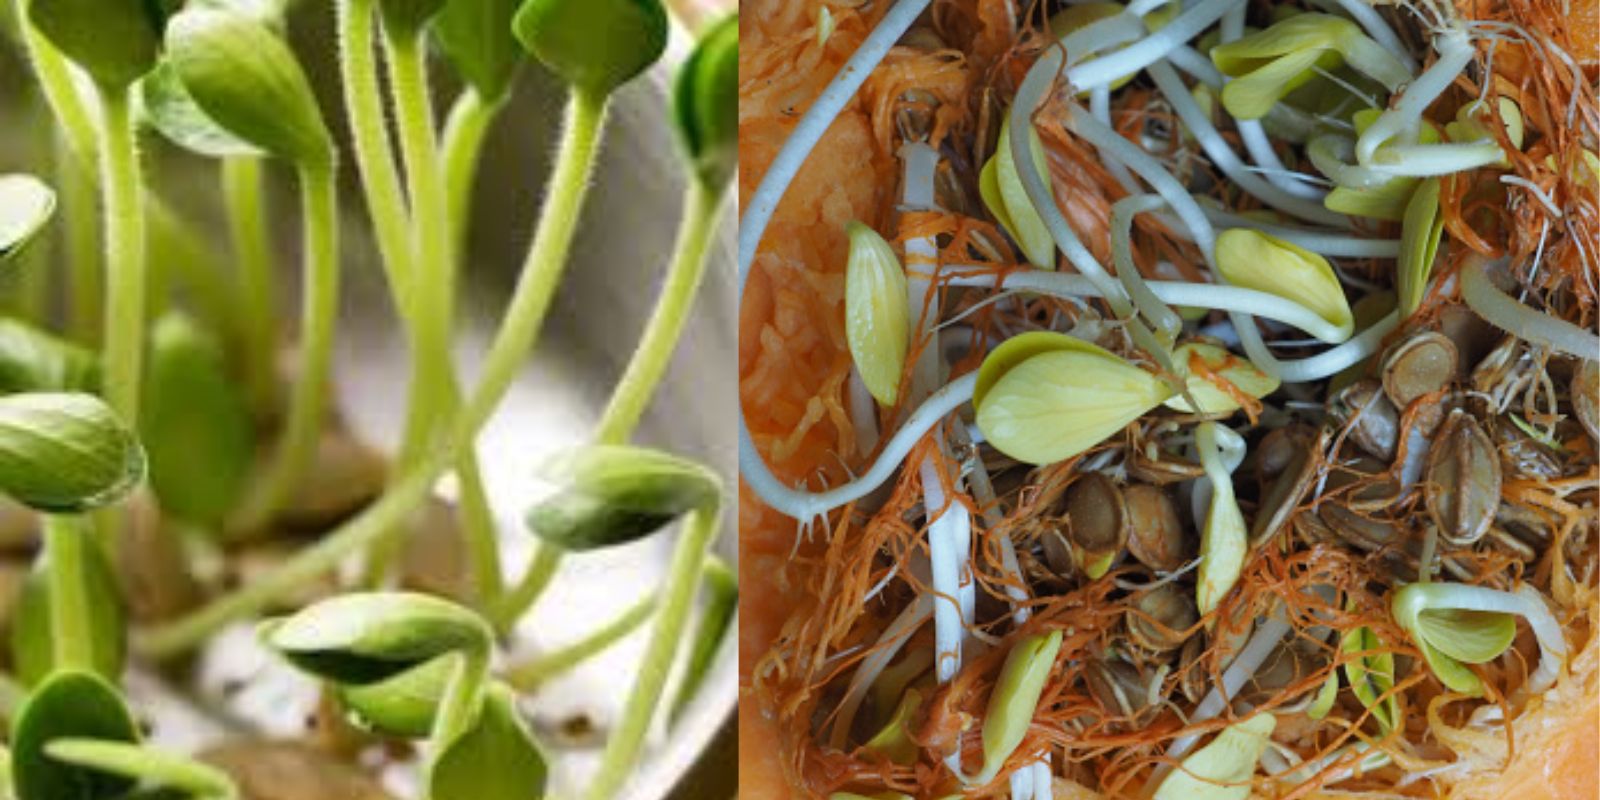
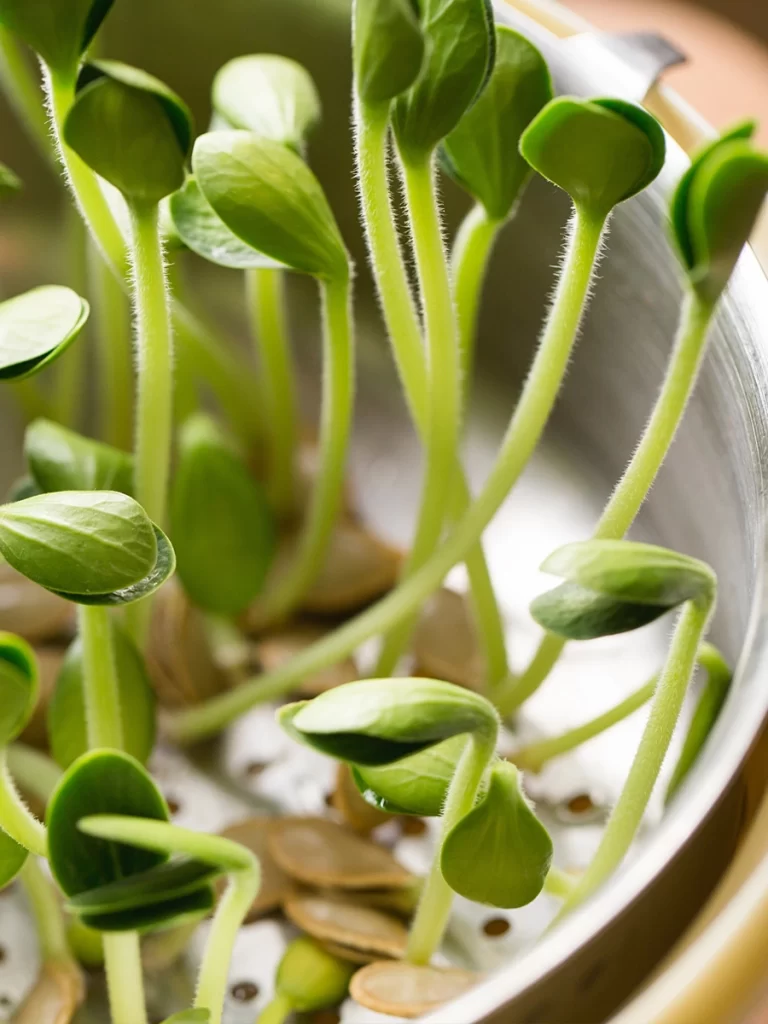
You'll know your seeds are sprouting when you see those little white tails poking out. They're like tiny antennae, reaching for the sky (or, you know, the light). It's truly an amazing sight!
:max_bytes(150000):strip_icc()/GettyImages-1473663633-68f47bc0738b49628039cb561d20a98c.jpg)
The sprouts should be about ¼ to ½ inch long. Perfect snacking length! Don't let them get too long. These seeds aren’t Rapunzel, they don’t need long flowing locks.
Now, if some seeds are starting to look a bit… funky, go ahead and toss them out. Nobody wants a bad seed spoiling the bunch. Think of yourself as the sprout bouncer, keeping the bad seeds out.
Spoiled seeds will usually be discolored, mushy, or smelly. Basically, anything that doesn’t look or smell right should be removed. When in doubt, throw it out!
Sprouted Seed Superpowers!
Once your seeds have sprouted, it's time to enjoy the fruits (or, rather, seeds) of your labor! Sprouted pumpkin seeds are incredibly nutritious.
Basically, they're like tiny health bombs! They're also much easier to digest than unsprouted seeds. So, go ahead and load up.
You can eat them raw, add them to salads, sprinkle them on soups, or even roast them for a crunchy snack. The possibilities are endless! Think of yourself as a sprouted-seed culinary artist.
Roasting them is easy. Just toss them with a little olive oil and your favorite spices, and bake them in the oven at 350°F (175°C) for about 10-15 minutes. Keep an eye on them so they don't burn!
They're a great way to add a boost of nutrients to your day. And they taste amazing! Plus, you get bragging rights for turning trash into treasure.
Just be sure to store your sprouted seeds in the refrigerator. They'll last for about a week. Think of it as sending them on a mini-vacation to the cool zone.
The cold temperatures slows down their growth and keeps them fresh. Nobody wants wilted sprouts!
A Few Sprouting Secrets (Shhh!)
Want to take your sprouting game to the next level? Here are a few secret tips to make you a sprouting superstar!
Use filtered water. Tap water can sometimes contain chlorine, which can inhibit sprouting. Spoil those seeds with the good stuff!
Keep your sprouting container out of direct sunlight. Too much sun can overheat the seeds and dry them out. They prefer a nice, shady spot.
Try different spices! Add a pinch of sea salt, cumin, or even chili powder to your sprouting seeds for a flavor boost. Get creative! You are the chef here.
Don't be afraid to experiment! Sprouting is all about trial and error. See what works best for you and your seeds. Every seed is different.
And most importantly, have fun! Sprouting is a rewarding and educational experience. Enjoy the process of watching those little seeds come to life. Imagine them as your tiny, green children. You’re a proud plant parent!
So, there you have it! Sprouting pumpkin seeds is easy, fun, and incredibly rewarding. So, the next time you carve a pumpkin, don't throw those seeds away!
Give them a chance to sprout and become tiny, edible powerhouses. You'll be amazed at what you can create!
You will be amazed by your ability to create food from scraps. You are amazing.
Happy sprouting!