Honeywell Home Thermostat Battery Replacement
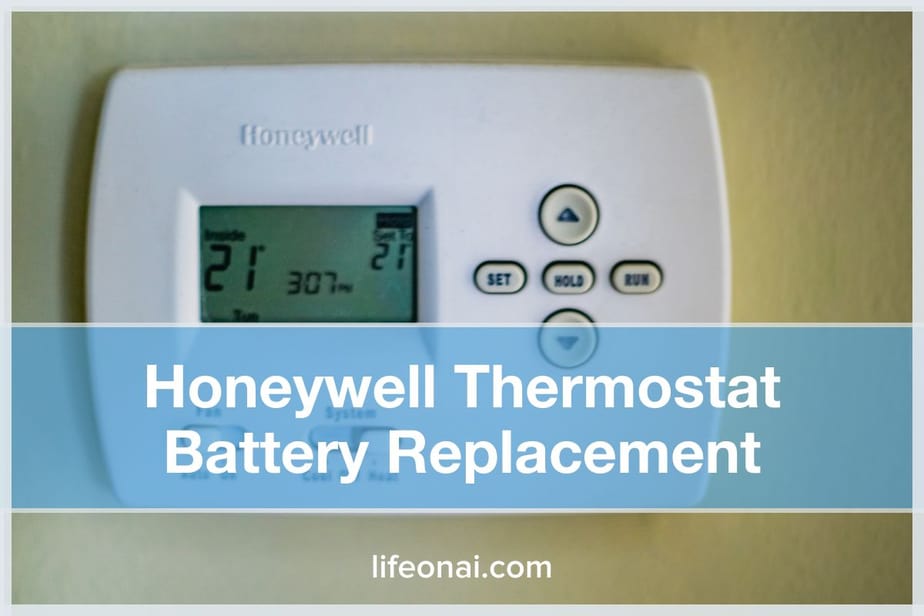
Ah, the Honeywell Home thermostat. It's usually the unsung hero of our domestic comfort, quietly ensuring our living spaces are just right. Until, that is, it decides to throw a bit of a tantrum. You know the drill, right? You wake up on a chilly morning, perhaps still half in dreamland, and wander over to adjust the temperature. You press a button, then another, and another. Nothing. Or worse, the display is doing a slow fade, like a retired rock star's last concert. Your heart sinks a little, convinced you're facing a mysterious, expensive electrical problem. Sound familiar?
It's a classic domestic drama, played out in homes everywhere. One minute, your thermostat is your best friend, keeping the living room toasty. The next, it's giving you the silent treatment, or flashing cryptic messages that look suspiciously like binary code for "I'm tired, leave me alone."
The Great Thermostat Mystery: Is it Broken, or Just Grumpy?
Before you panic and call an electrician, or worse, start googling "advanced HVAC troubleshooting for dummies," let's take a deep breath. Because nine times out of ten, when your Honeywell Home thermostat starts acting less like a smart home device and more like a moody teenager, the culprit is hilariously simple: it needs new batteries.
Must Read
Seriously. It’s the universal truth of battery-powered gadgets. They work flawlessly, day in and day out, until one day they just… don't. Your thermostat's screen might be dimming, or flashing a little battery icon that you've been subconsciously ignoring for weeks. Maybe it's not responding to your commands, or perhaps it's decided to set the temperature to a tropical 90 degrees in the middle of winter, just to mess with you. It’s like it’s saying, "Pay attention to me, human! I'm running on fumes here!"
It’s the digital equivalent of a car sputtering on its last drops of gas. You know it’s coming, yet it always seems to catch you off guard, usually at the least convenient moment.
The "Aha!" Moment: When the Lightbulb (Finally) Goes Off
The realization often dawns on you in a flash. You're standing there, contemplating the cost of a new thermostat, when suddenly it hits you. "Wait a minute… it takes batteries, doesn't it?" And just like that, the clouds part, the birds sing, and you feel a profound sense of both relief and mild embarrassment. How could you forget such a basic thing?
Don't worry, you're not alone. We've all been there. It's the equivalent of searching frantically for your phone while it's in your hand. Our everyday tech is so seamless, we often forget the humble power source keeping it going. Especially when it’s something like a thermostat, which just… exists. Until it doesn’t.

Operation: Battery Swap – A Hero's Journey (with screwdrivers optional)
So, how do we perform this heroic act of resuscitation? It’s surprisingly easy, even for those of us who consider assembling IKEA furniture a major life achievement.
Step 1: Gather Your Supplies (The Treasure Hunt)
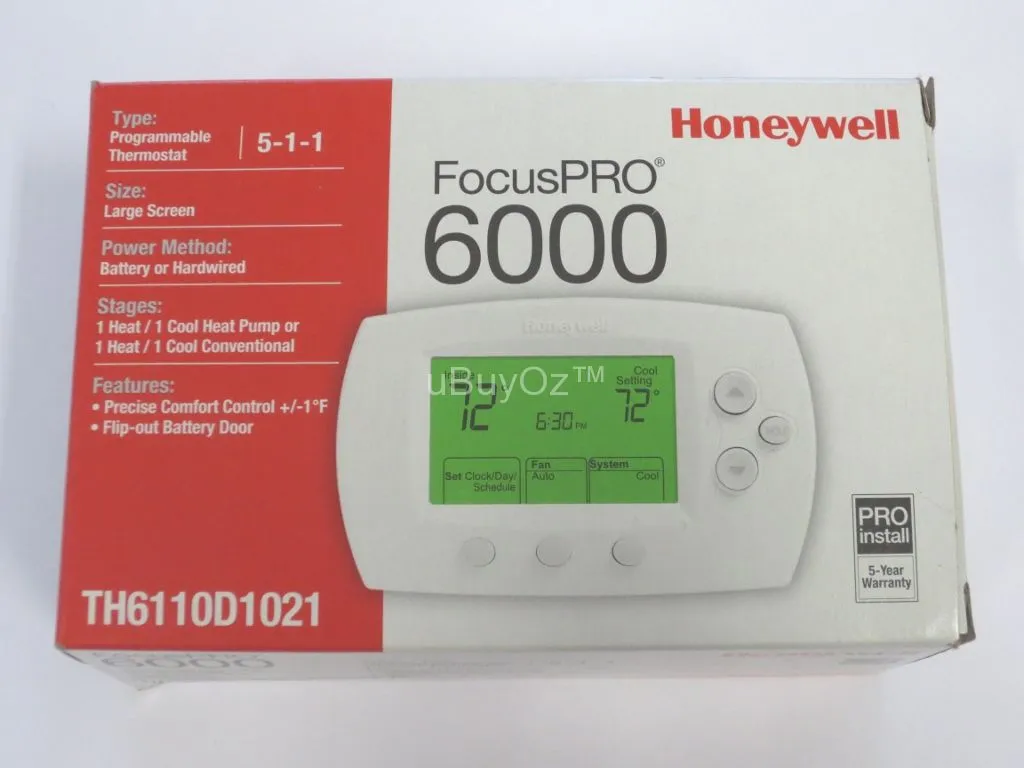
First, you'll need the right ammunition: batteries. Most Honeywell Home thermostats happily munch on AA or AAA batteries. Check your specific model if you're unsure, but usually, it's one of those two. This is often where the real adventure begins – scouring drawers, emptying remote controls, and perhaps even sacrificing a child’s toy for the greater good of home comfort. Just remember, fresh batteries are key. Don't try to pawn off those ancient, crusty ones you found behind the sofa.
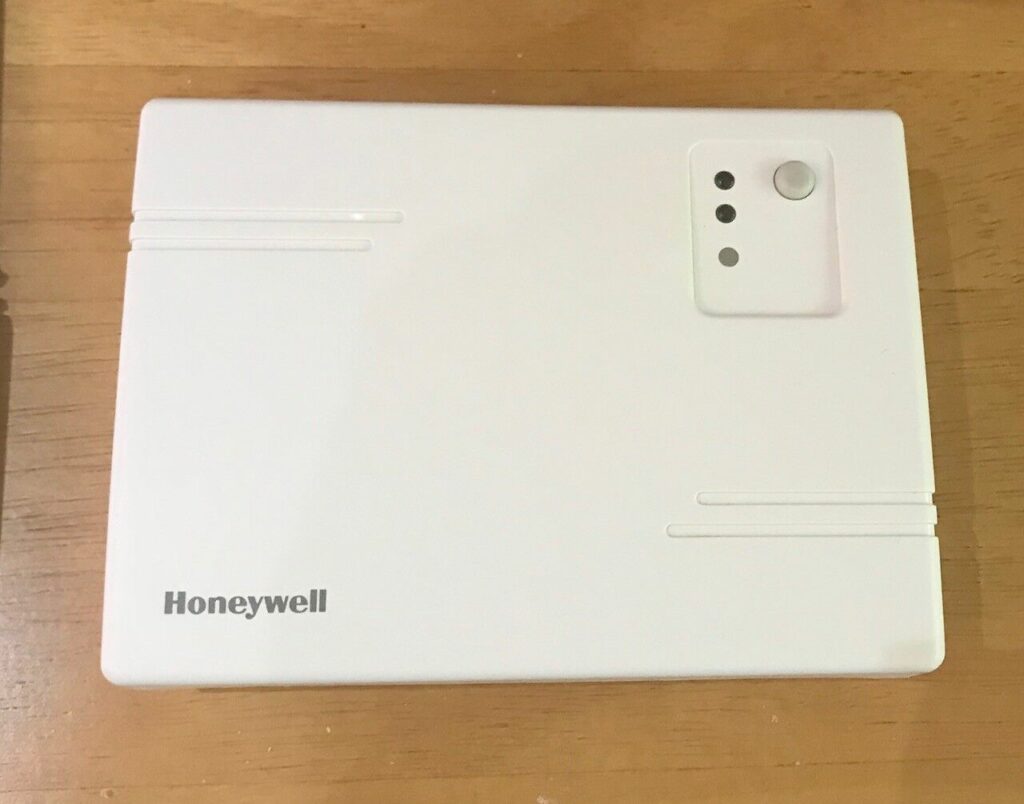
Step 2: Locate the Secret Latch (or Slide)
Now, approach your Honeywell thermostat. Many models have a compartment that either slides off the bottom or pulls forward from the main unit. Look for a small notch or button, often at the bottom edge. It might feel a little stiff, almost like it's trying to guard its secrets. Don't be afraid to give it a gentle but firm tug or slide. You're not breaking it; you're just showing it who's boss. Some models have a front panel that gently swings open to reveal the battery bay, like a tiny secret door.
Step 3: The Grand Exchange (Out with the Old, In with the New)
Once you’ve opened the compartment, you’ll see the old batteries. Notice their orientation – which end is positive (+) and which is negative (-). Pop them out. They might feel slightly warm, like they've just run a marathon. Now, carefully insert the fresh batteries, making sure they're facing the correct way. It’s not rocket science, but getting it wrong can lead to more thermostat drama.

Slide the compartment cover back on, or click the front panel shut. You might hear a satisfying little click, signaling success. And then… magic!
The Renaissance: A Thermostat Reborn!
Within moments, the screen will flicker back to life, bright and vibrant, no longer looking like it’s been up all night. The little battery icon will be gone, replaced by the comforting display of your desired temperature. You might even hear a faint hum as the system kicks back into action, obediently doing its job once more. You, my friend, are a domestic hero. You've saved the day, all without needing a technician or a hefty bill.
So, the next time your Honeywell Home thermostat starts acting cagey, don't jump to conclusions. Give a nod to the humble battery. It's often the simplest solution to the most perplexing household mysteries, reminding us that sometimes, all our sophisticated gadgets need is a little juice to get back in the game. And maybe, just maybe, a little appreciation for its hard work.