Honeywell Door Sensor Battery Replacement

In our modern homes, where convenience often takes center stage, we're surrounded by an orchestra of smart devices working quietly in the background. Among these unsung heroes is the humble Honeywell Door Sensor, diligently standing guard, bringing you peace of mind. But like any good performer, even the most reliable sensor needs a little TLC to keep shining. We're talking about the moment the low battery chime sounds, signaling it’s time for a quick, satisfying act of DIY — the Honeywell Door Sensor Battery Replacement.
Far from being a chore, thinking of this simple task as a mini-project can unlock a surprising sense of accomplishment. It’s a chance to engage with the technology that supports your daily life, transforming a minor inconvenience into an opportunity for empowerment. For the casual learner or the budding home enthusiast, it’s a perfect entry point into understanding the inner workings of smart home systems. You don't need to be an engineer; you just need a desire to keep things humming smoothly!
The benefits are tangible and immediate. Firstly, there’s the sheer satisfaction of self-reliance. Why call a technician for something you can easily do yourself in minutes? You save time, you save money, and you gain confidence. Secondly, it offers a deeper connection to your home’s security ecosystem. You’ll understand which battery powers which sensor (often a CR123A or a common AAA, depending on your model) and appreciate the modular design that makes maintenance so straightforward. It’s a small but significant step towards becoming the master of your own domain, a true home hero.
Must Read
You might encounter a few "variations" of this delightful task. Perhaps it's a sensor on a frequently used front door, or maybe a less-noticed window sensor in a guest room. Each replacement is a brief, focused challenge. Some sensors involve a simple slide-off cover, while others might require a small screwdriver. This variety keeps things interesting, ensuring each replacement feels like a unique, miniature puzzle to solve. It’s like discovering a secret panel in your own home!
Ready to try it at home and experience this burst of practical inspiration? Here are some quick tips:
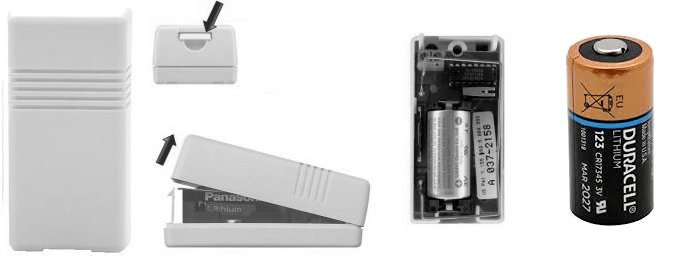
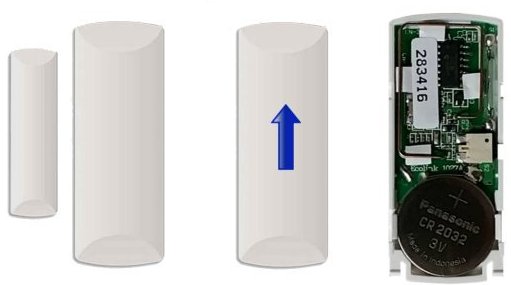
- First, identify your sensor model. A quick glance at the sensor or its manual will tell you the correct battery type (typically a CR123A, CR2032, or AAA).
- Gather your tools. Often, all you'll need is the new battery and perhaps a small flathead screwdriver (or even a butter knife!) to gently pry open the cover if it’s a snap-on design.
- Locate the cover tabs or screws. Many sensors have small notches where you can insert a tool to release the cover.
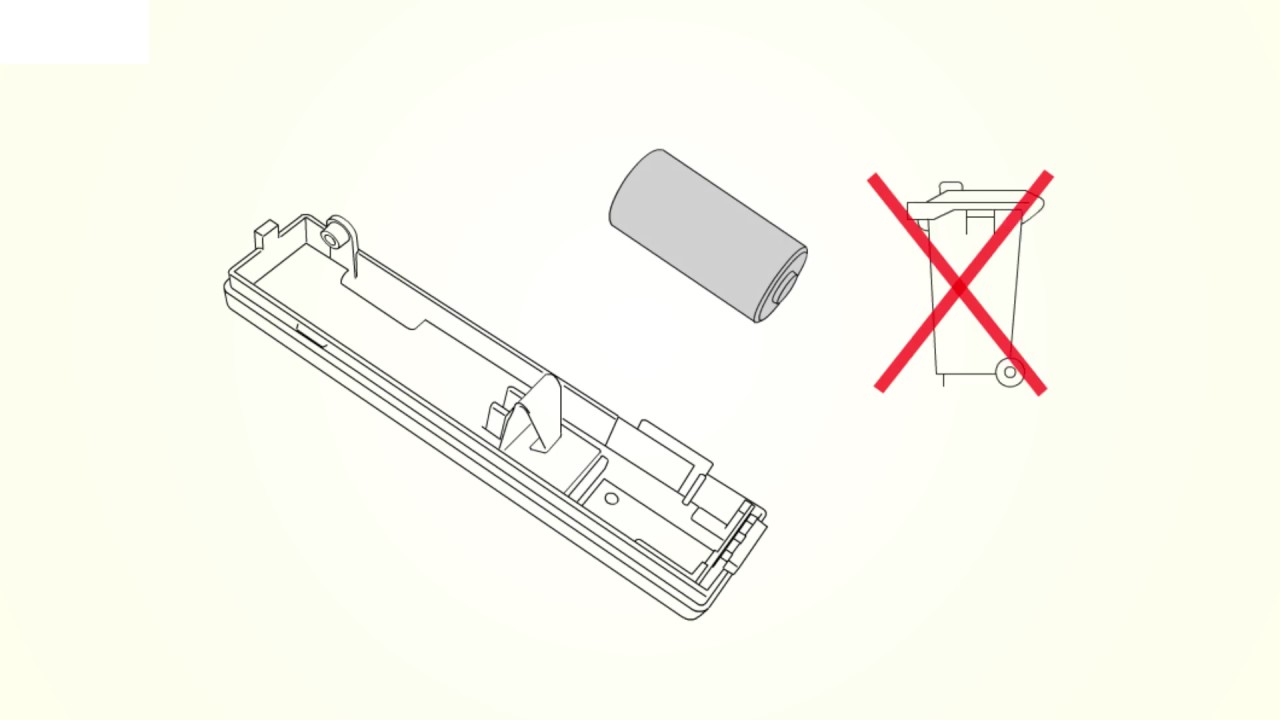
- Note the battery orientation. Pay attention to the + and - markings before removing the old battery.
- Insert the fresh battery, ensuring correct polarity.
- Snap the cover back on. You might hear a small click, and your sensor should often signal its readiness with a light or a chirp.
- Finally, test the sensor by opening and closing the door/window to confirm it’s communicating with your system again.
And why is this enjoyable? Because in a world of complex systems, there’s immense joy in a task that is simple, impactful, and immediately rewarding. It’s a tiny victory, a moment where you actively maintain the safety and functionality of your sanctuary. It’s the satisfaction of knowing you’ve kept your smart home humming, your security robust, and your peace of mind intact, all with your own two hands. Go on, embrace the magic of the battery swap!