Changing Battery In Honeywell Thermostat

Picture this: It's 6 AM, a crisp Tuesday morning. You’re snuggled deep under your duvet, dreaming of a perfectly toasted bagel, when a chill suddenly slithers its way under the covers. Your brain, still half-asleep, tries to compute. Did I leave a window open? No, definitely not. You peel an eyelid open, squinting at the digital clock – 6:05 AM. Time for the heat to kick in, as per your meticulously programmed schedule. But… it’s not kicking. Your teeth start a tiny, involuntary cha-cha.
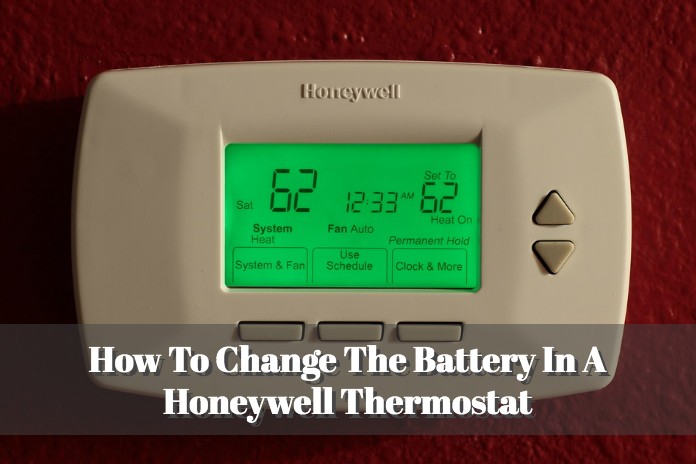
Reluctantly, you brave the arctic air, shuffle to the hallway, and gaze at your trusty Honeywell thermostat. The one that usually beams brightly, displaying the exact, comforting temperature. But today? Nada. Zilch. A blank, soulless void. It’s like it’s given up on life, or perhaps, on regulating yours. My first thought, every single time, is always something dramatic like, "Oh no, the entire HVAC system is dead! This is going to cost a fortune!"
Sound familiar? You’re not alone, my friend. We’ve all been there, staring blankly at a blank thermostat, convinced the apocalypse is nigh. But here’s a little secret, a whisper from the universe (and my own past self, after far too many unnecessary panic attacks): often, the solution is so simple, so painfully obvious, you’ll want to facepalm yourself into next week. Ready for it? It’s probably just the battery.
Must Read
Yup. That sophisticated piece of tech, the command center of your indoor climate, often relies on humble, everyday batteries. It’s almost ironic, isn’t it? Like a supercomputer powered by a potato. Honeywell thermostats are incredibly popular for a reason – they’re reliable, often intuitive, and get the job done. But even the best of them need a little juice now and then. So, let’s talk about giving your little climate-controlling buddy a much-needed energy drink.
What Kind of Battery Are We Talking About?
Before you go rummaging through your junk drawer for any old battery, take a quick peek at your existing ones. Most Honeywell models (especially the common digital ones) use either AA or AAA alkaline batteries. Some older or more industrial models might even use C batteries, but AA/AAA are the usual suspects. When you take them out, you’ll see the type clearly marked. Always go for fresh, high-quality alkaline batteries for best performance. Trust me, you don't want to be doing this every other month with cheap ones.

Pro tip: Buy a small pack to keep on hand. You'll thank yourself later when that "Lo Batt" warning flashes at 2 AM.
Finding the Battery Compartment: The Great Reveal
This is where things can vary a little, but don't fret! Honeywell has a few common designs. Most often, you’ll find the battery compartment in one of three places:
- A Pull-Out Tray: This is probably the most common. Look along the side or bottom edge of the thermostat's faceplate. You might see a small tab or a section that looks like it can be pulled out. Give it a gentle tug! It should slide right out, revealing a couple of batteries nestled inside.
- A Flip-Down or Slide-Out Door: Sometimes, there’s a small, hinged door or a section that slides off the bottom or side of the main unit. This might be less obvious than a full tray, but look for a seam or a small indentation that suggests it opens.
- Behind the Entire Faceplate: This one sounds more intimidating than it is. Some models require you to remove the entire front cover. Often, there are small clips or buttons on the side or bottom. Gently pull the faceplate straight off the wall-mounted base. The batteries will then be visible on the back of the faceplate itself. Just be careful not to yank any wires! (Most residential ones are designed to be user-friendly, so it shouldn't be too hard.)
Once you’ve located the compartment, take note of how the old batteries are oriented – which way the positive (+) and negative (-) ends are facing. A quick photo with your phone is always a good idea! You’ll thank me for that tip, especially if you get distracted mid-swap (squirrel!).
The Swap: Out with the Old, In with the New!
Now for the main event! Seriously, this is probably the easiest part.

- Remove the Old Batteries: Pop ‘em out! Give them a little wiggle if they’re snug.
- Insert the New Batteries: Match the positive (+) and negative (-) ends exactly as you saw them (or as your handy phone photo dictates). This is crucial! Incorrect polarity means no power, and then we're back to square one, looking at a blank screen and wondering what went wrong.
- Close it Up: Slide the tray back in, close the door, or reattach the faceplate until it clicks securely.
The Moment of Truth: Powering On
As soon as those fresh batteries are in, your Honeywell thermostat should spring back to life! You’ll probably see the display light up, maybe a quick "Honeywell" logo, and then it should return to its normal operating mode. If it asks you to reset anything, like the date and time, go ahead and do that. Sometimes, completely losing power can cause a minor hiccup in its internal clock.
Test it out. Bump the temperature up or down a few degrees and listen for that satisfying click of your furnace or AC kicking on. Ah, the sweet sound of success (and impending comfort)!
A Few Parting Thoughts (and How to Avoid Future Chills)
- Still Blank? If your thermostat still isn't powering on after new batteries, double-check that you inserted them correctly. If it's still playing dead, it might be something more serious, like a blown fuse in your furnace, a tripped circuit breaker, or an actual thermostat malfunction. At that point, a call to an HVAC professional is probably in order. But nine times out of ten, it’s just the batteries!
- Regular Maintenance: Don't wait for the blank screen! Make a habit of changing your thermostat batteries once a year. A good reminder is to do it when you change your smoke detector batteries (you are doing that, right?). Or maybe when daylight saving time starts/ends. Consistency is key to avoiding those chilly 6 AM surprises.
- Recycle! Don’t just toss those old batteries in the trash. Many stores have battery recycling programs. Do a quick search online to find a drop-off point near you. Every little bit helps!
See? You just saved yourself a service call, possibly some money, and definitely some stress. Changing a battery in your Honeywell thermostat might seem like a small thing, but understanding these little pieces of home maintenance makes you feel like a total home wizard. Now, go enjoy your perfectly regulated climate. You earned it!
