Changing Batteries On A Honeywell Thermostat
Ever had your furnace suddenly go silent or your AC refuse to kick in, leaving you in a hot or cold spot? Before you panic and call an expensive technician, there's often a surprisingly simple culprit and an even simpler fix: the batteries in your Honeywell thermostat. This isn't just about utility; it's about empowerment! Learning this quick trick is incredibly useful, saving you time, money, and a whole lot of discomfort. It's a small act of home maintenance that yields huge returns, making it a truly popular bit of know-how for any homeowner.
So, who benefits from mastering the art of the thermostat battery swap? For beginners, it’s a fantastic entry point into basic home maintenance, building confidence in tackling small repairs around the house. You'll feel a surge of accomplishment after successfully restoring order to your indoor climate! For families, knowing how to quickly change those batteries means uninterrupted comfort, especially during extreme weather. No more waking up to a freezing house or a stifling one because of a dead thermostat in the middle of the night. Plus, a functioning thermostat is key to efficient heating and cooling, which translates to savings on those energy bills. Even for experienced hobbyists and DIY enthusiasts, it's another valuable arrow in the quiver, a testament to the fact that not all fixes require specialized tools or extensive training.
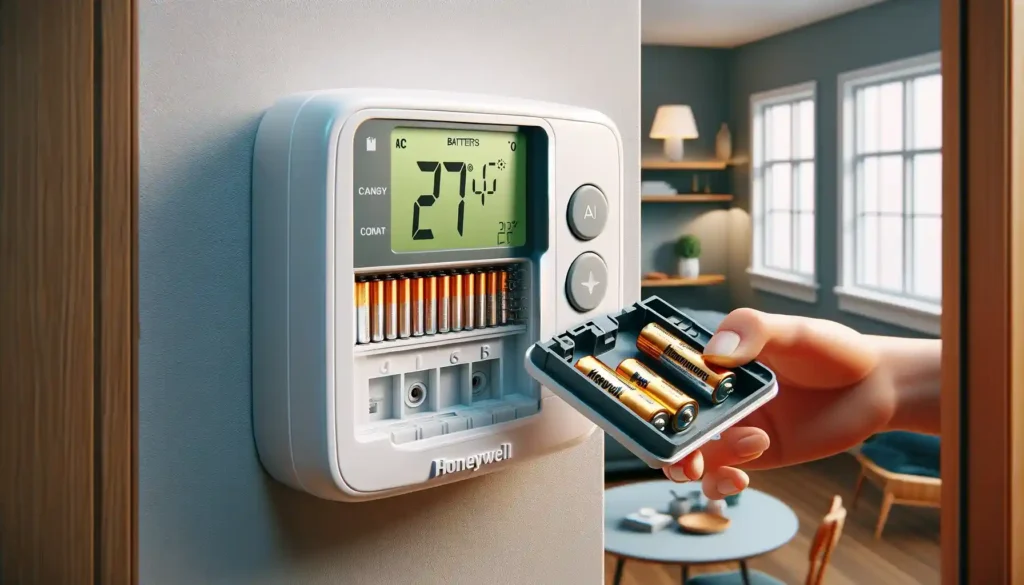
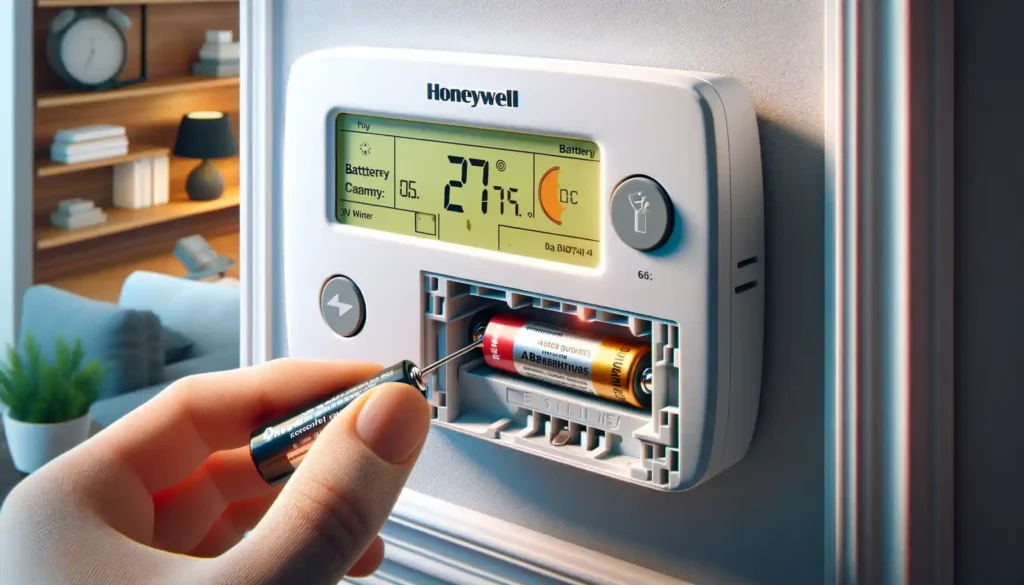
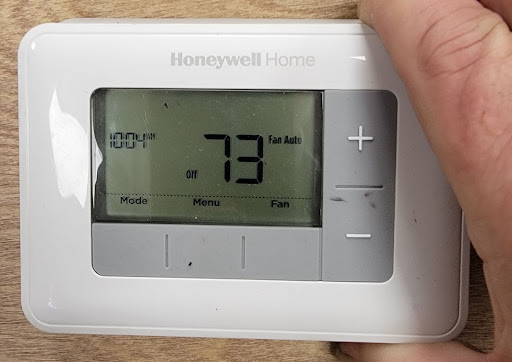
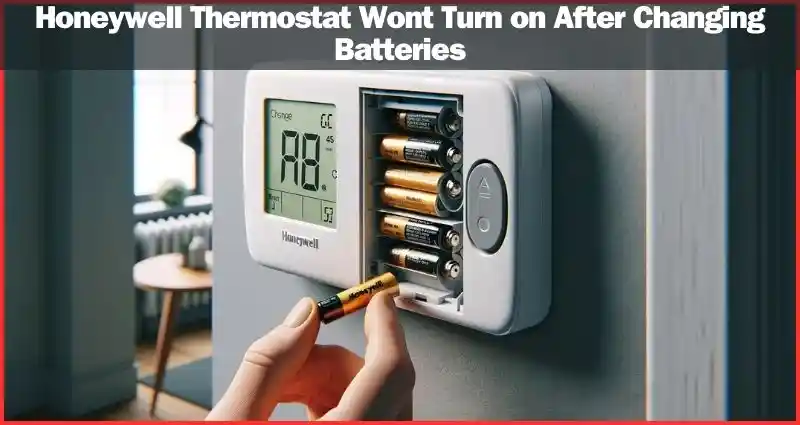
Honeywell thermostats, while generally reliable, all eventually succumb to the inevitable march of battery depletion. You might notice a low battery icon flashing on the screen, the display going blank, or the system simply not responding to your commands. There are many Honeywell models out there, from the simple digital ones to the fancy Wi-Fi enabled smart thermostats, but the good news is that battery replacement is remarkably consistent across most of them. Most use standard AA or AAA batteries, typically located in an easily accessible compartment. Some might have a sliding cover on the side, others might require you to gently pull the front faceplate forward to reveal the battery bay, often located on the back of the unit. Don't worry, it's usually designed for easy access!
Must Read
Ready to get started? It's a breeze! First, you'll need two fresh AA or AAA batteries (check your specific model's manual or the old batteries for confirmation). A small flathead screwdriver might be handy, but usually isn't necessary. Here’s your simple, practical guide:
- Locate the battery compartment. This is usually on the right or left side, or sometimes behind the removable front faceplate. Look for a small tab or a slight indentation.
- Open the compartment. Gently press the tab and slide the cover off, or carefully pull the faceplate away from the wall mount. It might snap back, which is normal.
- Note the orientation of the old batteries. This is crucial for correct reinsertion.
- Remove the old batteries. Pop them out.
- Insert the new batteries. Make sure the positive (+) and negative (-) ends align with the markings inside the compartment.
- Close the compartment securely. You should hear a satisfying click or feel it slide firmly back into place.
- Check the display. Your thermostat should power back on, and any low battery warnings should disappear. Ta-da!
In just a few simple steps, you've averted a potential climate crisis in your home. There's a real satisfaction in solving a problem so quickly and effectively yourself. It's a small victory that keeps your home running smoothly and comfortably. So, go ahead, embrace this tiny but mighty DIY skill, and enjoy the peace of mind that comes with a perfectly regulated home environment!