What Is Brim In 3d Printing
Alright, let's talk about 3D printing! Isn't it just the coolest thing ever? The ability to bring your wildest ideas from a screen into the real world is nothing short of magic. You design it, press a button, and poof – a physical object appears! But sometimes, as you embark on this incredible journey, you might encounter a tiny, often overlooked hero in the world of successful prints. We're talking about something called a brim. And trust me, understanding it can turn your printing woes into pure joy!
What Exactly Is a Brim?
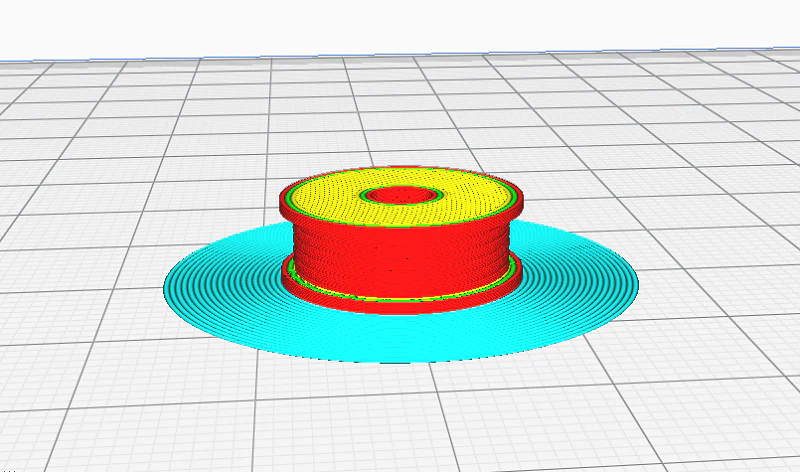
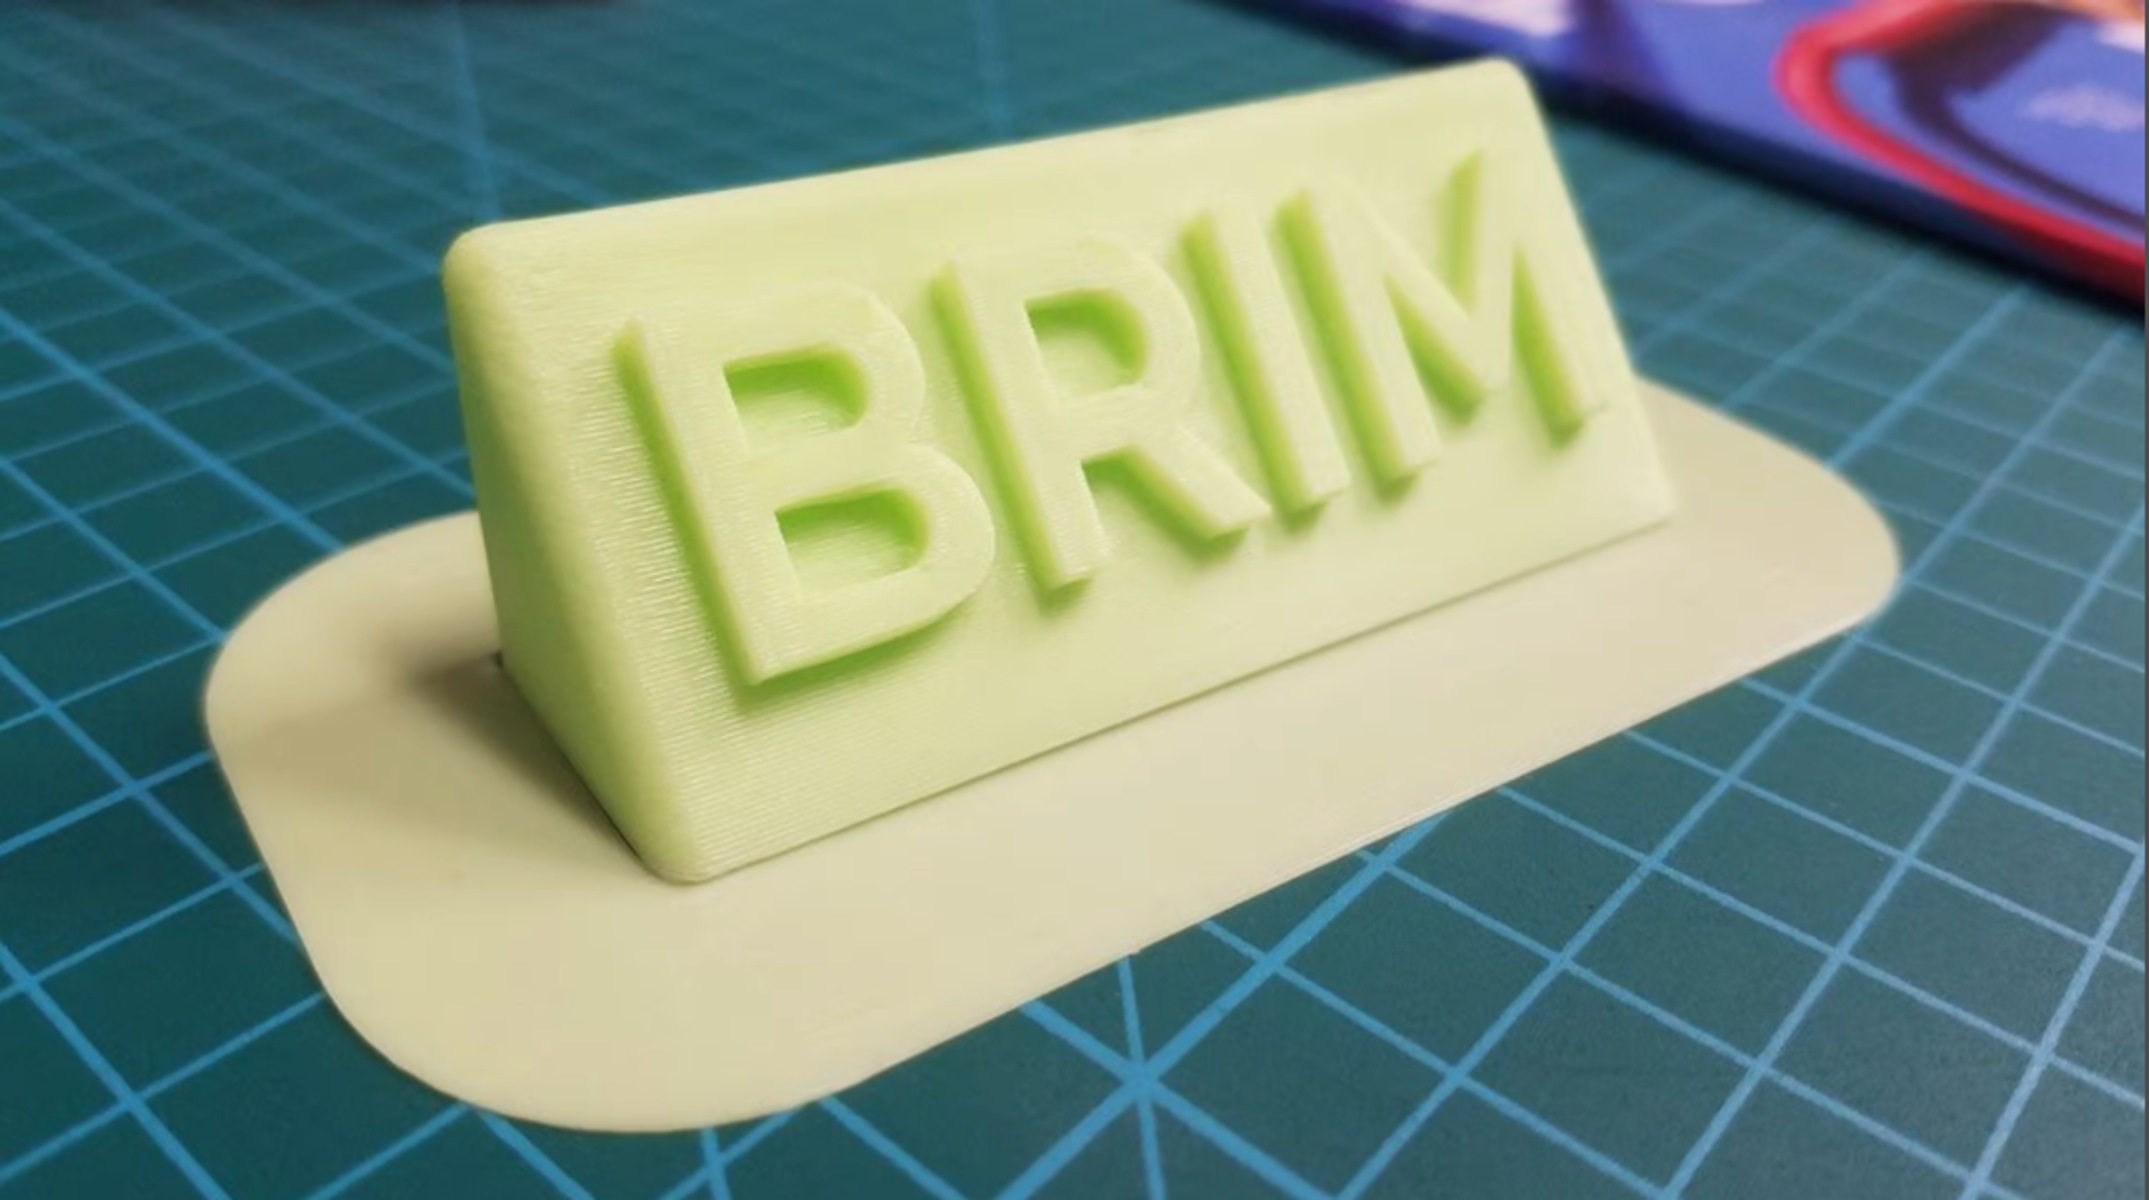
Imagine you're trying to stand a very wobbly object on a slick surface. What do you do? You give it a wider base, right? Well, that's pretty much what a brim does for your 3D print! In its simplest terms, a brim is a single layer of plastic that extends outwards from the very first layer of your 3D model, creating a flat, thin "skirt" around its base. It's not part of your actual model; it's a temporary, expendable addition, like training wheels for your print!
Think of it this way: when you're baking a beautiful pie, you often create a nice sturdy crust around the edge to hold everything together. The brim is kind of like that — a little extra support, but for plastic!
Must Read
Why Does Your 3D Print Need This Tiny Superhero?
This humble little brim swoops in to save the day in a few crucial scenarios. Let's dive into why this unassuming feature can make your 3D printing life so much more fun and less frustrating:
1. The Grand Problem of Adhesion!
This is arguably the brim's most important job. Ever started a print, walked away for a bit, and returned to find the corners of your beautiful model lifting off the print bed? This dreaded phenomenon is called warping. It happens because the plastic cools and shrinks, pulling itself away from the build plate. It's heartbreaking, isn't it?

Enter the brim! By adding a wider surface area to the base of your print, it dramatically increases the contact between your model and the build plate. More contact means more grip! It's like giving your print a pair of really grippy, oversized shoes to keep it firmly planted. No more rogue corners lifting into the abyss!
2. Befriending the Tall and Tippy!
Some models are just... well, vertically challenged. They might be very tall, thin, or have a small base but a lot of intricate detail higher up. Imagine trying to stand a toothpick upright – tricky, right? These prints are prone to falling over mid-print, which is a total bummer and a waste of filament.

A brim acts like outriggers on a canoe. It widens the footprint of your print, giving it a much more stable foundation. Suddenly, that wobbly tower of creation has a sturdy platform, vastly improving its chances of reaching completion without toppling over. Stability for the win!
3. Taming Tricky Corners!
Sharp corners are notorious for being the first parts of a print to lift or warp, especially with certain materials. The stress on those isolated points is higher. A brim effectively "blends" those sharp corners into a more gradual, wider base, spreading out the stress and making them much less likely to curl upwards. It's a little bit of design genius, if you ask me!
The Joy of a Perfectly Stuck Print!
Honestly, there's a unique satisfaction that comes from watching a complex print successfully adhere to the build plate, layer by beautiful layer, all the way to the top. The brim is often the silent guardian making that happen. It lets you experiment with more intricate designs, taller structures, and different materials without constantly worrying about failure. It transforms potential frustration into pure creative flow!
Who knew such a small, temporary feature could unlock so much potential? It’s a testament to the clever thinking behind 3D printing technology, constantly finding smart solutions to make the magic happen more reliably.
Is It Hard to Use?
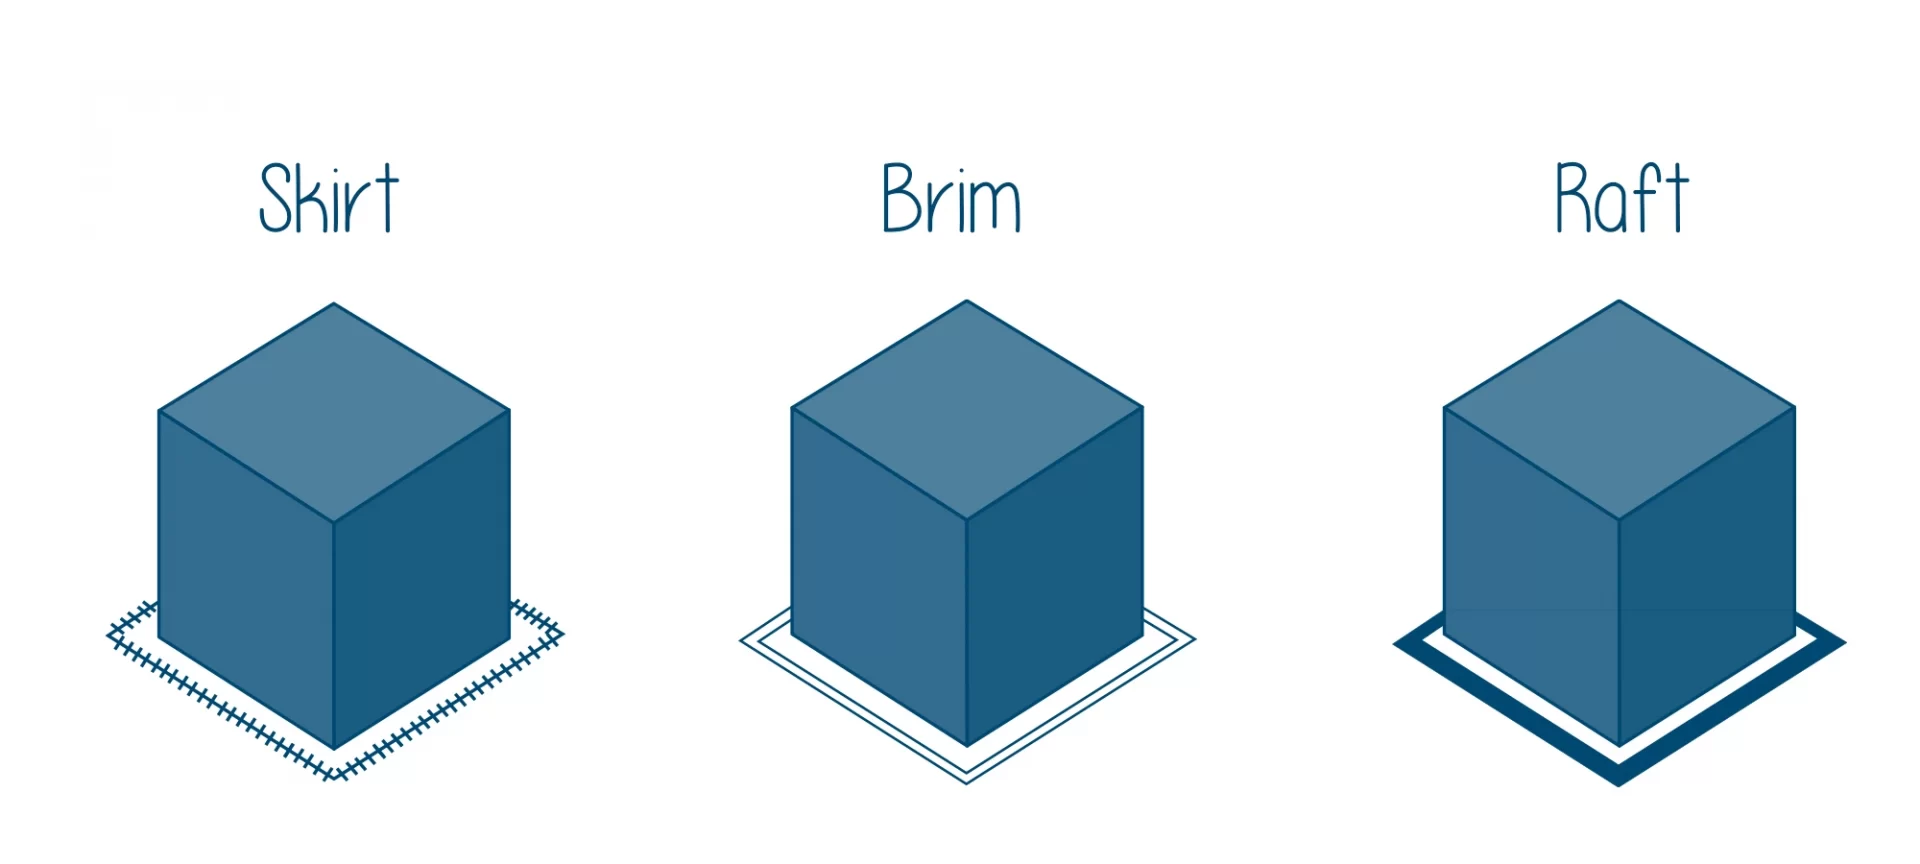
Not at all! Most 3D slicing software (the program that turns your 3D model into instructions for the printer) has a simple checkbox or setting for "brim." You can usually even specify how many "lines" or "skirts" you want around your model, making it incredibly easy to customize for your specific print. Once your print is done, removing the brim is usually a quick and satisfying job, often just snapping it off by hand or using a hobby knife for a clean finish. It's a small step in post-processing that yields huge rewards.
From the Brim to Brilliance!
So, the next time you're delving into the amazing world of 3D printing, remember the humble brim. It's a fantastic example of how even the smallest, seemingly insignificant details can make a colossal difference. It turns potential heartbreak into triumph, and allows your imagination to take flight, knowing your creations have a strong, stable start.
Isn't it inspiring how clever solutions can empower us to create more, worry less, and have a lot more fun? So go ahead, enable that brim, push your creative boundaries, and enjoy the incredible journey of bringing your dreams to life, one perfectly adhered layer at a time! The world of 3D printing is vast and full of these little gems waiting to be discovered. What other hidden heroes will you find?