Smoke Detector How To Change Battery

Ever woken up in the middle of the night to that infuriating, intermittent chirp... chirp... chirp? You know the sound. It's the unmistakable cry of a smoke detector begging for a fresh battery. While it might feel like a tiny intruder disrupting your sleep, figuring out how to silence that little beeper and keep your home safe is actually a wonderfully satisfying and supremely useful life skill. Think of it as a mini-mission where you're the hero, restoring peace and security with just a few simple steps!
This isn't just about stopping an annoying noise; it's about safeguarding what matters most. For beginners or new homeowners, mastering this simple task is a fantastic way to build confidence in home maintenance. It’s a low-stress project that yields immediate, tangible results and proves that you can tackle those adulting duties. For families, the benefits are even clearer: a properly functioning smoke detector is your first line of defense against fires, providing crucial early warning that can literally save lives. It's about ensuring the safety of your children, your pets, and everyone under your roof. And even for the seasoned DIY hobbyist, while it might seem basic, it's a fundamental part of responsible home care – a critical checkpoint in any well-maintained household.
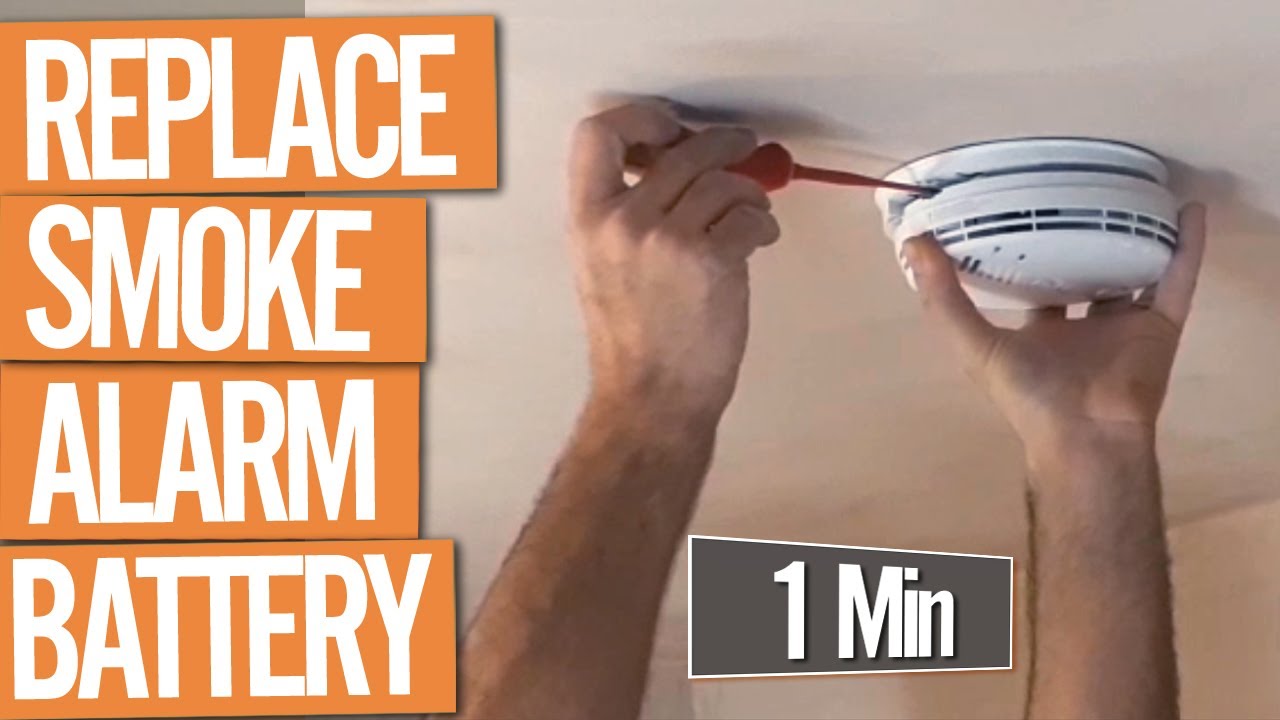
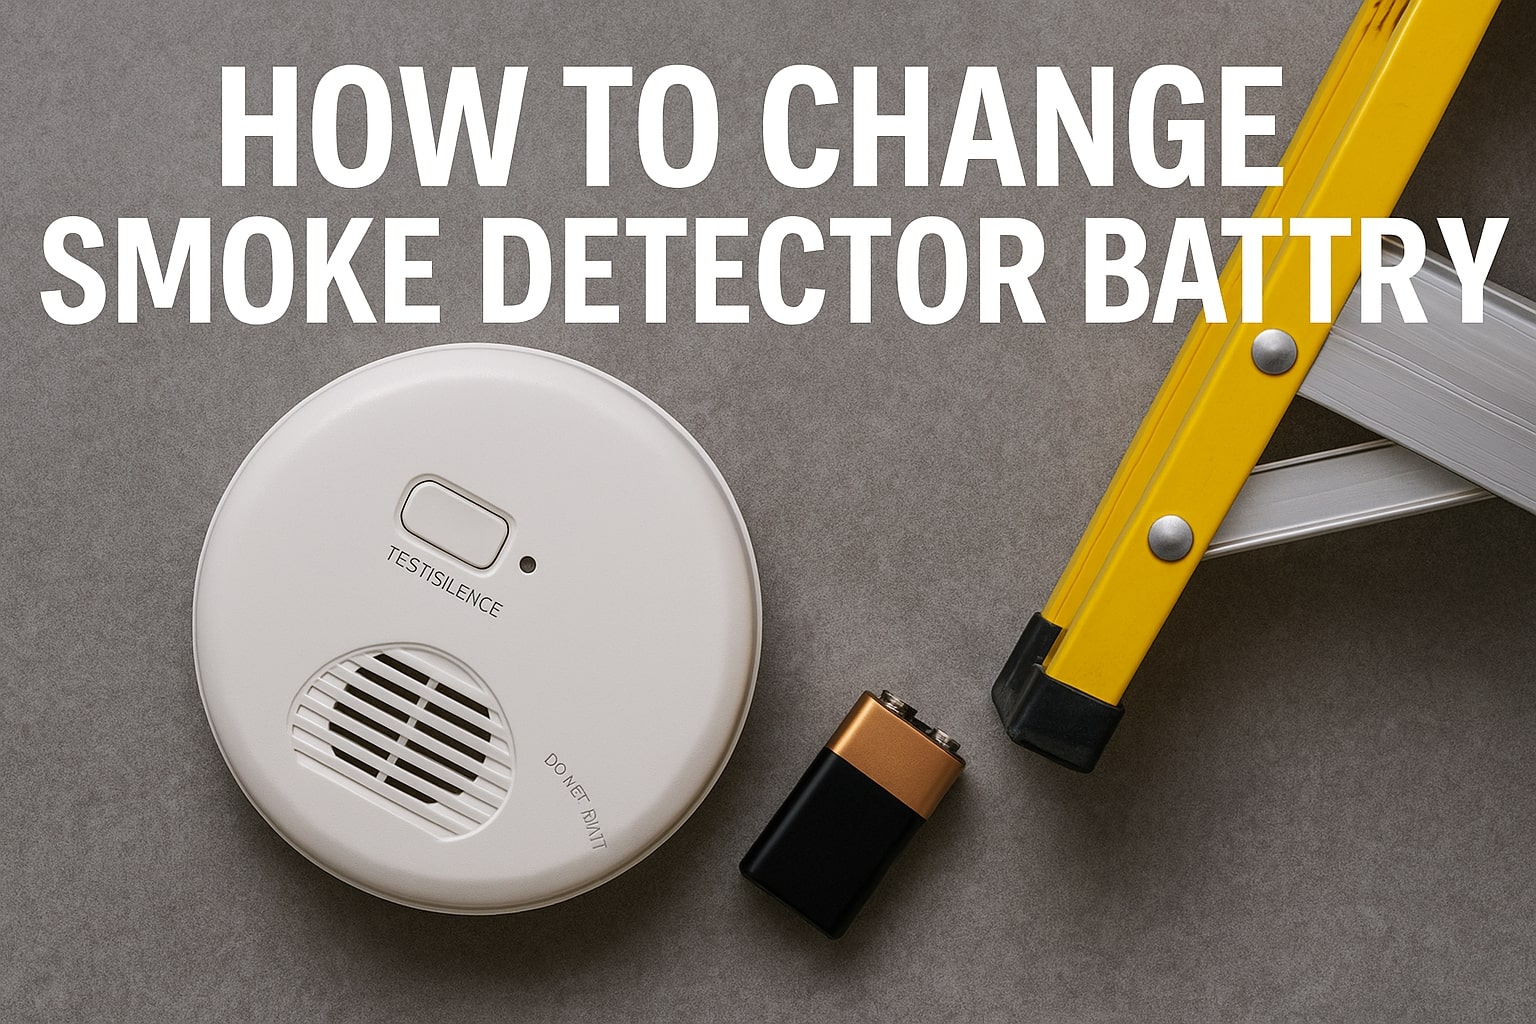
Smoke detectors come in a few flavors, which is where things get interesting. Most common are the battery-operated units that are a breeze to maintain. Then there are hardwired detectors, which are connected to your home's electrical system but usually have a battery backup for power outages – guess what still needs changing? Some detectors are also combined with carbon monoxide (CO) detectors, offering double the protection in one sleek package. The batteries themselves vary too: you'll most often find 9-volt batteries, but some newer models might use AA or AAA batteries. The key is to know what your specific unit requires and have a replacement ready before the chirping starts. A great variation on this task is not just changing the battery, but also remembering to test the detector regularly by pressing its test button – a quick beep confirms it's ready to protect.
Must Read
Ready to tackle that chirping sentinel? Here are some simple, practical tips to get you started. First, listen for the chirp – it's the universal signal that a battery change is due. Next, grab a sturdy step stool or ladder (safety first!). Before you even touch the detector, take a moment to look at it closely; most have a small door or a twist-off base to access the battery compartment. If you're unsure, a quick glance at the manufacturer's instructions (often printed right on the back of the unit or easily found online) will clarify everything. Make sure you have the correct replacement battery on hand – typically a 9V, but always double-check. Once you've swapped out the old for the new, remember the most important step: press the "test" button. A loud, clear alarm means you've succeeded! Finally, set a reminder on your phone or mark your calendar to change batteries twice a year – a popular habit is to do it when you change your clocks for Daylight Saving Time. It's a small habit with a huge payoff.
So, there you have it! Changing a smoke detector battery isn't just a chore; it's an opportunity for a mini-DIY win. It's about taking proactive steps for your family's safety, gaining a little confidence in your home maintenance skills, and enjoying the sweet, sweet silence that follows a job well done. It’s a small effort with an immeasurable value – truly a little piece of mind for a very safe home.