Nest Thermostat Two Wire Installation

Alright, let’s talk thermostats. Specifically, that sleek, smart disc everyone’s buzzing about: the Nest. You’ve probably seen it gracing the walls of stylish homes in magazines or heard your tech-savvy friends rave about it. But then the thought bubbles up: “My house is a bit older, just two wires for the thermostat. Can I still join the smart home party?”
Absolutely, you can! Think of it like this: your beloved classic car can absolutely get a modern infotainment system. It just needs the right touch. Installing a Nest Thermostat, even with just two wires, is often far simpler than you imagine. We’re going to demystify it, so you can ditch that old, clunky box and welcome a smarter, cozier future without calling in the cavalry.
Embracing the Two-Wire Wonder
First things first: don't let two wires intimidate you. In fact, they’re quite common, especially in homes where the heating system operates as a simple on/off switch. These systems typically use just two wires: one for power (usually R or Rh) and one for heating (W). No cooling, no fancy fan controls, just pure, unadulterated warmth when you want it. It's the OG of home comfort!
Must Read
The beauty of Nest (and where some of its clever engineering shines) is its ability to operate without a constant "C-wire" (common wire) which provides continuous power. How does it do it? Through a process often referred to as “power stealing.” Basically, the Nest sips tiny bits of power from your heating wires when the system isn't actively running, charging its internal battery. It's like your smartphone subtly topping itself up whenever it can find a spare electron. Pretty neat, right?
Before We Dive In: The Prep Work
Every great adventure starts with a little preparation. This isn't rocket science, but a few quick steps will make the whole process smoother than a fresh coat of paint.

1. Power Down! (Seriously, do it.) Head to your electrical panel and flip the breaker that controls your heating system. This isn't just a suggestion; it's a non-negotiable safety step. You’re dealing with electricity here, folks. Let’s keep all fingers attached and spark-free.
2. Snap a Pic. Before you touch a single wire, grab your phone and take a clear photo of your old thermostat's wiring. This is your insurance policy, your Rosetta Stone for reconnecting everything. You’ll thank yourself later, promise.
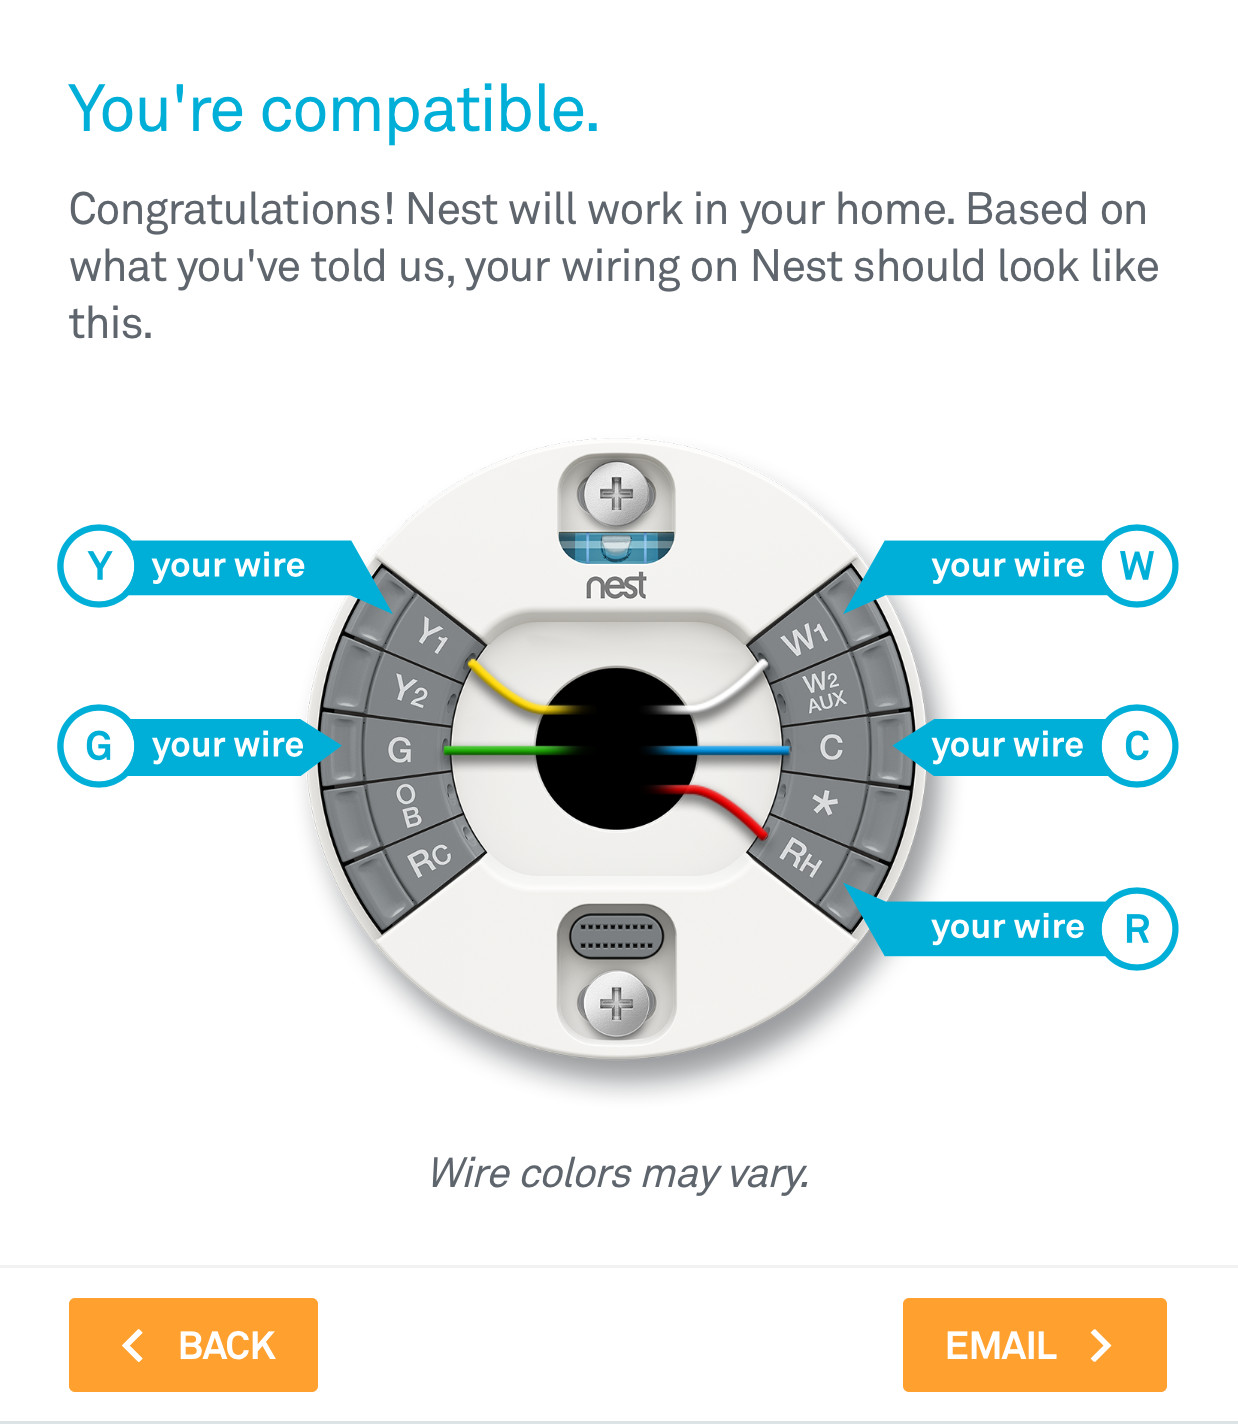
3. Identify Your Wires. With two wires, they’re almost certainly connected to the R (or Rh) terminal and the W terminal. The R wire is typically red and carries power, while the W wire (often white) tells your furnace to kick on.

4. Gather Your Tools. You’ll likely only need a screwdriver (often provided by Nest) and maybe a drill if you need to make new mounting holes. Your Nest app will be your trusty guide too!
The Grand Installation: Easier Than Assembling IKEA Furniture
Okay, tools in hand, power off, photos taken. Let's get this done!
Step 1: Out with the Old. Gently remove your old thermostat from the wall. Some just pull off, others might have a couple of screws. Detach the wires, making sure they don't fall back into the wall cavity. A little painter's tape can be your friend here, holding them steady.

Step 2: Mount the Nest Base. The Nest comes with a base plate and often a trim plate to cover any unsightly old paint lines. Use the built-in bubble level (clever!) to ensure it's straight, then screw it into the wall. Nest provides screws and anchors, so you're all set.
Step 3: Wire It Up! This is the moment of truth. Take your R wire and firmly insert it into the R terminal on the Nest base. Do the same with your W wire into the W terminal. Ensure the wires are seated snugly and don't wiggle loose. No exposed copper outside the terminal, please!
Step 4: Click and Power On. Now, align the Nest display unit with the base and gently push until it clicks into place. Head back to your breaker box and flip the power back on. Cross your fingers (just kidding, you did everything right!).
Step 5: The Smart Setup. Your Nest should now light up and greet you. Grab your smartphone and follow the instructions in the Nest app to connect it to your Wi-Fi and personalize your settings. This is where it learns about your home and your preferences, becoming that intuitive assistant you always wanted. It's like teaching a new puppy, but instead of "sit," you're teaching it "perfect temperature."
Enjoying Your Smart Home Upgrade
And just like that, you've done it! You've transformed your home's brain from analog to digital, all by yourself, with just two wires. Now you can control your heating from your couch, your office, or even your vacation spot halfway across the world. Nest will learn your schedule, save you energy, and keep your home perfectly cozy.
It’s a small change, but one that adds a surprising amount of comfort and convenience to your daily life. It’s that subtle shift from reacting to your environment to proactively shaping it. So go ahead, bask in the glow of your smart new thermostat and the satisfying feeling of a DIY well done. Your perfectly temperate home awaits.