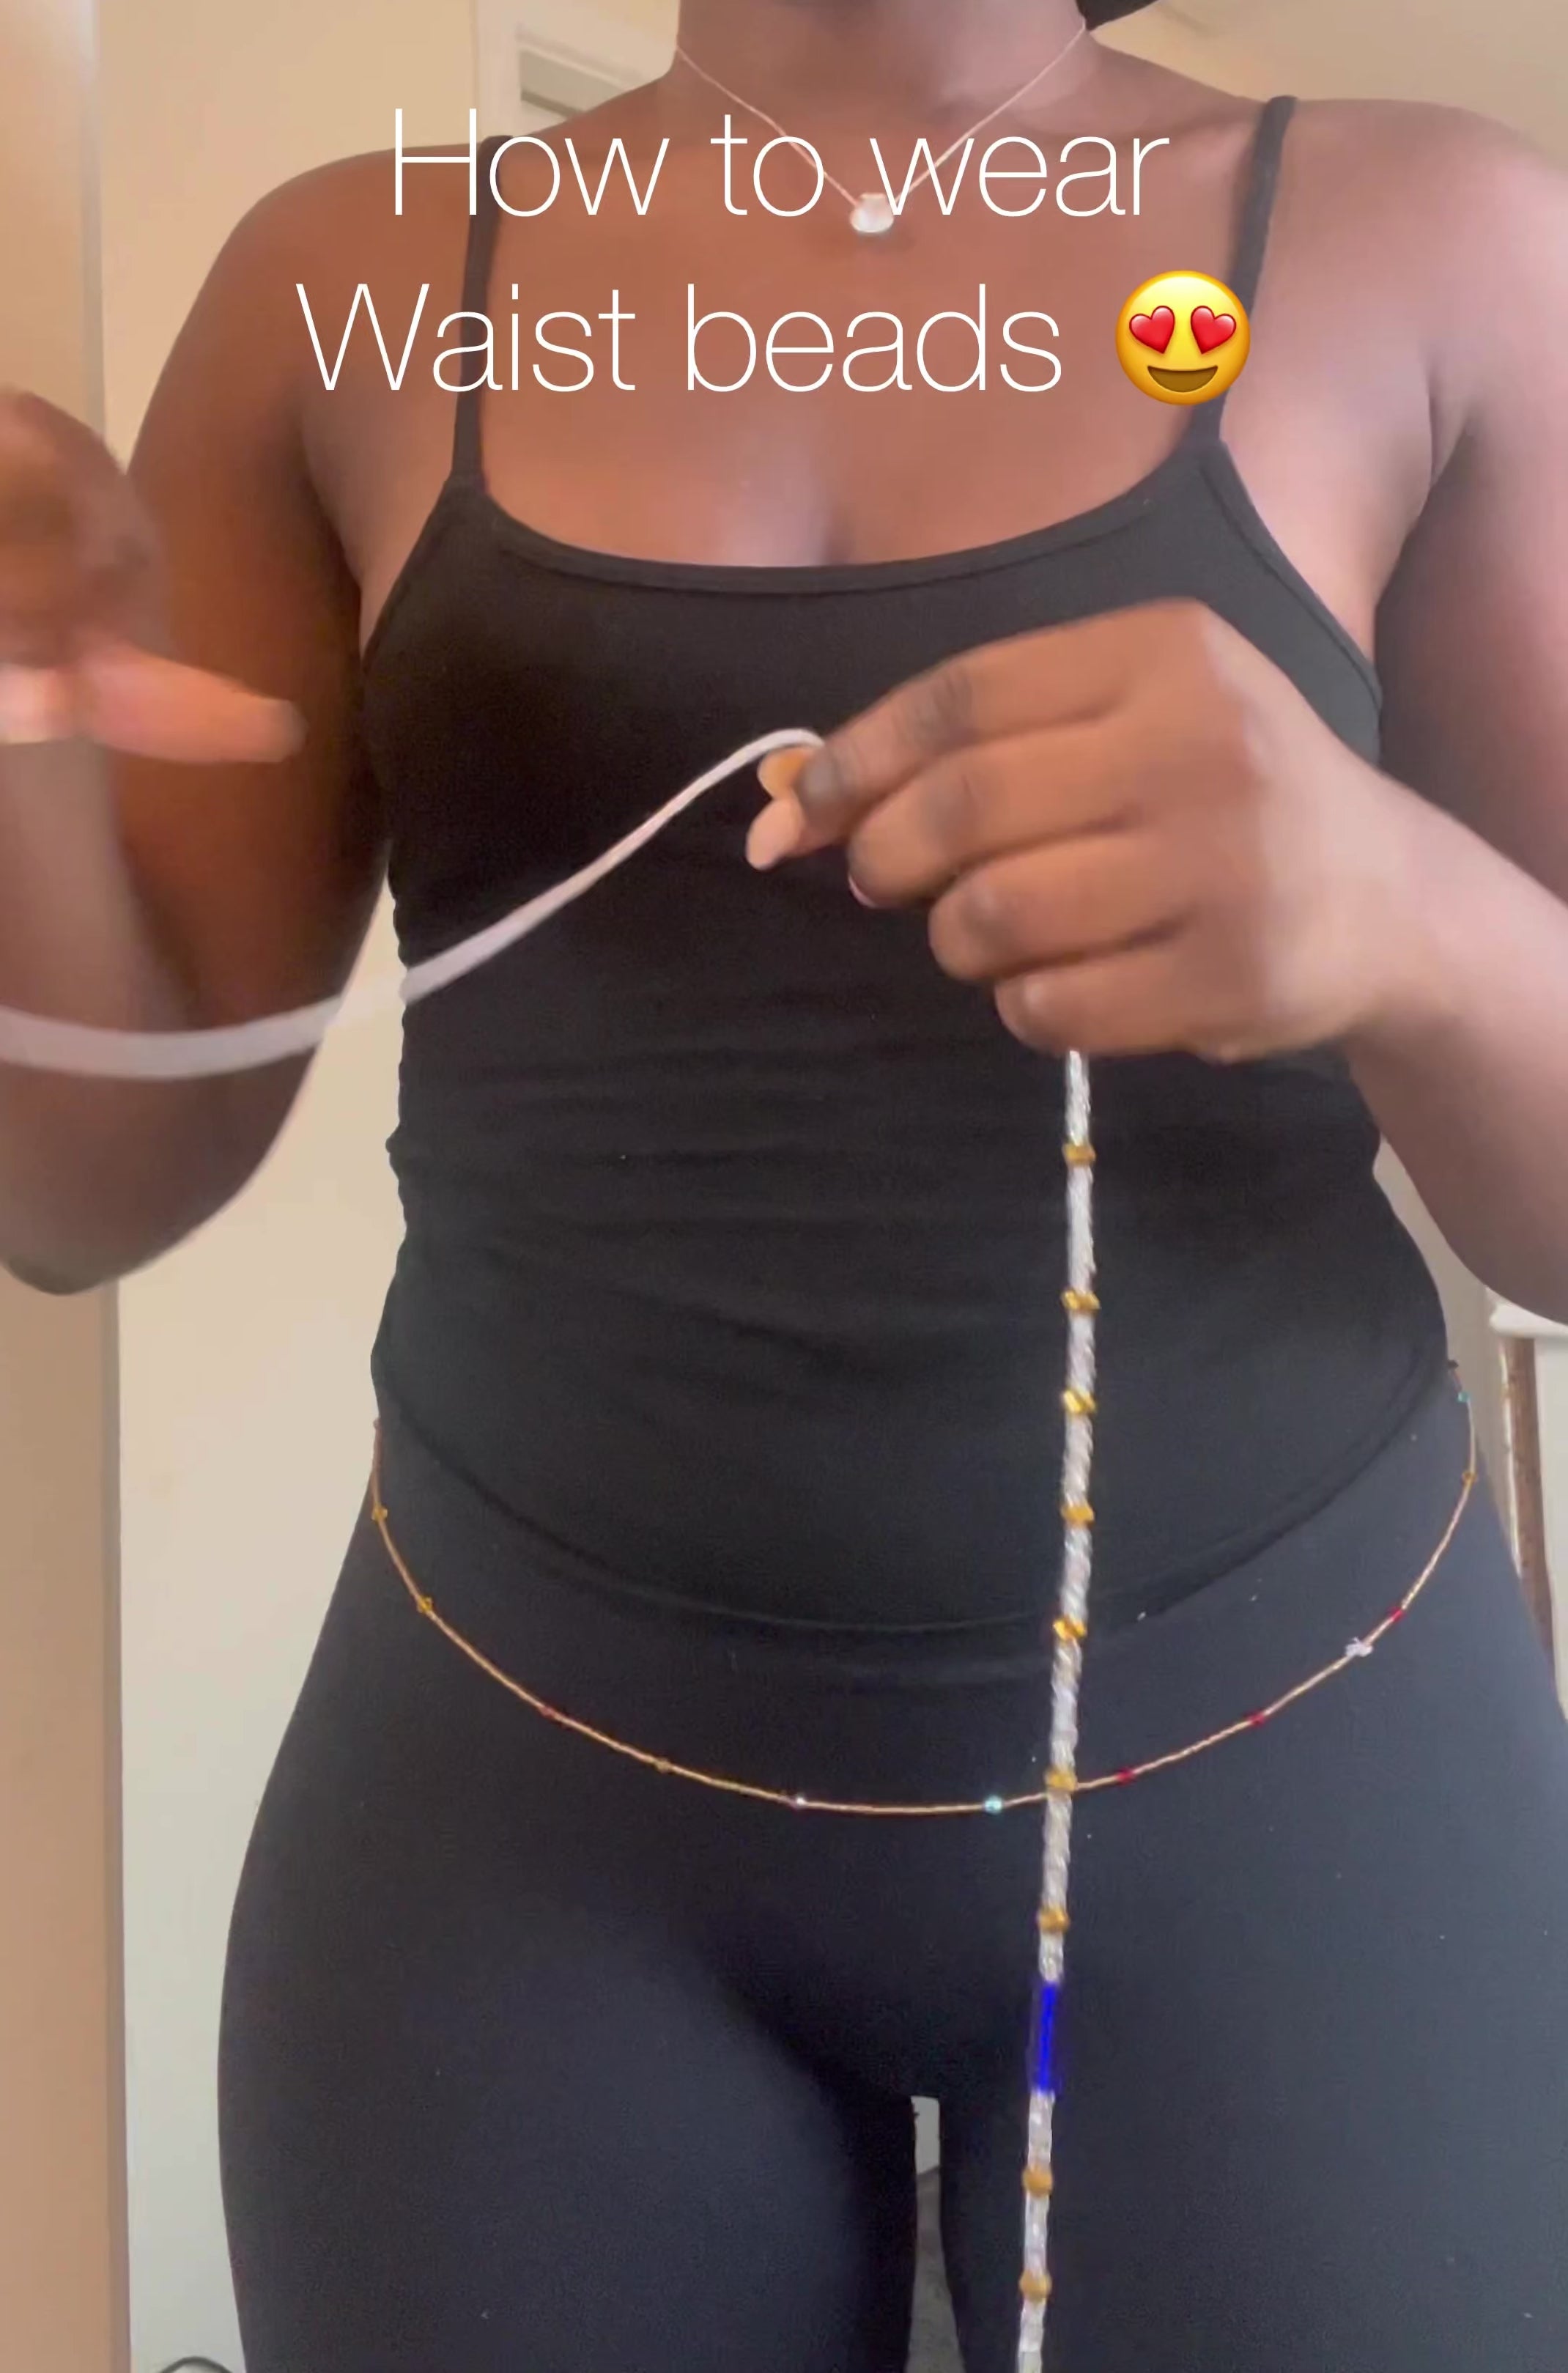
How To Tie Waist Beads With Stretch Cord

Okay, let's talk waist beads! Forget about those fancy Instagram tutorials for a sec. We're going the real route – the "I've spilled beads all over my floor at least once" route. Because let's be honest, that's where the fun really begins. Think of it as adulting, but with more sparkle and a lower chance of actually paying your bills on time.
So, you've got your beads. You've got your stretch cord. You're ready to adorn yourself like the queen (or king!) you are. But that tiny little stretch cord looks awfully… intimidating, doesn’t it? Like that tax form you’ve been avoiding since April? Deep breaths! We got this.
Gather Your Supplies (and Your Sanity)
First things first: Supplies! You'll need:
Must Read
- Your chosen beads. (Duh!)
- Stretch cord – the thinner, the better, like trying to squeeze into those jeans you haven’t worn since 2019.
- Scissors. (Sharp ones! Unless you enjoy the frustration of dull scissors. I don’t recommend it.)
- Beading needle (optional, but highly recommended, unless you enjoy fighting with tiny holes). Think of it as the GPS of bead stringing.
- A ruler or measuring tape. (Unless you're going for the "surprise! It's way too small" look.)
- And most importantly: patience. Seriously, bring a whole bucket of it. Like, Costco-sized.
Measure Up (Without Getting Discouraged)
Now, the measuring bit. This is where things can get… interesting. Wrap the measuring tape around your waist where you want the beads to sit. Not too tight, not too loose. Like Goldilocks and her porridge, it needs to be just right.
Important! Add a few inches to that measurement. Why? Because tying knots takes up space, and you'd rather have extra cord than beads that cut off your circulation. Trust me on this one. Think of it as adding extra guacamole to your burrito – always a good idea.
Stringing the Beads (The Fun Part!)
Here comes the bead party! Thread your stretch cord through the beading needle (if you're using one). If not, just try to wiggle the cord through the first bead with the determination of a toddler trying to open a jar of pickles.
Now, just start stringing those beads! Let your creativity flow. Alternate colors, create patterns, spell out your name (or your crush’s name – no judgment!). This is your chance to shine!
Pro Tip: Don't string all the beads at once. Take breaks! Your fingers will thank you. Plus, it gives you time to admire your progress and maybe eat a cookie. You deserve it!

Tying the Knot (The Moment of Truth)
Okay, you've strung all your beads. Now comes the most crucial part: tying the knot. This is where things can either go smoothly or descend into a stringy, frustrating mess.
Remove the needle if you used one. Carefully tie a surgeon’s knot (basically a square knot tied twice). Pull it tight. And then tie another one! For good measure, add a third. We’re going for Fort Knox-level security here.

Now, very carefully, trim the excess cord. But don't cut too close to the knot! You want to leave a little tail. Like a tiny, stringy safety net.
The Big Reveal! Put on your waist beads and admire your handiwork! You did it! You created something beautiful and unique. And probably spilled a few beads in the process. But hey, that's part of the charm, right?
Troubleshooting (Because Things Happen)
Cord breaks? Don't panic! Just re-string it! Think of it as a bead-y do-over.
Knot comes undone? This happens to the best of us. Tie it tighter next time! Maybe add some super glue (but be careful not to glue the beads to your skin! Learned that one the hard way).
Beads are too tight? Add more beads! Or use a longer piece of cord next time.
Most Importantly: Have fun! Waist beads are all about expressing yourself and feeling good in your own skin. So embrace the process, laugh at the mistakes, and rock those beads with confidence!